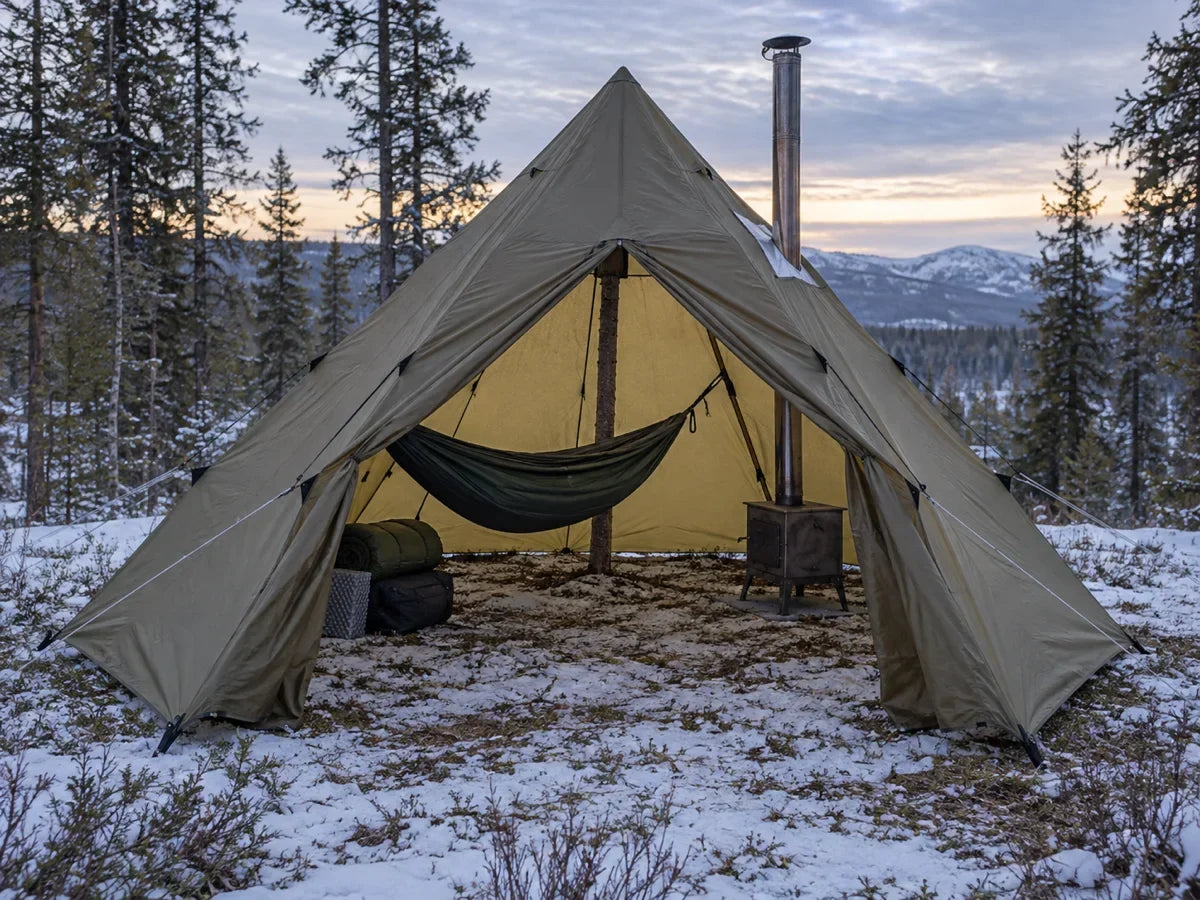

Una huella de tienda de campaña no es un piso impermeable mágico.
Es una capa sacrificable que soporta la abrasión, la grava, la savia, el barro y algo de humedad del suelo antes de que lo haga el suelo de tu tienda.
Eso suena sencillo, pero la decisión de compra se complica porque una lona de suelo puede ser un seguro inteligente en un campamento y un peso inútil en el siguiente.
La mejor opción por defecto es esta: utiliza una huella ajustada o cortada correctamente cuando el suelo pueda dañar el piso caro o fino de una tienda de campaña, usa una alfombrilla pequeña aparte para los vestíbulos y prescinde de la huella en terrenos blandos y de bajo riesgo cuando el peso importe más que la protección del piso.
Recomiendo pensar primero en la función, no en el nombre del accesorio.
No estás eligiendo entre «huella» y «sin huella».
Estás eligiendo entre cuatro usos: proteger el suelo, bloquear el terreno húmedo, crear una zona limpia para arrodillarse o añadir un suelo habitable a un refugio sin suelo.
Haz mal el trabajo y hasta una lona impermeable puede hacer que tu tienda quede más mojada.
Haz bien el trabajo y una esterilla de suelo de 53 g puede salvar el piso de una tienda de campaña de una superficie rocosa sin añadir una verdadera carga al equipaje.
Lo que aprenderás
- ✓ La regla rápida para terreno rocoso, hierba mojada, arena blanda y refugios sin suelo.
- ✓ El error de talla que provoca que el agua se acumule debajo de la tienda de campaña.
- ✓ La diferencia entre una lona ajustada, Tyvek, polycryo, silnylon y una lona azul.
- ✓ Los escenarios en los que omitiría por completo la huella.
- ✓ Los escenarios en los que usaría una esterilla de suelo específica cada vez.

Respuesta rápida
Use una lona para tienda de campaña cuando el suelo de su tienda sea fino, el terreno sea abrasivo, el suelo esté húmedo o la tienda sea lo bastante cara como para que una capa reemplazable tenga sentido.
Sáltalo cuando acampes sobre hierba blanda, arena o hojarasca despejada del bosque y estés tratando de reducir el peso de la mochila.
Utiliza una lona solo si puedes cortarla o doblarla más pequeña que el suelo de la tienda.
Utiliza una alfombrilla de vestíbulo aparte si tu verdadero problema son las botas embarradas, no la protección del suelo.
Mi respuesta breve es simple.
Para la mayoría de los campistas, la mejor primera huella es la capa más ligera que se mantiene completamente debajo de la tienda y resuelve el problema del campamento que tienes delante.

El marco de decisión
Huella para tienda de campaña de bricolaje, económica y ligera
La forma más fácil de decidir es evaluar el riesgo del suelo antes de empacar.
Utilizo cuatro preguntas.
¿Qué tan frágil es el suelo de la tienda?
¿Qué tan irregular es el terreno?
¿Qué tan húmedo es probable que esté el sitio?
¿Cuánto importa el peso extra?
Según REI, una lona de suelo se coloca entre la tienda y el suelo para protegerla contra materiales abrasivos como ramitas, rocas y superficies ásperas.
CleverHiker añade la contrapartida del senderismo de travesía: muchos suelos de tienda de los fabricantes cuestan más y pueden añadir un peso considerable, mientras que el Tyvek y el polycryo caseros reducen el precio y las onzas.
La misma fuente informa de referencias útiles sobre tejidos para comparaciones de bricolaje: nailon recubierto de alrededor de 1,9 oz por yarda cuadrada, Tyvek de alrededor de 1,85 oz por yarda cuadrada y polycryo de alrededor de 0,55 oz por yarda cuadrada.
El informe de mochilismo de Switchback Travel enmarca la misma decisión en torno al costo, el peso, la resistencia del suelo de la tienda y el terreno.
Esa es la verdadera decisión.
Estás comprando piezas de desgaste reemplazables.
También estás aceptando el peso, el costo y un paso de configuración más.
Si el suelo de tu tienda ya es pesado y el campamento es blando, ese intercambio es poco conveniente.
Si tu refugio es caro, ligero y está instalado sobre suelo abrasivo, esa desventaja se intensifica rápidamente.
Para Onewind, la elección del equipo es práctica.
Usa el Huella de tienda Onewind cuando quieras la capa dedicada para el suelo de la tienda de campaña.
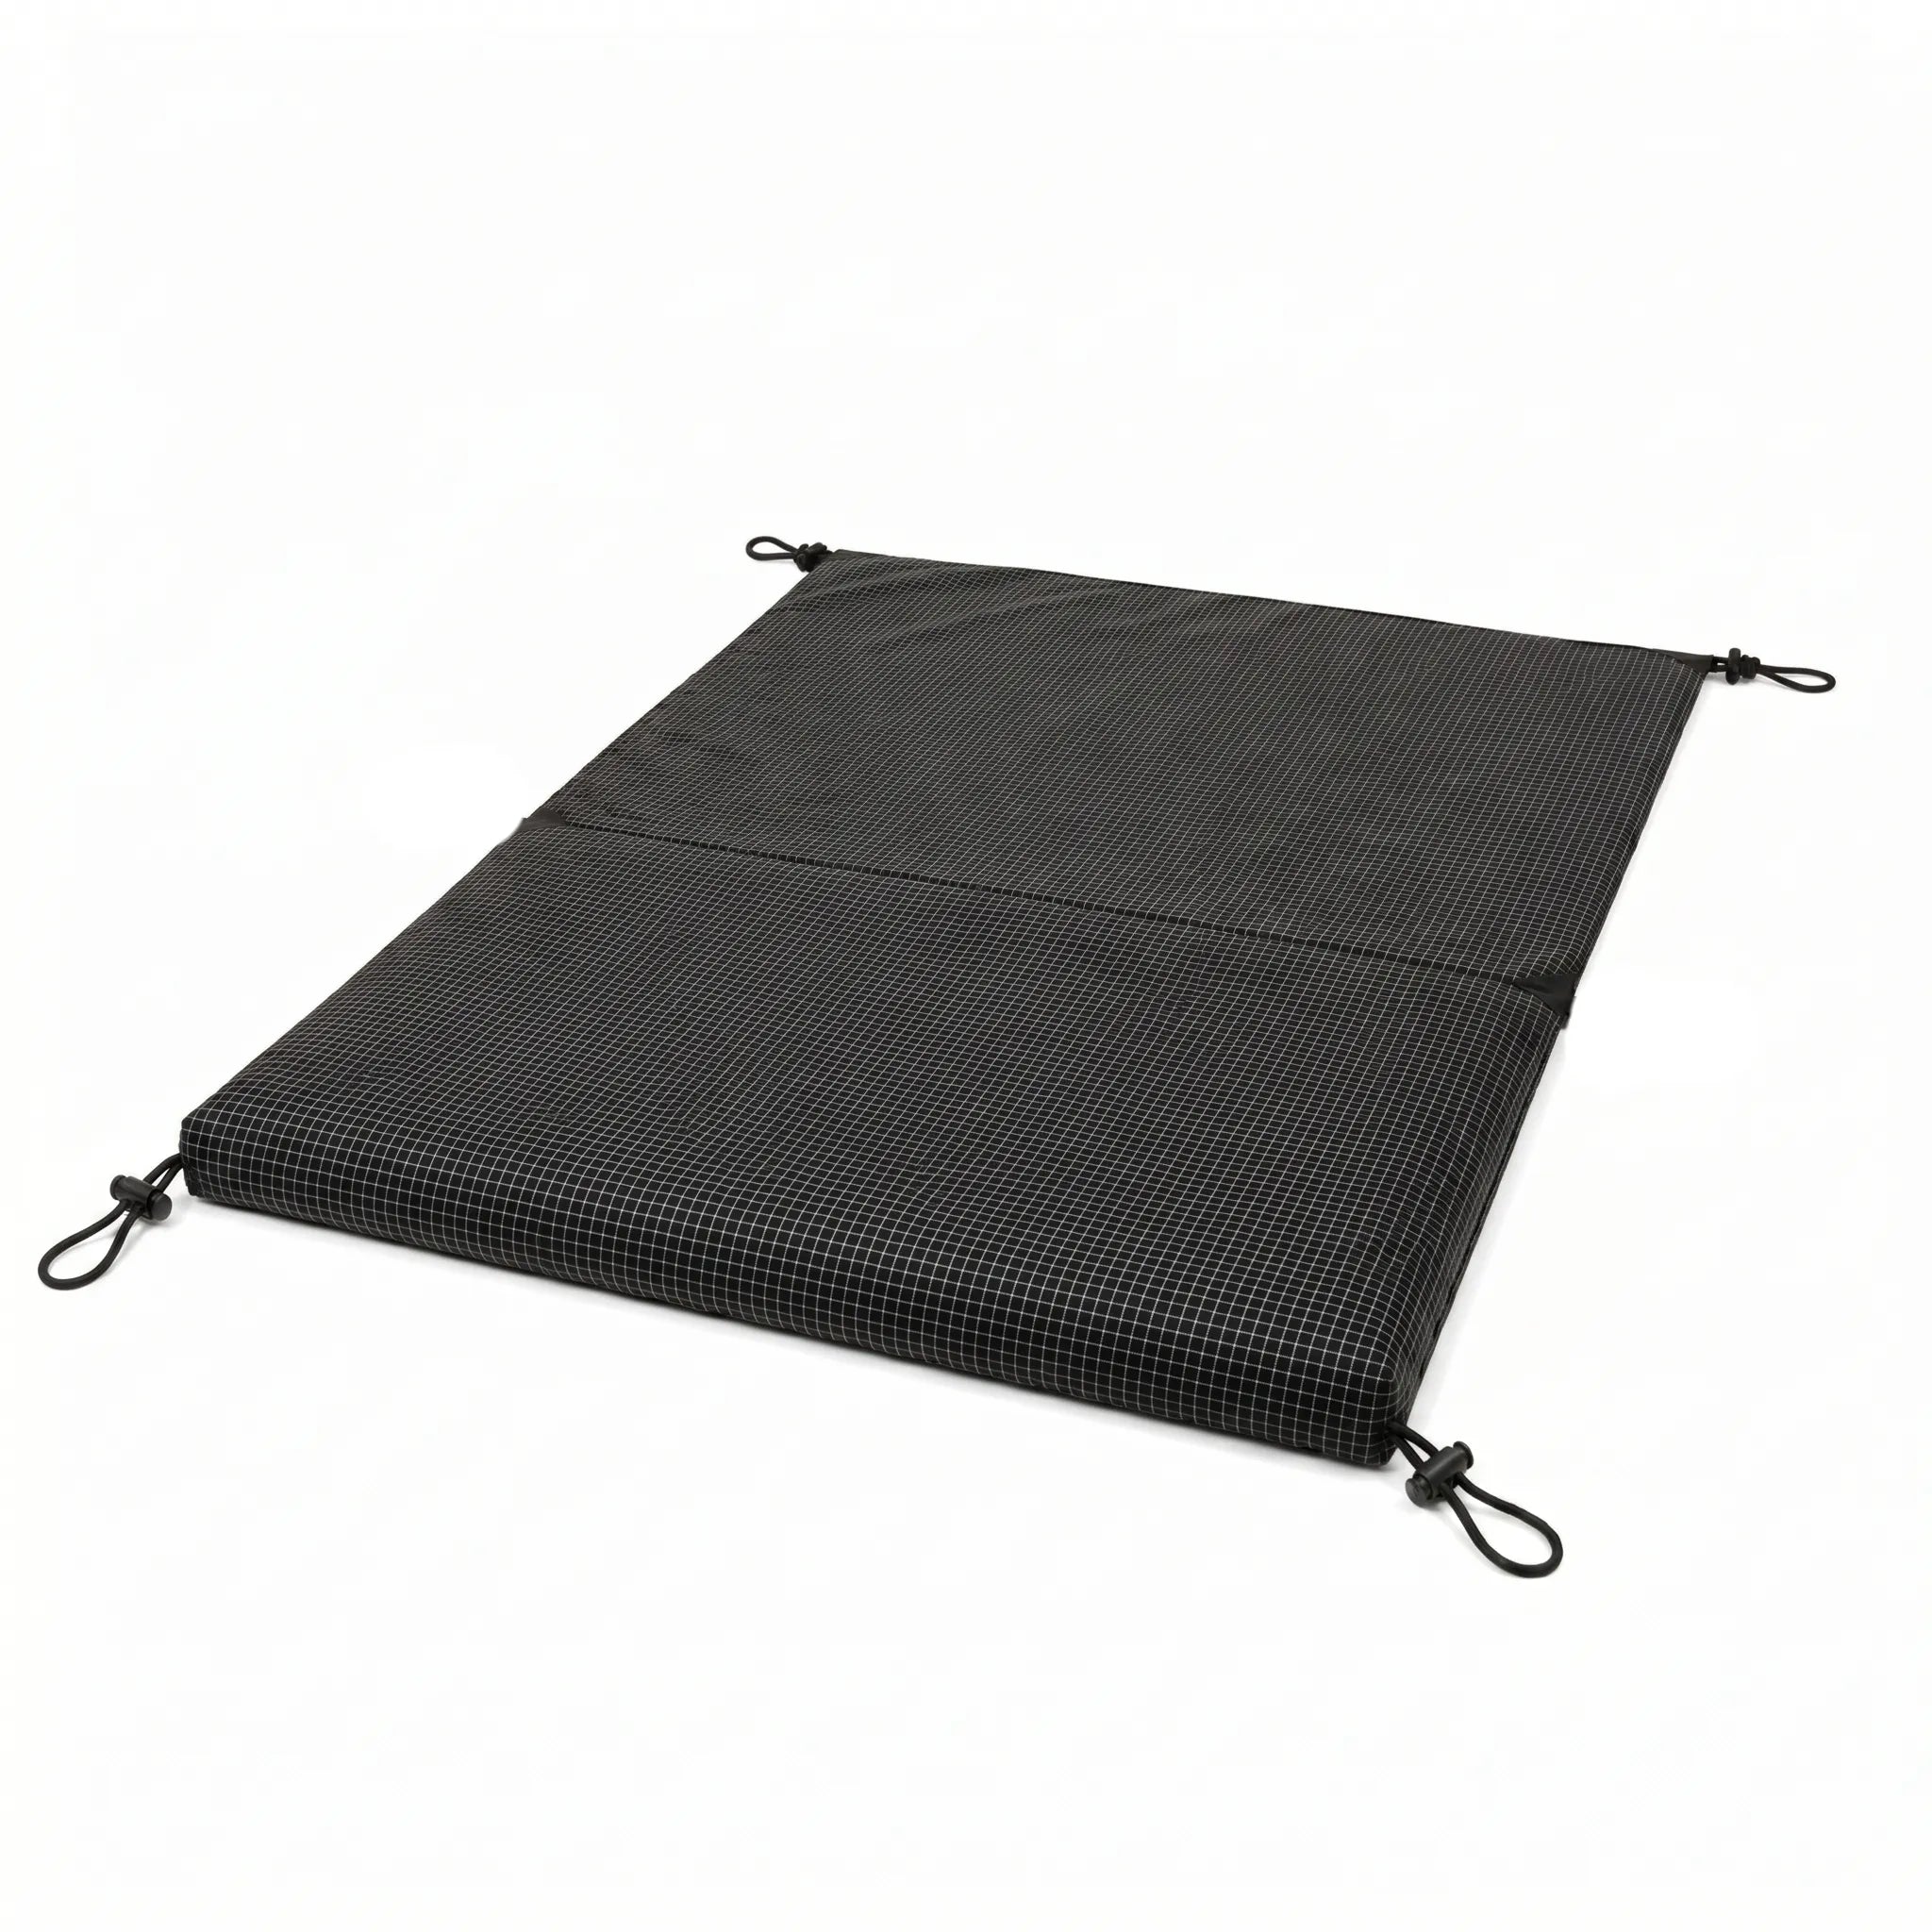
Usa el Huella 14x10 Verde OD cuando quieras una opción de silnylon 20D que pesa entre 53 y 87 g según el tamaño.
Usa el Huella 25x14 verde OD cuando quieres una lona de suelo de silnylon impermeable de 270 g con protección de PU de 4000 mm.
Usa el Huella 25x18 verde OD cuando quieras una opción de nailon 70D más pesada de unos 460 g para terreno húmedo o áspero.

Escenario 1: Sitio de mochilero rocoso con un suelo de tienda de bajo denier
Veredicto: Elige una base ajustada o una esterilla ligera para el suelo.
Esta es la confirmación más clara.
Una tienda de campaña ligera para mochilerismo ahorra onzas al utilizar una tela de suelo más fina.
Eso está bien sobre agujas de pino.
Es menos tolerante con las astillas de granito, la grava triturada, la arenilla del desierto y las plataformas de tienda con raíces.
La huella soporta el raspado en lugar del suelo recubierto.
La contrapartida es el peso.
CleverHiker ofrece un ejemplo útil en el que una huella de 6,9 oz añade más del 15 % al peso empaquetado de una tienda de 2 lb 8 oz.
Eso no significa que la huella sea incorrecta.
Significa que el campamento debe justificar el peso.
Recomiendo una huella ligera cuando se alinean tres factores: suelo fino, terreno irregular y uso repetido.
Un fin de semana difícil puede que no importe.
Veinte fines de semana duros pueden desgastar los revestimientos, las costuras y las esquinas.
Si estás contando las onzas con rigor, los materiales de bricolaje cambian las cuentas.
Tyvek es barato y resistente.
Polycryo es mucho más ligero, pero menos duradero.
La esterilla de suelo de silnylon 20D de Onewind es la opción intermedia más limpia para los excursionistas que quieren un accesorio compacto en lugar de una lámina de ferretería.
Usa el Huella 14x10 Verde OD si la prioridad es un peso reducido del equipaje y una capa impermeable compacta.
No dejes que la huella sobresalga.
Para una lámina de bricolaje, córtela aproximadamente 1 pulgada más corta que el piso de la tienda por todos los lados.
Ese pequeño rebaje es lo que evita que la capa de protección se convierta en una canaleta.

Escenario 2: Área de acampada en coche sobre hierba mojada o grava
Veredicto: Elige una huella impermeable o una lona de suelo más pesada.
El camping en coche cambia la decisión porque las onzas importan menos.
Una capa impermeable más pesada puede mantener más limpio el fondo de la tienda de campaña, reducir la abrasión en superficies de grava y facilitar la limpieza cuando el terreno está embarrado.
El principal riesgo no es que la lluvia atraviese la huella.
El riesgo es que el agua se desplace entre el suelo de la tienda y una capa de tamaño inadecuado.
Por eso la regla de la talla importa más que la clasificación de impermeabilidad.
REI explica que la huella debe ser ligeramente más pequeña que la tienda para que el agua no se acumule entre la tienda y la huella.
Los campistas de Reddit repiten la misma advertencia en un lenguaje más contundente: si puedes ver el borde de la lona después de montar la tienda, has creado un recogedor de agua.
Para la hierba mojada, prefiero tener una capa impermeable 70D correcta que una enorme lona azul doblada con prisas.
El material más pesado no es un problema cuando el coche está a 30 pies de distancia.
La base de la tienda de campaña más limpia vale la pena cuando necesitas recogerla bajo la lluvia.
El Huella 25x18 verde OD se adapta mejor a este trabajo que una sábana ultraligera porque utiliza nailon 70D y un recubrimiento impermeable de PU de 4000 mm.
Esa durabilidad adicional tiene sentido en grava, tierra compacta, campamentos familiares y sitios embarrados de temporada intermedia.
Si estás usando un Tienda para 2 personas o Tienda para 3 personas, elige la capa base según la cobertura y la superficie del campamento, no por la palabra "ultraligero".
La huella adecuada para acampar en coche debe hacer que el montaje sea más limpio, no más complicado.

Escenario 3: Lona utilizada como un sustituto más económico de la base de suelo
Huella de tienda de campaña o lona normal bajo la tienda de campaña
Veredicto: Una lona solo funciona si la tratas como una base cortada a medida.
El error con la lona es común porque la lógica parece obvia.
Más cobertura suena a más protección.
Bajo una tienda de campaña, una mayor cobertura puede ser peor.
Si la lona se extiende más allá del suelo de la tienda, la lluvia puede golpear el borde expuesto y correr por debajo del refugio.
Esa agua puede quedar entre la lona y el suelo de la tienda.
Entonces el campista culpa a la tienda de campaña.
La configuración era el problema.
Si utilizas una lona, dobla cada borde hacia dentro, debajo de la línea de la huella de la tienda.
Mejor aún, córtelo con la forma de la tienda y deje el borde a unas 1 pulgada hacia adentro del suelo.
Eso refleja la regla de bricolaje de CleverHiker y el consejo de la comunidad de Reddit.
Use una lona económica cuando el volumen no sea un problema y el terreno sea lo bastante áspero como para justificar una capa desechable.
Use Tyvek cuando quieras durabilidad económica con menos volumen.
Usa polycryo cuando quieras la lámina de bricolaje más ligera y aceptes una menor resistencia a las perforaciones.
Utiliza una huella a medida cuando quieras el montaje más rápido y la menor probabilidad de error de tamaño.
No recomiendo una lona como huella de mochila predeterminada a menos que esté recortada.
Una lona sin recortar suele ser demasiado grande, demasiado voluminosa y demasiado fácil de montar incorrectamente bajo la lluvia.
Mira una guía paso a paso para hacer la huella tú mismo antes de cortar si nunca lo has hecho.
youtube: https://youtu.be/JzhiuHnENRQ

Escenario 4: tienda de campaña caliente sin suelo o refugio de lona que necesita una esterilla para el área de descanso
Veredicto: Utilice una esterilla para el suelo debajo de la zona de estar o de dormir, no necesariamente una huella completa de la tienda.
Los refugios sin suelo cambian por completo la función.
Ya no estás protegiendo un suelo de tienda cosido.
Estás creando una zona limpia y seca para tu colchoneta, edredón, botas, rutina de cocina o rodillas.
Eso importa para tiendas de campaña con lona, refugios tipi, tiendas calientes y refugios minimalistas.
La huella se convierte en parte del sistema vivo.
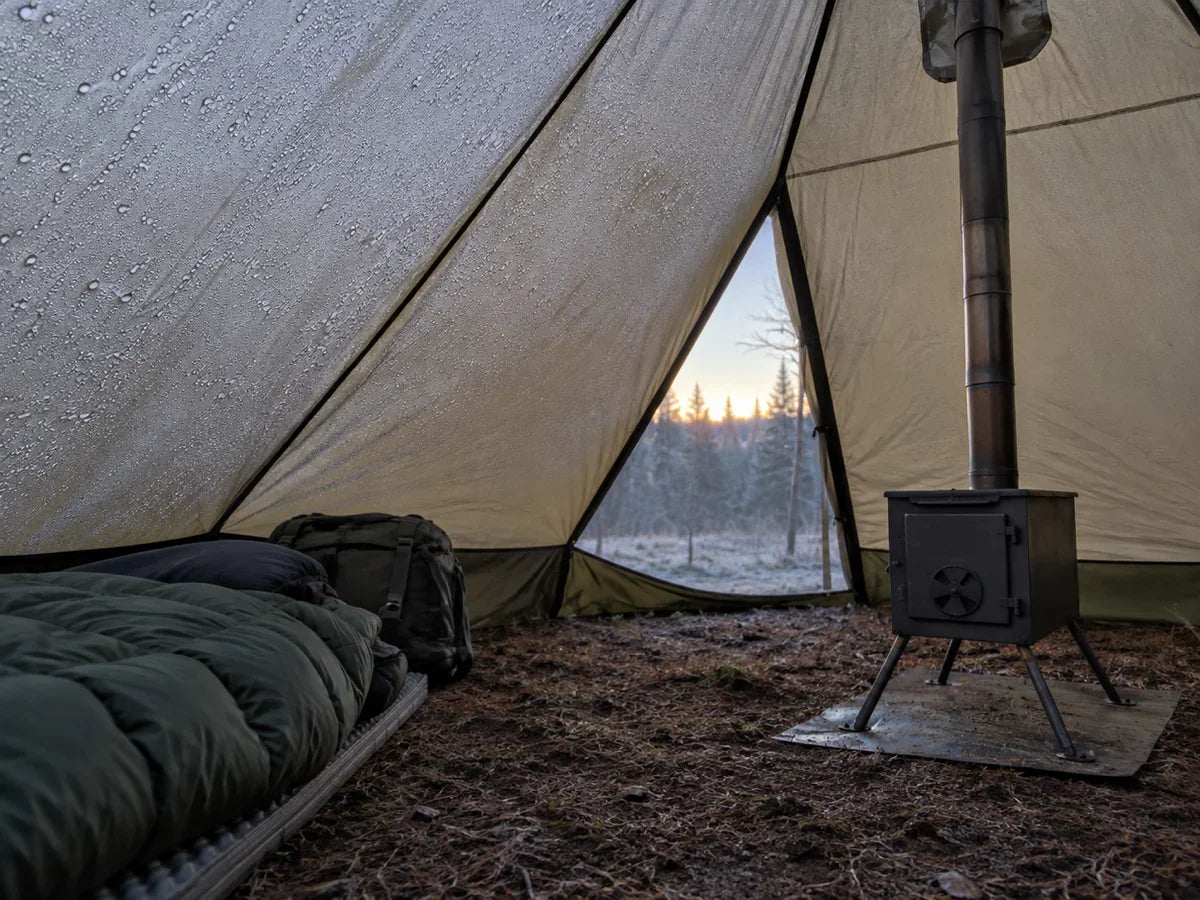
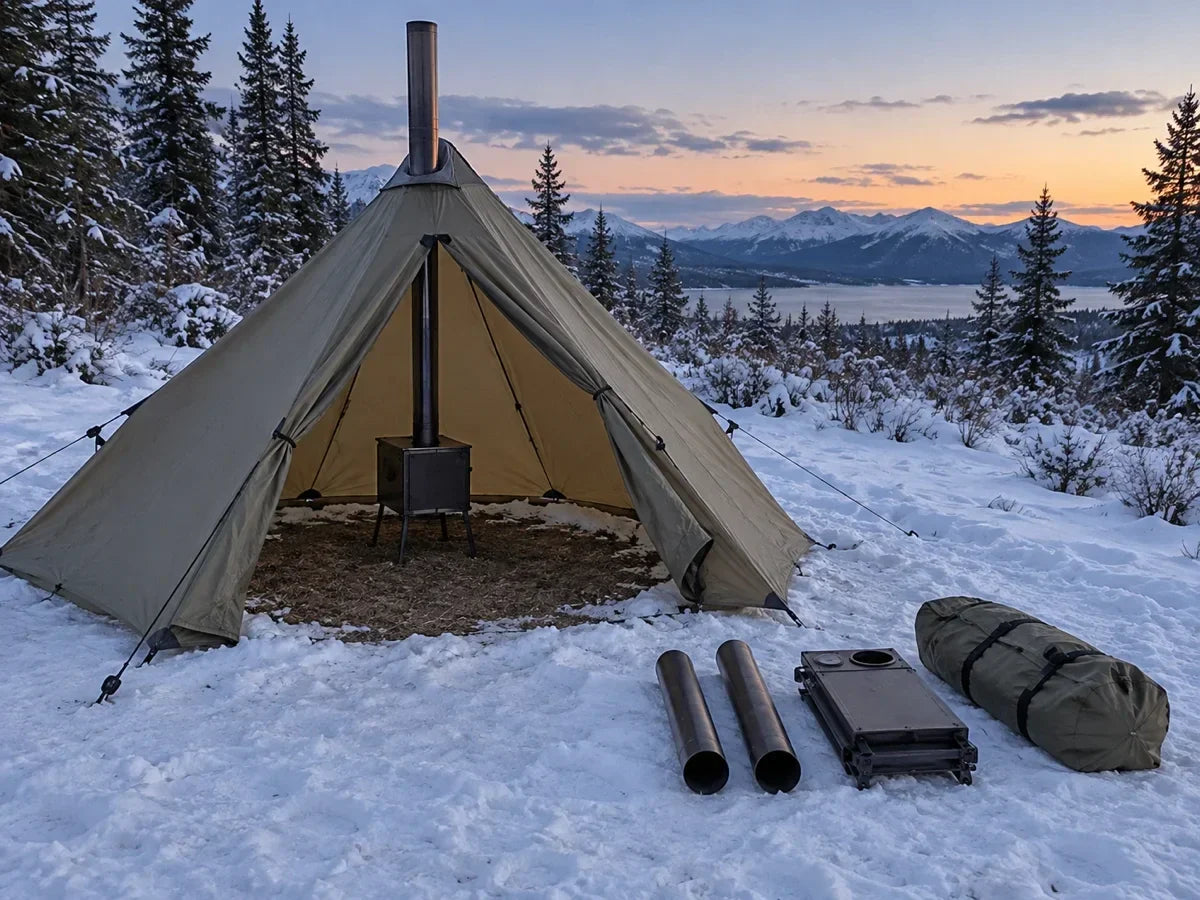
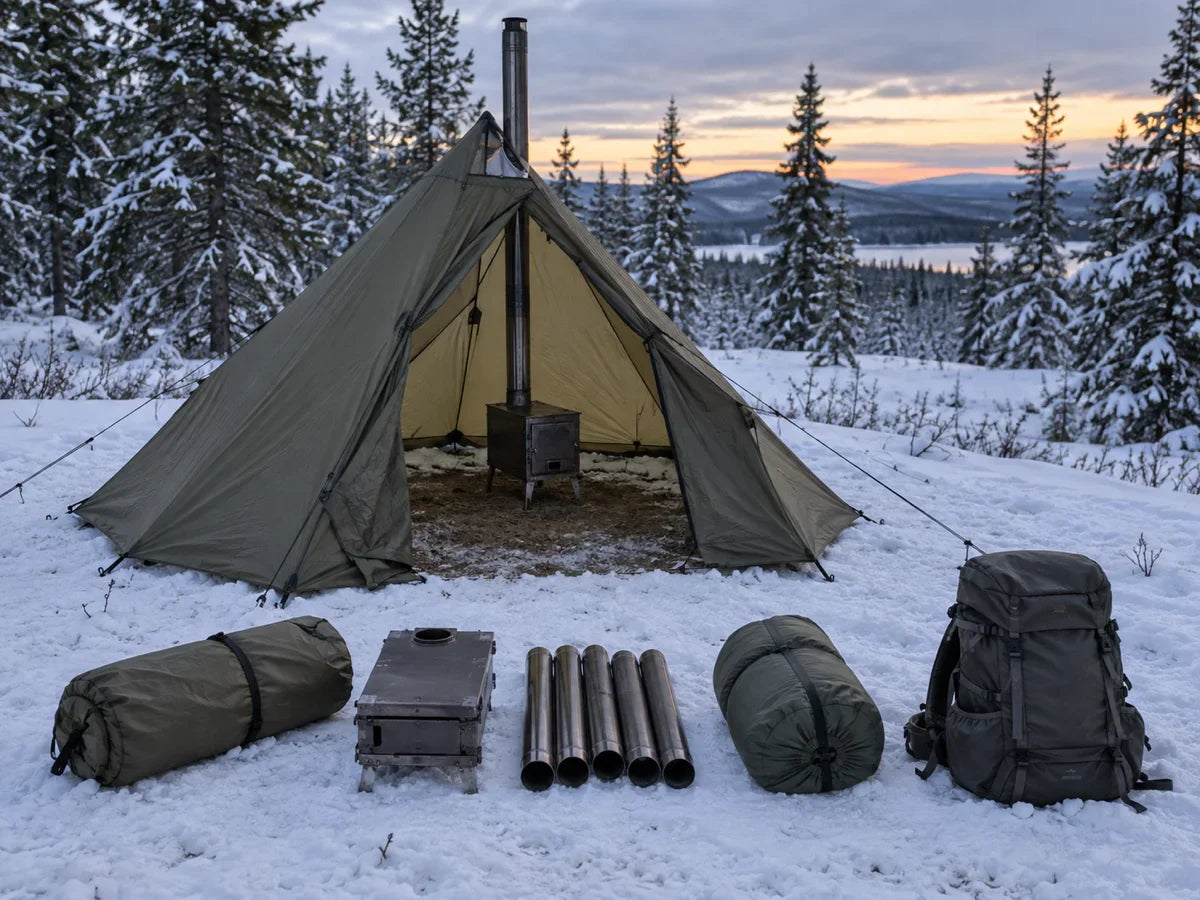
Por ejemplo, el Tienda individual Summit Solo es un refugio sin suelo.
Ese diseño es útil para botas embarradas, nieve y rutinas seguras alrededor de la estufa, pero también significa que tu zona de descanso necesita su propio plan de suelo.
Una sábana de tamaño completo puede no ser necesaria.
Una esterilla de suelo más pequeña debajo del sistema de descanso puede ser suficiente.
La misma lógica se aplica a la Solo Carpa Tarp SkyShade y otros montajes de refugio con lona.
Utiliza la huella donde tu cuerpo y tu equipo tocan el suelo.
Deja la zona de la estufa o de las botas sucias sin cubrir si el refugio está diseñado para ello.
Eso mantiene el sistema flexible.
También evita arrastrar una sábana sucia por cada zona del refugio.
Recomiendo una esterilla de suelo impermeable de 20D o 70D según la superficie.
Elige 20D cuando el objetivo principal sea la ligereza y la facilidad de embalaje.
Elija 70D cuando el objetivo principal sea la resistencia a la abrasión y la gestión del barro.
El Huella 25x14 verde OD es una opción intermedia útil porque es impermeable, compacta y lo bastante grande para una zona de descanso definida.
youtube: https://youtu.be/hFEoZYhD5LM

Escenario 5: Área de botas del vestíbulo donde una alfombrilla pequeña aparte es mejor que un borde de huella expuesto
Veredicto: Utiliza una alfombra separada para el vestíbulo.
No resuelva un problema de arranque dejando que la huella de la tienda sobresalga.
Esa es exactamente la configuración que atrapa la escorrentía.
Un vestíbulo necesita una capa diferente porque tiene una función diferente.
La lona para el suelo de la tienda protege el piso de la tienda.
La alfombra para vestíbulo te proporciona un lugar limpio para zapatos, calcetines, piezas de la estufa o para arrodillarte.
Esos trabajos solo se superponen si el diseño de la tienda incluye un sistema de suelo en el vestíbulo cubierto.
La mayor parte del tiempo, deben estar separados.
Si quieres una zona limpia para las botas, usa un pequeño trozo de lona, una esterilla de suelo compacta o un cojín plegable para sentarte dentro de la huella del vestíbulo.
Mantenlo completamente por debajo de la línea de vuelo.
No lo pases por debajo del suelo de la tienda de campaña ni lo saques más allá del borde.
Ese atajo en la zona de la bota crea la fuga que muchos principiantes intentaban evitar.
La tienda no está fallando.
La capa inferior está recogiendo agua y enviándola debajo del refugio.
Para un refugio como el Tienda tarp ultraligera Blackthorn, separa claramente las zonas de estar.
La zona de descanso recibe la esterilla de suelo.
La zona de la puerta recibe una alfombrilla desmontable más pequeña.
El equipo sucio se mantiene donde la escorrentía no puede arrastrarse hasta la zona de descanso.
Ese sistema es más limpio que una sola sábana extragrande intentando hacerlo todo.

Errores comunes que arruinan los viajes de principiantes
La mayoría de los errores de huella ocurren antes de que se coloque la primera estaca.
Provienen de comprar una capa para el trabajo equivocado, elegir una talla demasiado grande o tratar la tela impermeable como una solución para un mal drenaje en el campamento.
La investigación de REI, CleverHiker y Switchback Travel apunta al mismo patrón: la decisión sobre la lona de suelo cambia cuando cambian la tela del piso, el terreno, el clima y el objetivo de peso de la mochila.
Los comentarios de Reddit añaden la versión para uso en exteriores de ese problema, con campistas divididos entre usar siempre protección y configuraciones que priorizan el peso y omiten la capa adicional.
El patrón es fácil de detectar.
El campista quiere una sola sábana para hacerlo todo.
La mejor opción es asignar a cada capa una función y mantener despejados los caminos del agua.

Error 1: Dejar que la huella sobresalga
Este es el error que convierte la protección en un problema de agua.
El borde de la huella recoge la escorrentía.
La escorrentía pasa por debajo de la tienda.
Entonces el campista se despierta con el suelo mojado y asume que la tienda de campaña tiene una filtración.
La reparación es aburrida pero fiable.
No deberías ver el borde de la huella después de montar la tienda.
Para las láminas de bricolaje, corte o pliegue el material aproximadamente 1 pulgada hacia dentro del suelo de la tienda por cada lado.
Para las huellas ajustadas, alinee las esquinas y verifique que la tela no esté estirada más allá de la línea del avance.
Si la huella es demasiado grande, no la use como una sola lámina plana debajo de la tienda.
Dóblalo hacia abajo, recórtalo o muévelo a otro trabajo.
Eso podría ser una lona independiente para equipo o una esterilla de picnic.

Error 2: Suponer que cada campamento es equivalente
Una decisión de huella cambia con el terreno.
La hierba suave no es grava.
La arena no es granito.
Una plataforma elevada de madera no es césped embarrado.
Una base de tienda con grava suelta puede causar más daños en el suelo que un terreno forestal natural que ha sido despejado.
Antes de lanzar, pasa rápidamente la mano por el suelo.
Busca raíces, piedras afiladas, piñas, ramas rotas, abrojos y tierra arenosa.
Si no te arrodillarías allí con pantalones finos, es posible que el suelo de tu tienda tampoco lo agradezca.
Por eso recomiendo una puntuación de riesgo mínima en lugar de una regla permanente.
Si la superficie es blanda y seca, omite la capa cuando el peso importe.
Si la superficie es abrasiva, use la capa incluso si el pronóstico es seco.
La abrasión no necesita lluvia para dañar los recubrimientos.

Error 3: Tratar la impermeabilización y la abrasión como si fueran el mismo problema
La impermeabilización y la protección contra la abrasión están relacionadas, pero no cumplen la misma función.
Una lámina delgada e impermeable puede bloquear el suelo húmedo y aun así rasgarse con la grava afilada.
Una lona resistente puede soportar la abrasión y aun así formar un charco de agua si es demasiado grande.
Por eso la elección del material debe seguir el problema del campamento.
Para césped mojado, el recubrimiento impermeable importa.
Para terrenos rocosos, la resistencia al desgarro y el denier importan.
Para jornadas largas de mochilero, el peso y el volumen del equipaje importan.
Para refugios sin suelo, la zona de cobertura importa.
La gama de huellas de Onewind muestra claramente la diferencia.
La opción de silnylon 20D se caracteriza por su bajo peso y su tamaño compacto para transportarla.
La opción de nailon 70D ofrece una cobertura impermeable más resistente.
Compara los materiales y pesos de las bases Onewind antes de elegir una: silnylon 20D de 53 a 87 g para la esterilla ultraligera más pequeña, silnylon 20D de 270 g con PU de 4000 mm para una cobertura impermeable más grande, y nailon 70D de 460 g con PU de 4000 mm para terrenos húmedos más ásperos.
Ninguno es "el mejor" en todas las situaciones.
La respuesta correcta es la que resuelve el problema real del campamento con la menor penalización.

Error 4: Comprar equipo de alta gama antes del primer viaje
No compre la huella más cara antes de conocer su patrón de acampada.
Compra para los primeros cinco viajes que realmente harás.
Si esos viajes son campamentos accesibles en coche sobre hierba mojada, una lona impermeable más pesada tiene sentido.
Si esos viajes son rutas cortas de mochilero en verano por terrenos boscosos blandos, la huella puede quedarse sin usar en tu mochila.
Si esos viajes incluyen campamentos dispersos y rocosos, una capa inferior ajustada o cortada a medida es un seguro barato.
Empezaría con la capa más pequeña y fiable que se ajuste a tu refugio.
Para una primera instalación en suelo de Onewind, el Huella de tienda Onewind es la opción dedicada sencilla.
También puedes explorar equipo de camping si estás montando la configuración completa para principiantes con las mismas condiciones de viaje.
Si desea una capa multifunción que también pueda funcionar como parasol, cubierta para la lluvia o esterilla para sentarse, eche un vistazo a la más grande Huella 25x14 verde OD.
Si ya tienes una lona, practica cómo doblarla debajo de la tienda antes del viaje.
La práctica importa más que la etiqueta del producto.

Error 5: Ignorar los cambios meteorológicos el día de llegada
Una huella puede ayudar en suelo húmedo, pero no puede arreglar un mal drenaje.
Si montas la tienda en una zona baja, el agua puede correr por debajo de todo el sistema de refugio.
Si llegas tarde y omites la selección del sitio, es posible que no notes el canal poco profundo hasta que empiece a llover.
Por eso la instalación de la huella comienza antes de que la lona toque el suelo.
Elige un lugar ligeramente elevado.
Evite las líneas secas de arroyo, las depresiones compactadas y los lugares donde se hayan acumulado hojas o agujas de pino en una vía de agua.
Elimine residuos afilados sin raspar el sitio hasta dejarlo desnudo.
Extiende la huella en una superficie plana.
Coloca la tienda de campaña sobre ello.
Comprueba que cada borde de la huella permanezca oculto.
Si el tiempo cambia rápidamente, esta secuencia sigue siendo más rápida que secar por la mañana el suelo de una tienda empapado.
Para refugios que se montan con lonas o bastones de trekking, practica el montaje una vez con luz natural.
El Interior de la tienda 01 y otras piezas modulares de refugio funcionan mejor cuando el suelo, la protección contra insectos y la capa de protección contra el clima se planifican como un sistema.

La lista de verificación para una decisión rápida
Utilice esta lista de verificación antes de empacar.
Es intencionalmente directo porque «depende» no ayuda a las 9 p. m. en un campamento embarrado.
Recomiendo una revisión final a mano.
Levante la tela del piso de la tienda con una mano y la capa inferior con la otra.
Pregunta cuál preferirías desgastar, ensuciar con barro o enjuagar después del viaje.
Si la respuesta es la capa del suelo, empaqueta la huella.
Si la respuesta es «ninguno de los dos, porque el terreno es blando y seco», déjalo en casa.
Esa es toda la decisión.


Shop the recommended setup
Shop Now →