
Three observations are more useful than one guess when water appears inside a tent: when it started, where the first damp spot appeared, and whether it spread across a surface, followed a narrow path, or arrived over the ground.
A wet shelter is not automatically a leaking shelter, and rain does not rule out condensation.

Tent makers describe condensation as an ordinary moisture problem that can remain even when campers improve airflow, while the CDC warns that opening a tent does not make fuel-burning equipment safe from carbon monoxide buildup.
That means the first move is diagnosis, not seam sealer, a new ground layer, or a flame used to warm the fabric.
What You'll Learn in This Guide
- ✓ How to use timing, first wet location, and water pattern as a three-clue diagnostic.
- ✓ How broad droplets differ from a repeatable seam drip without treating either clue as proof.
- ✓ How a floorless shelter can take water from damp soil, downhill runoff, or perimeter pooling.
- ✓ What to do when a wet outer wall, tarp, or piece of gear touches the shelter surface.
- ✓ Which six common reactions can waste time or create a safety problem.
This is a field-side reasoning guide, not a waterproof test or a guarantee that one cause explains every wet patch.
Quick Answer
If droplets appear broadly across a cool roof or upper wall after a rain-free, humid night, condensation is the leading explanation.
If a drip repeatedly begins at one seam, vent edge, hole, or windward panel while rain is falling, inspect that localized entry path after the shelter is dry.
If water moves over soil into a floorless shelter or pools around its perimeter, address site drainage and runoff before treating the roof as the source.
If the wet patch matches a place where damp outer fabric or gear touched the inside, separate the surfaces and observe whether the spot returns.
If rain and condensation happen together, I would record both rather than force a single diagnosis.
Those are working diagnoses, not laboratory results.
I would start with the first three observations, then choose the lowest-risk check that matches the pattern.
Start With Three Clues, Not a Single Guess
Write down the weather sequence before you wipe the shelter dry.
Record whether the first wetness showed up before rain, during rain, or only after the air and fabric cooled.
That sequence changes the odds, but it does not prove the source by itself.
Then locate the first damp point rather than the largest puddle.
A puddle may have formed after water ran downhill across the ground, dripped from a roof point, or collected after many droplets fell from a larger area.
Finally, map the shape of the wetness.
A broad field of fine droplets across a cool canopy differs from one repeatable bead under a seam, but a wet pack pressing against the wall can also create a very local patch.
Use a phone note or a quick hand-drawn outline if the shelter is still set up, so the user's time-and-location record survives after the water is wiped away.
Mark the spot before wiping it, because drying the evidence too early can erase the difference between the origin and the place where water collected.
If the shelter is in an unsafe location, move to safety first and document it later.
A diagnostic checklist never outranks weather, terrain, or personal safety.
Read the Water Pattern Without Overclaiming
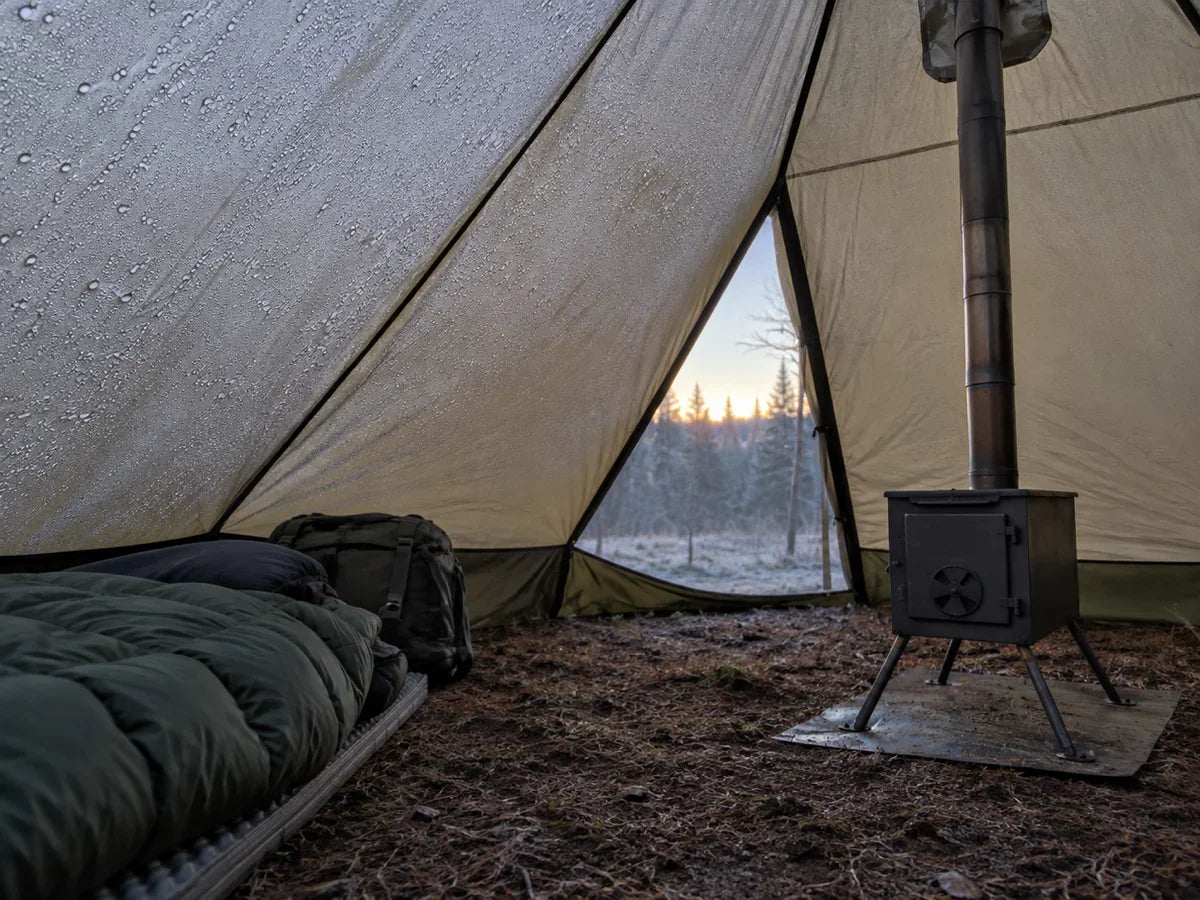
Condensation forms when water vapor in the shelter air reaches a surface cool enough for moisture to collect.
NEMO's explanation identifies breathing, perspiration, damp clothing, and ground moisture among possible moisture sources, and explains why cool, humid, still conditions can make the problem more noticeable.
A single-wall shelter puts the inner surface and weather-facing fabric in the same layer, so droplets may be visible directly on that panel rather than on a separate inner tent.
That makes touch and timing useful clues, but it also means that condensation and incoming rain can share a surface.
Broad droplets are a useful clue, not a diagnosis certificate.
A larger tear or failed panel could wet a wide area, and rain can also strike a surface already collecting condensation.
Likewise, a localized patch does not automatically prove a hole if a wet fly, tarp, sleeping bag, or pack touches that spot.
The strongest practical signal is a pattern that repeats under a matching condition, such as the same drip point during rain after contact and runoff have been ruled out.
Scenario 1: Cool, Humid, Still Night With No Rain
Suppose you wake to droplets spread across the roof and upper wall, but there was no rain overnight.
Condensation should be the leading explanation, especially if several occupants, damp clothing, or a humid site added moisture while the canopy cooled.
NEMO explains that a cool, humid, still environment can favor condensation, and Big Agnes describes it as a normal tent-care issue rather than automatic evidence of a leak.
Verdict: I would treat broad wetness without rain as likely condensation first, while keeping any repeatable localized point on a separate inspection list.
Open available vents or create crossflow only when doing so is compatible with current weather and the shelter maker's instructions.
Airflow can reduce moisture buildup, but it cannot promise that every panel will remain dry.
Wipe droplets away with a suitable absorbent cloth if needed, then keep the cloth and wet clothing from spreading water onto insulation or bedding. Keeping that insulation dry is a separate problem from this one, and the winter hammock camping guide covers the sleep-side decisions rather than the shelter-side moisture.
Do not interpret the dry appearance after wiping as proof that the moisture source has stopped.
Scenario 2: Rain Starts and One Point Keeps Dripping
Now suppose the interior was dry before a storm, then water repeatedly appears at one seam, hole, vent edge, or windward impact point after rain begins.
That pattern raises the likelihood of a localized rain-entry path, particularly if the drip returns at the same place after you blot it.
It still does not tell you whether the source is a damaged panel, a seam, a vent configuration, or water redirected by contact with another surface.
Verdict: I would inspect the repeatable rain-linked location first, once the fabric is dry, and follow the shelter maker's repair instructions.
Do not use a pressure washer, aggressive spray, or a guessed seam treatment to produce a faster answer.
An overly forceful water test can create conditions unlike normal rain, and an incompatible cleaner or sealant can damage materials or complicate warranty support.
If the same path repeats, photograph the exterior and interior location together and contact the manufacturer when the repair method is unclear.
A broad wet interior elsewhere may still be condensation at the same time.
Scenario 3: Floorless Shelter on Saturated or Low Ground
Ep 9 - Dealing with Tent Condensation

A floorless shelter has no bathtub floor to separate the living area from the soil, so water moving across the ground deserves its own branch in the diagnosis.
If the first wetness appears at the perimeter, follows the slope, or forms a shallow path from outside to inside, runoff or pooling is more plausible than a roof leak.
Big Agnes cautions campers to avoid low areas where water collects, but no shelter fabric can correct a site that channels water through the sleeping area.
Verdict: I would prioritize a better-drained site and document the ground path before considering roof repairs.
Avoid depressions and obvious water channels when selecting a site, while also accounting for exposure, wind, and local camping rules.
A ground layer may help define or protect a sleeping area, but it does not remove condensation from the canopy or redirect water flowing across the site.
This article is not deciding whether a footprint is a worthwhile purchase, because that is a separate choice from identifying where this water came from.
If runoff and roof droplets appear together, treat them as two observations with two possible remedies.
Scenario 4: Wet Outer Fabric or Gear Touches the Inner Wall

A localized wet patch can come from two surfaces touching, not only from a damaged shelter panel.
That contact may involve a wet fly or tarp touching the interior wall, or a damp pack, sleeping bag, jacket, or towel pressed against it.
The clue is spatial: the wet area often matches the contact zone, although that match is not proof because water can also travel along fabric before dripping.
Verdict: I would separate wet surfaces before declaring a fabric failure, then watch whether moisture returns at the same fixed point.
A taut pitch can reduce unintended panel contact and support water shedding, but it cannot compensate for every shelter design, weather angle, or site.
Do not pull beyond the manufacturer's intended tension points or assume that a different pitch makes the shelter waterproof.
If the wall remains wet after the contact source is moved, return to timing and pattern rather than deciding that the first theory was correct.
Contact transfer and condensation can also coexist when the shelter air remains humid.
Scenario 5: Moisture Appears After the Shelter Cools
Sometimes a shelter looks dry during the evening, then feels damp after the air cools or near morning.
That sequence can fit condensation because water vapor may collect as the shelter surface cools, but it is not a reason to use a flame or heater as an experiment.
The CDC reports that opening tent flaps, doors, or windows is insufficient to prevent carbon-monoxide buildup from fuel-burning equipment.
Verdict: use timing to decide what to inspect, not to justify running unverified combustion equipment inside or near a shelter.
If a carbon-monoxide alarm sounds, or anyone has symptoms consistent with CO exposure while fuel-burning equipment is operating, get everyone outside to fresh air immediately, call emergency services, and do not re-enter until responders say it is safe.
Before sleep, shut down and extinguish the stove exactly as its instructions require. Never leave it burning unattended or while anyone is asleep.
A CO alarm and ventilation are not permission to operate an otherwise unapproved setup; a flame also presents fire and burn hazards.
CPSC's equipment-specific condition is narrow: the particular device must be designed for enclosed-space use and its own instructions must explicitly allow it. Follow both stove and shelter instructions for the exact installation, operation, clearances, and shutdown; do not infer permission from a stove jack or open vent.
That narrow condition is not blanket approval for every hot tent, heater, stove, or wood-burning setup.
Six Mistakes That Make Tent Water Harder to Diagnose
A rushed fix can erase the clue that would have identified the water source.
These six reactions are common because they are simple, but each can point attention at the wrong part of the system.
Mistake 1 is especially costly during a storm because a camper may close vents to keep rain out, even when the main interior wetness came from humid air.
The correction is not “always open everything,” because the right vent position depends on weather and the shelter's intended setup.
Mistake 2 reverses the same logic by ignoring a broad but repeatable rain-linked path through a panel.
The distribution clue matters only when paired with timing, contact, and a careful look at the exterior.
Mistake 3 can turn a simple observation into a debate about where the water started.
Marking first gives a future inspection a location to revisit rather than a vague memory of “the floor was wet.”
Mistakes 4 and 5 are different versions of buying a fix before diagnosing the mechanism.
Sealant cannot fix runoff, and a ground layer cannot repair a seam.
Mistake 6 is not just an unreliable condensation test: fuel-burning devices add carbon-monoxide, fire, and burn hazards, and ventilation cannot make an unapproved setup safe.
Choose the Lowest-Risk Check in the Right Order

Once the pattern is recorded, choose checks that do not alter the evidence more than necessary.
The order below starts with the site and physical contact, then moves toward ventilation and a dry-fabric inspection.
It is a troubleshooting order, not a promise that every shelter can be made dry in every weather condition.
First, handle immediate site water and move to a safer location if conditions demand it.
Second, separate obvious contact points where it is practical to do so.
Third, use the shelter's intended ventilation options when weather permits, remembering that airflow may reduce moisture but cannot eliminate all condensation.
Fourth, isolate wet clothing and equipment from bedding and the canopy instead of allowing one wet item to create several misleading patches.
Only after those observations should you inspect a repeatable suspected leak while the tent is dry.
If evidence remains mixed, keep the diagnosis open and repeat observations on another normal-use occasion rather than forcing certainty from one night.
What Manufacturer Guidance and Product Specs Can Establish
Manufacturer care pages are useful for explaining moisture sources and practical prevention, but they are not controlled tests of your particular shelter.
Big Agnes recommends attention to ventilation, a taut pitch, wet gear, drainage, and drying, while NEMO discusses dew point and the limits of airflow in single-wall shelters.
Neither source says that venting guarantees a dry tent or that condensation explains every drop.
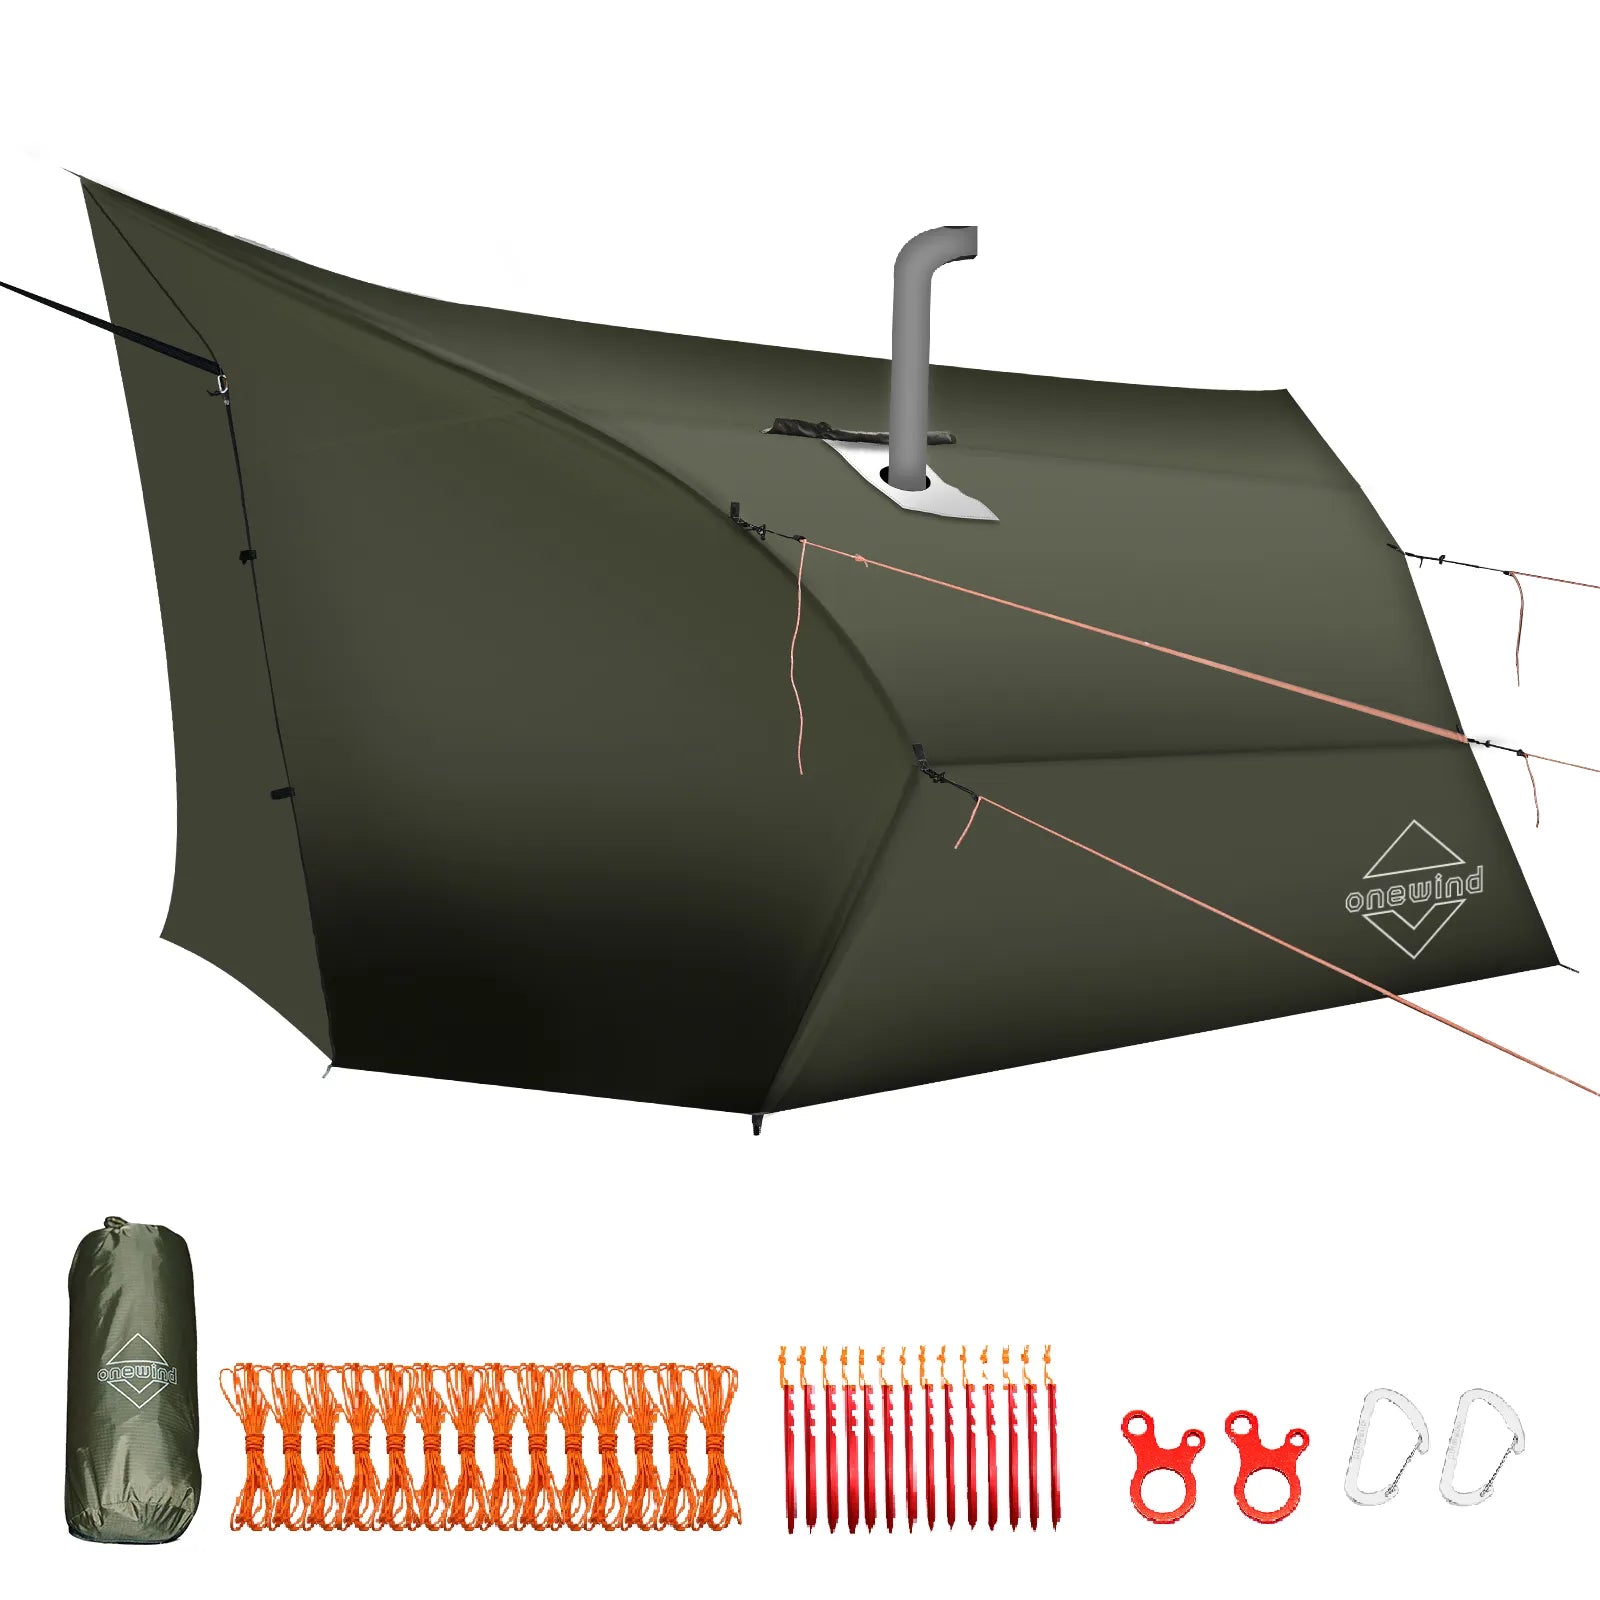
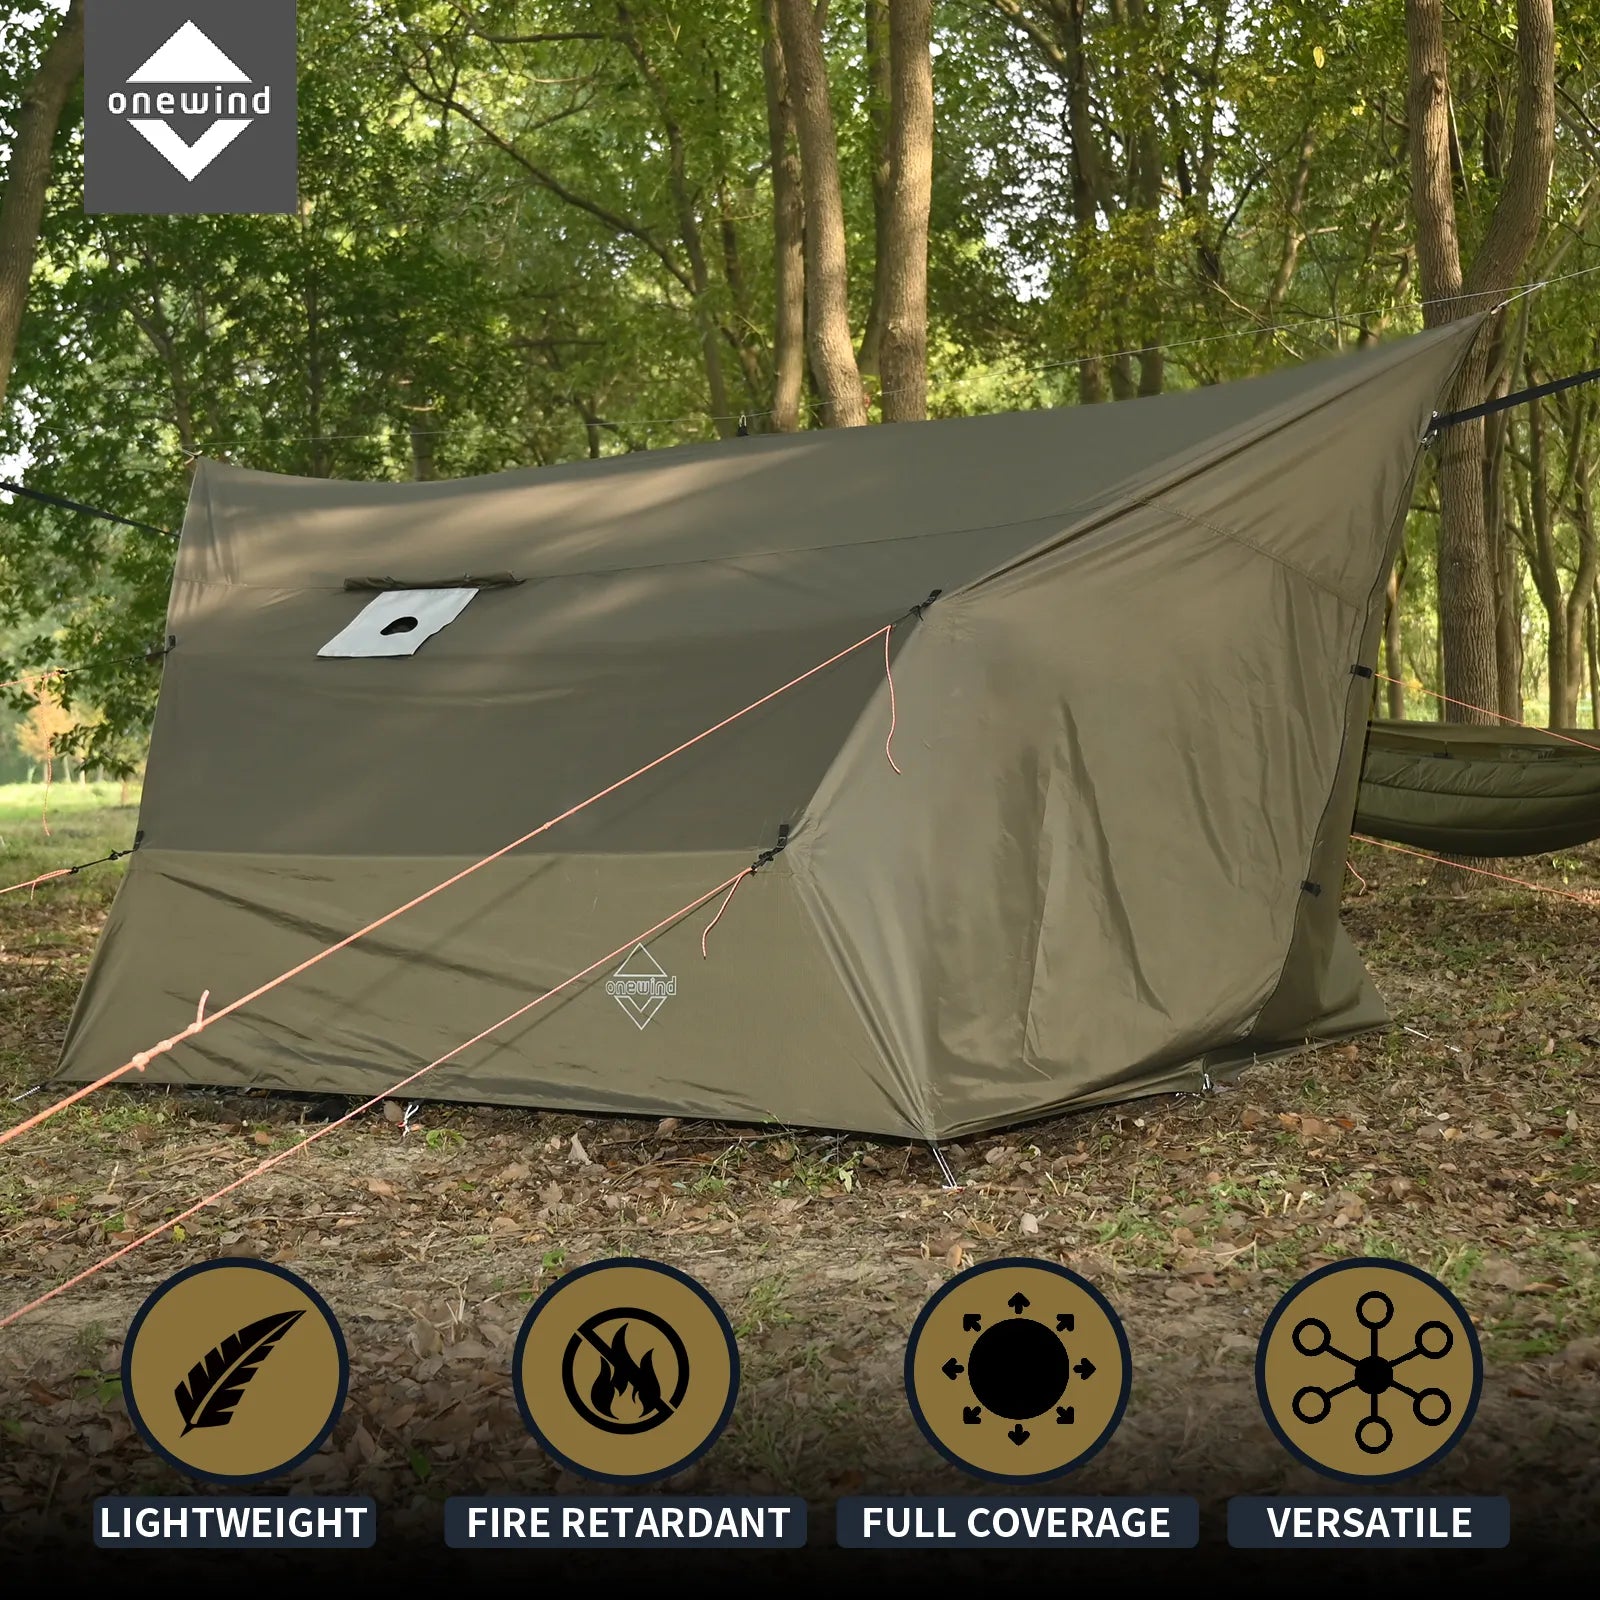
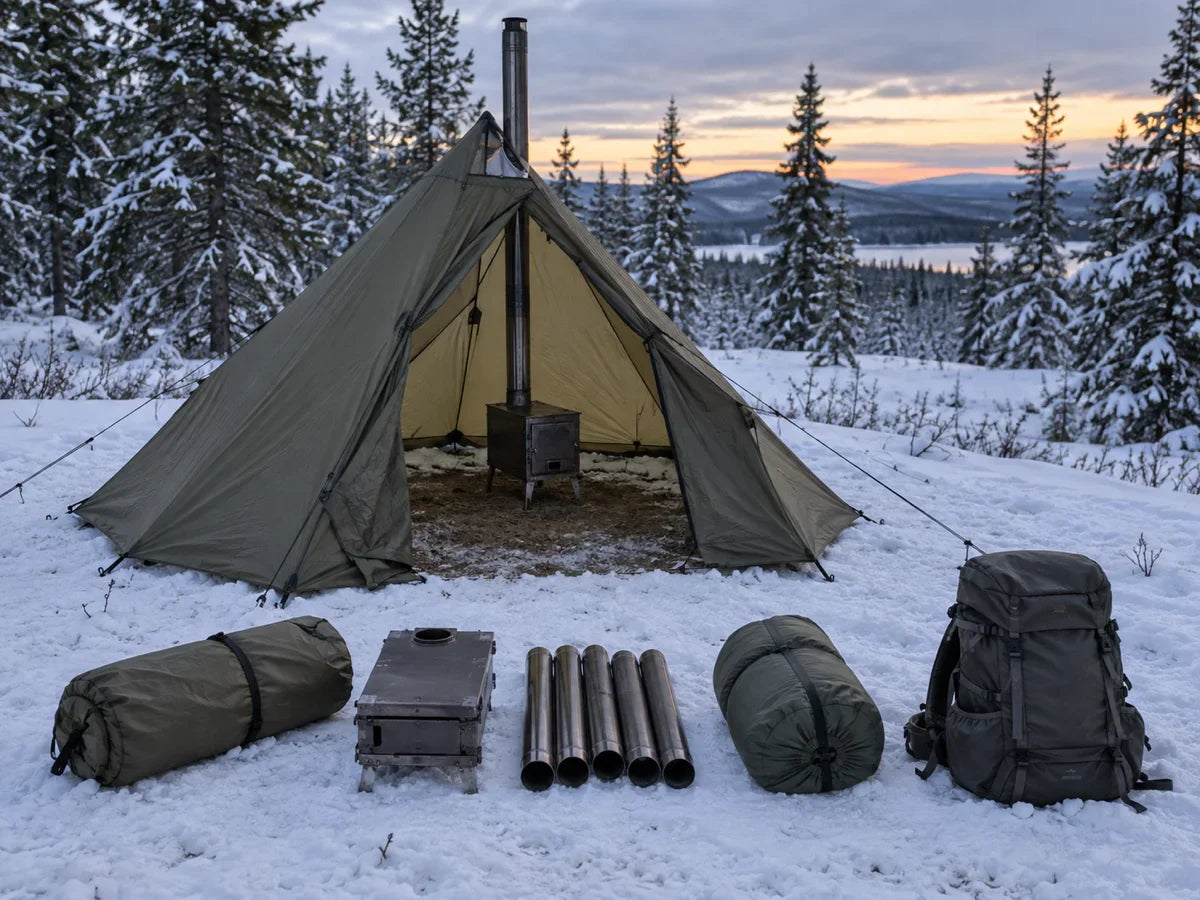
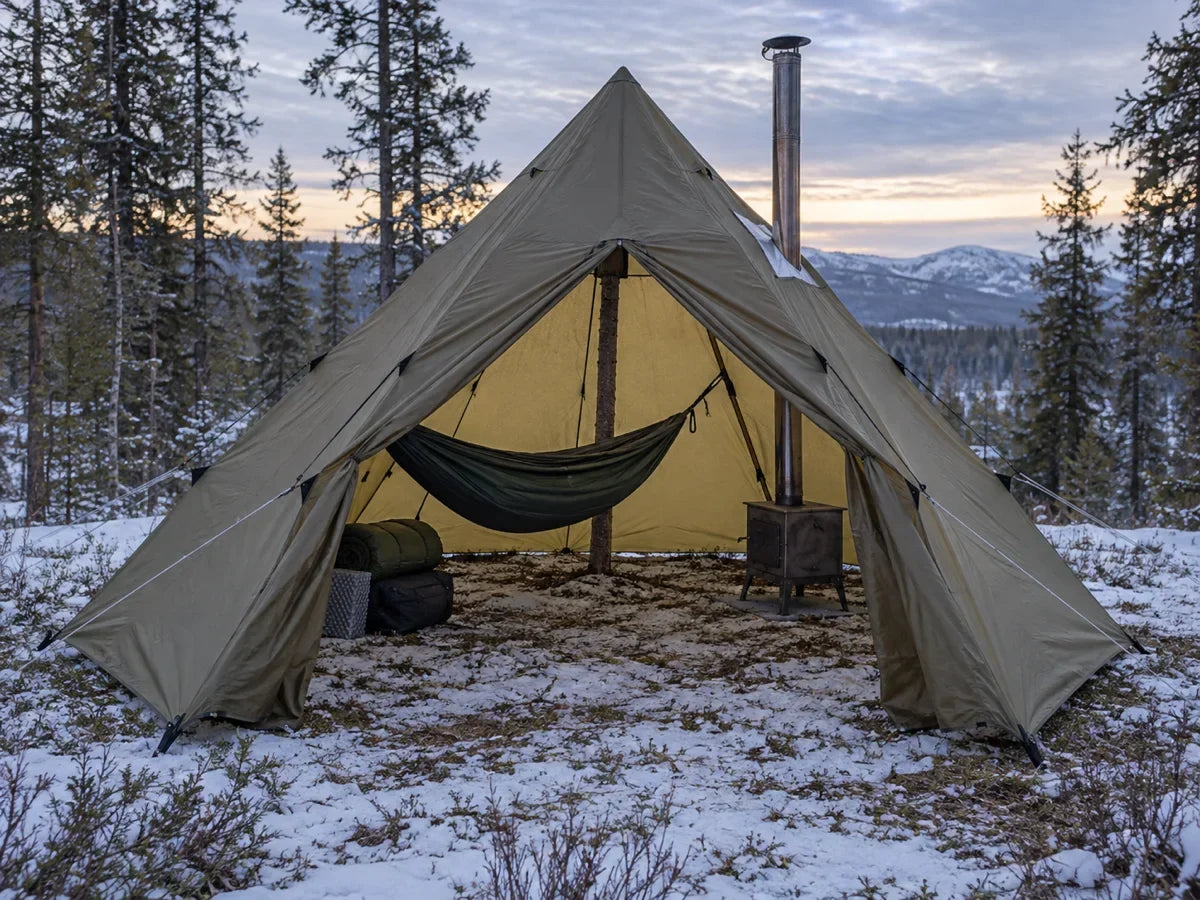
Product data from the Penumbra hot tent tarp page list an 18 m² / 190 sq. ft. floorless layout and mesh vent windows.
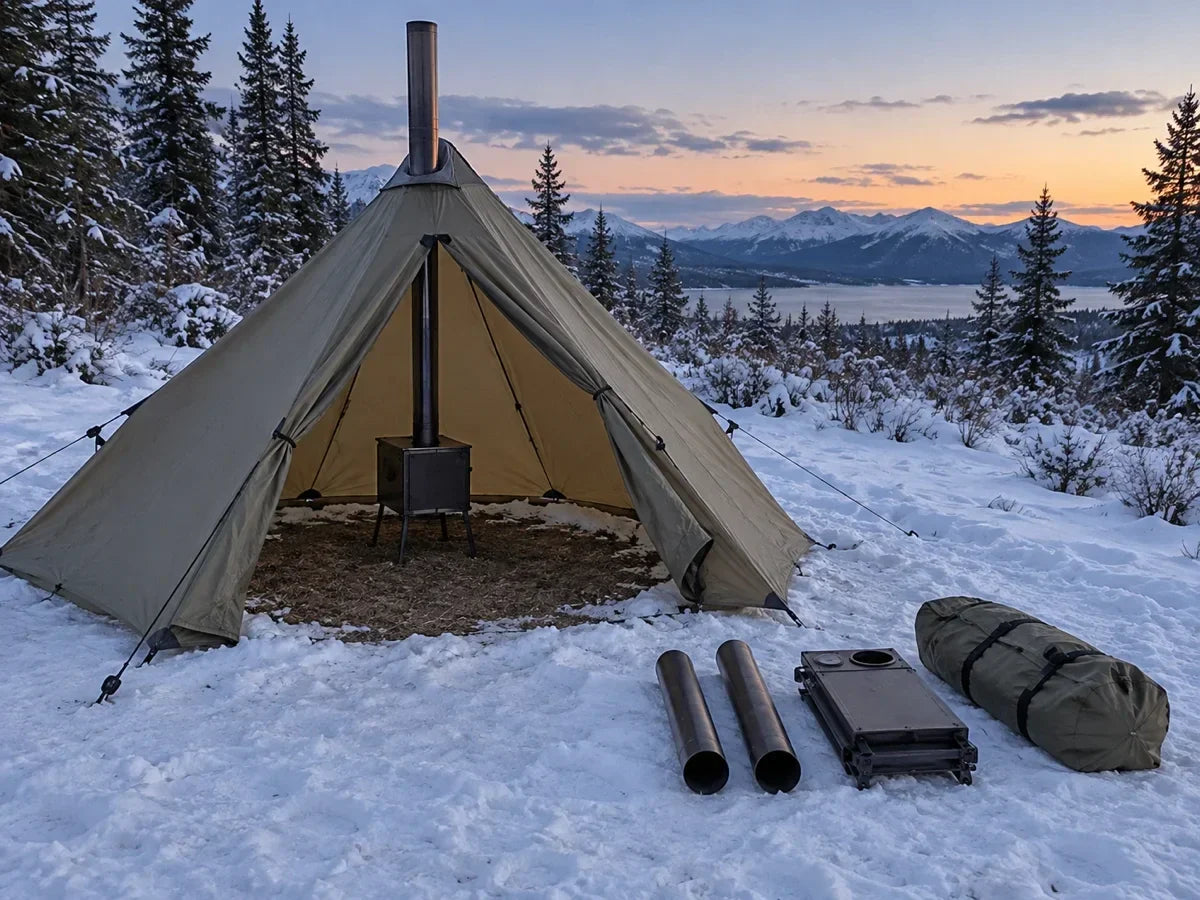
The Summit Solo teepee hot tent page lists a floorless configuration and two upper vents.
Those are configuration facts, not independent test results for condensation, waterproofing, or carbon-monoxide safety.
Verify the current model and instructions before relying on any listed configuration, because product pages and equipment can change.
This guide does not infer stove compatibility, safe distances, or a safe burn time from a vent count or a stove jack.
The diagnosis remains the same regardless of brand: observe timing, first location, pattern, contact, and ground movement.
Two Video Explainers for General Condensation Context
MSR Tents: How to prevent tent condensation
These videos cover condensation prevention or management, not a confirmed diagnosis of a specific leak.
Their titles and topics offer general background only, not evidence about the source of water in your shelter or the safety of a particular stove setup.
A prevention video can help explain moisture and airflow, but your weather sequence and shelter pattern still decide which check to make first.
The links are included as optional context rather than evidence that either presenter inspected your tent or tested the product configurations discussed above.
Final Verdict
If water appears broadly on a cool shelter surface without rain, start with condensation and moisture sources.
If a localized drip repeats at the same place during rain, inspect that route when the shelter is dry and follow the maker's repair guidance.
If water enters over the soil or gathers at the perimeter of a floorless shelter, diagnose runoff and drainage before changing the roof.
If wet gear or outer fabric touches the inside, separate the surfaces and see whether the same patch returns.
The key is to inspect the source before buying a repair or changing the shelter configuration.
Ventilation, a dry pitch, and moisture management can help, but none guarantees a dry shelter, and none makes fuel-burning equipment safe by itself.
For a floorless hot tent, include the ground in every diagnosis, and treat carbon-monoxide guidance as a separate safety issue rather than a condensation technique.
If you are comparing floorless shelters while you work out where your water comes from, start from the Onewind tent collection.

Compare floorless hot-tent configurations
Shop Now →