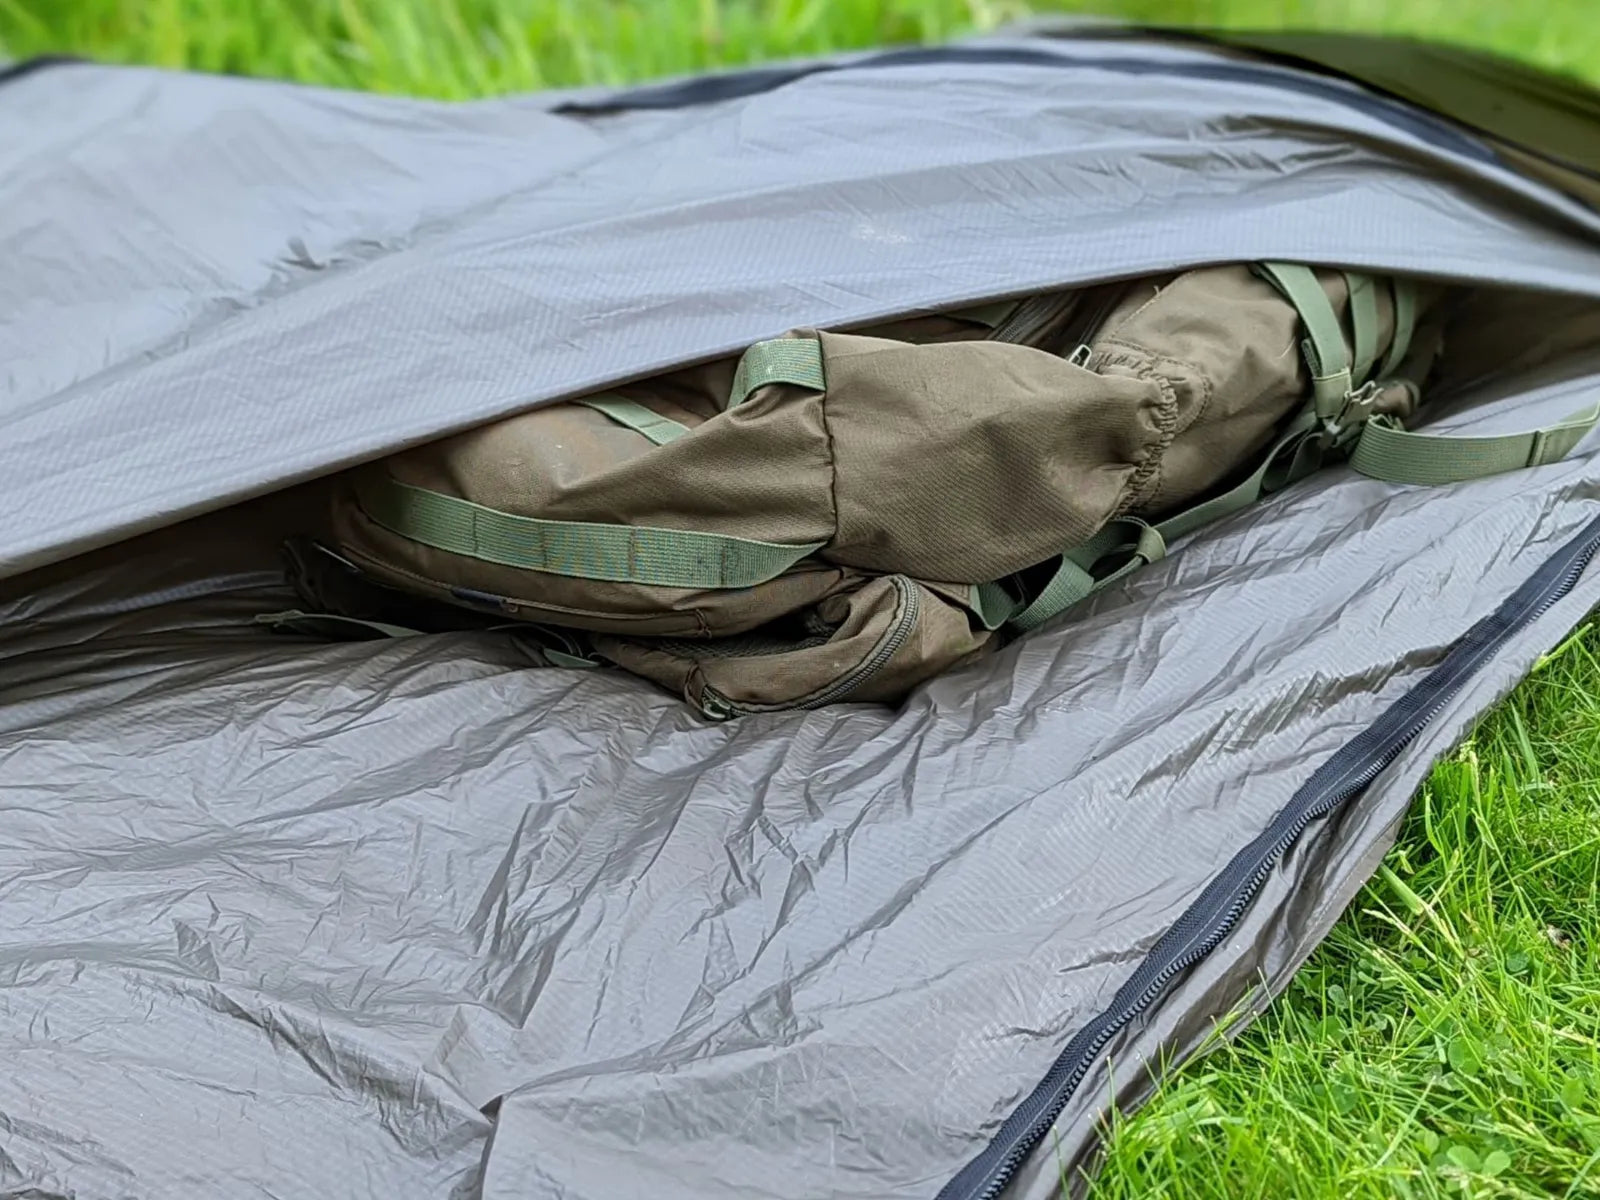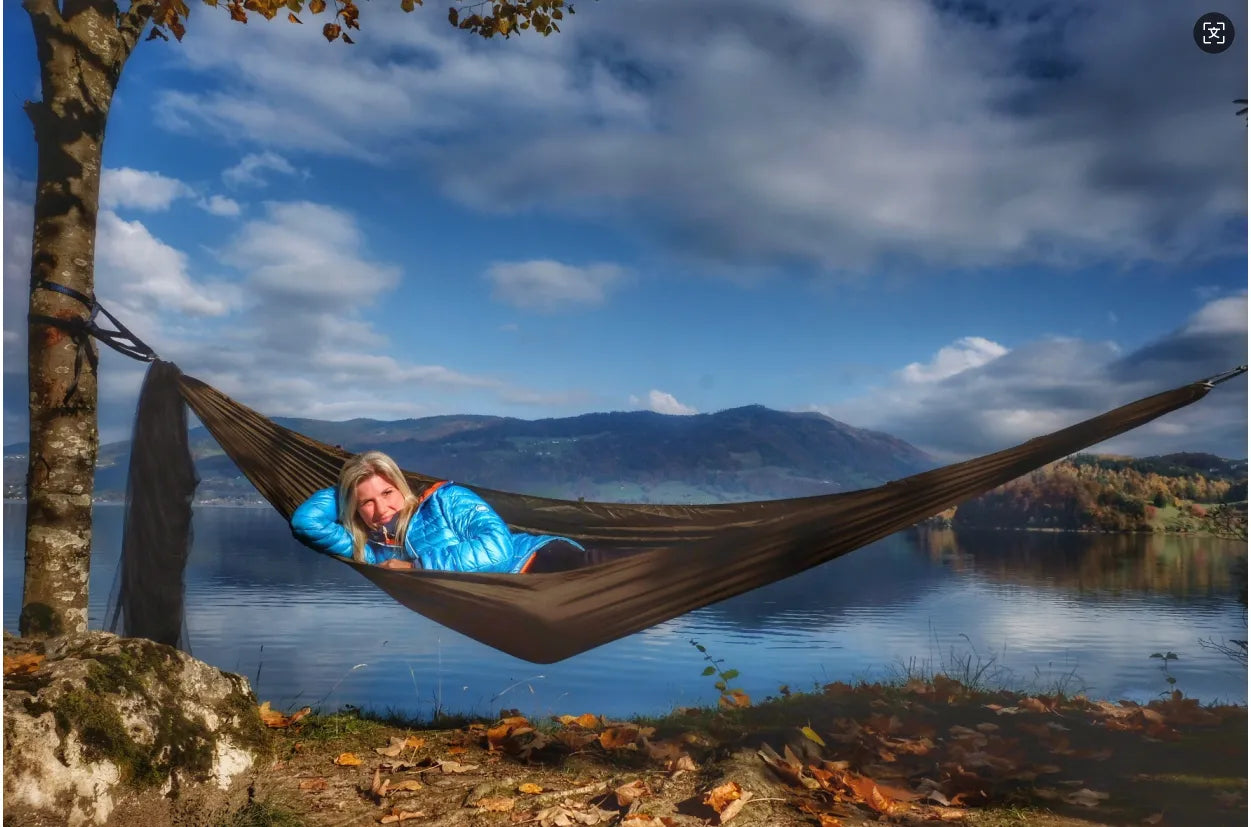

A hammock camp has seven critical layers: site, suspension, overhead weather protection, hammock, bottom insulation, top insulation, and pack-out.
A stable, dry arrival can justify starting with suspension and the hammock after a careful site check, because there is no exposed sleep fabric to protect yet.
Rain already falling or credibly arriving soon changes the lower-regret choice: establish the tarp first, then handle the hammock and dry insulation beneath it.
Hammock camping gear works as a conditional system: site, weather, and insulation risks determine the order, so no single sequence or product list fits every sleeper and forecast.
What You'll Learn
The central skill is noticing the earliest credible failure before adding another accessory.
A dry-weather baseline and an active-rain tarp-first deployment variant can both be correct; neither sequence is universal.
Quick Answer: Build the Weather Layer First
A dry-weather baseline can be efficient when the forecast and site are stable.
A rain-first deployment variant is lower regret when dry gear faces credible exposure; put the layer preventing the earliest failure before what it protects.
According to REI Expert Advice, the hammock, suspension, tarp, and bottom insulation perform different jobs, so treating them as one interchangeable bundle hides the decisions that matter.
For waterproof-rating interpretation, tarp coverage, coating comparison, and related material questions, use the water-resistant vs waterproof guide rather than turning this system map into a separate fabric tutorial.
The Rain-First Gear System

The map makes the weather shell, suspension, hammock, bottom insulation, top insulation, and pack-out dependencies explicit while keeping site choice separate.
The tarp changes the conditions under which every later item is handled.
Suspension includes the trees, connectors, hammock ends, hang geometry, and inspection across the load path.
Bottom insulation deserves its own decision because the sleeper’s weight compresses sleeping-bag fill beneath the body, leaving less useful loft where protection is needed.
Pack-out belongs on the system map because a wet tarp can turn an otherwise dry morning into a storage problem if it is pushed into the same space as quilts.
The Rain-First Deployment Order
Setting Up a Hammock in the Rain

The ordinary dry-weather baseline described by Hammock Gear can begin with site selection, straps, hammock attachment, bottom insulation, and then tarp placement. Hennessy rainfly instructions support a different weather-conditional branch in which the fly is established between trees before the hammock is deployed, allowing the sleep system to be handled under cover. Those sources address different arrival states rather than arguing over one permanent order.
Switch to tarp-first as soon as rain is falling, precipitation is close enough to change handling, or the ground and shelter arrangement make a hurried setup costly.
For the full setup procedure, use the beginner hammock setup guide. Weather and site conditions decide which stage comes first.
Shelter and Suspension as One System
REI Expert Advice and Leave No Trace both place site choice, healthy trees, wide straps, durable surfaces, low hanging, and local rules ahead of comfort decisions.
The Leave No Trace hammock guidance is conservation guidance, not a structural-load test, and REI’s examples should not be treated as universal law.
Check the surroundings before touching the suspension; a tarp-first sequence cannot make a bad tree or hazardous site acceptable.
Stop before opening the hammock if the trees, overhead space, ground, straps, or local permission remain unresolved.
Insulation and Sleep Layers
REI explains that compressed sleeping-bag fill does not replace dedicated bottom insulation, and Warbonnet’s underquilt explainer frames pads, underquilts, and combinations as different fit and geometry choices rather than one universal winner.
A pad can interact with hammock shape and movement, while an underquilt must remain positioned beneath the occupied area without leaving gaps.
A top quilt or sleeping bag solves a different side of the heat problem, so carrying a warm bag does not close an underside-insulation gap.
Use the winter hammock camping guide for broader cold-weather planning and the hammock underquilt buying guide for selection detail.
No universal temperature guarantee follows from those choices because wind, fit, clothing, hammock geometry, and individual sleepers change the result.
Add bottom insulation while the sleep area is dry and beneath the weather layer, then verify its position before opening comfort extras.
Tarp Management and Pack-Out
Pack Up Your Hammock in Seconds | Onewind Hammock Snake Skin & Mesh Tarp Sleeve

A tarp control sleeve belongs at deployment and pack-out, after weather protection and dry-gear separation have priority.
Its job is to help gather, contain, release, or organize tarp fabric during a ridgeline workflow, not to certify that wet fabric has dried.
Neither sleeve proves drying or long-term wet storage.
The one-piece format favors continuous containment, while the two-piece format favors staged two-end control.
A sleeve can reduce loose fabric during a wet teardown, but the tarp still needs to be opened, dried, and inspected before long-term storage.
The order remains the same with or without a sleeve: dry quilts first, wet tarp separately, then inspect the shelter when conditions allow.
The IF/THEN Gear Framework
Start with the earliest credible failure. If rain threatens dry gear, then move the weather shell first. If the site is unsafe, then stop. If cold can drain heat below, then confirm bottom insulation. If the tarp is wet at teardown, then separate it from dry sleep gear. Delay optional gear until every core failure has an answer.
A site-first stop condition outranks both because a bad tree, overhead hazard, fragile surface, or prohibited location invalidates the rest of the plan.
A bottom-insulation check outranks comfort accessories when the underside is the likely heat-loss path.
A wet-morning separation plan outranks packing speed because dry quilts are harder to recover once contaminated by wet shelter fabric.
Scenario 1: Warm, Dry Overnight
A warm, dry arrival gives the ordinary suspension-and-hammock baseline its strongest case. The trap is treating a stable first impression as permission to ignore a changing forecast. Inspect the site, verify the trees and overhead space, install compatible tree-friendly suspension, and attach the hammock before opening the sleep layers.
The tarp can wait briefly if delaying it does not expose dry gear or leave the hammock outside a credible weather plan.
Keep the tarp immediately accessible even in dry weather because the correct sequence can change before bedtime.
Verdict: Use the dry-weather suspension-and-hammock baseline after site checks, but switch to tarp-first at the first credible exposure signal.
Scenario 2: Rain at Arrival
Rain at arrival turns the tarp into the first work surface rather than the last finishing layer. Opening a hammock, quilt, and clothing beside the vehicle or on wet ground creates an avoidable recovery job. Hennessy’s rainfly instructions provide a manufacturer-specific example of establishing the fly before the hammock. That sequence supports the rain-first branch, but its hardware and tension details should not be generalized to every tarp.
Complete the site and overhead check before deploying anything, because rain does not remove the need for a suitable location.
Once the shell is established, install suspension and the hammock beneath it without the same pressure to rush.
The system becomes tarp-first because precipitation has moved exposure to the front of the failure chain, not because tarp-first is always superior.
Verdict: Check the site, build the tarp, then expose the hammock and insulation only inside the protected work area.
Scenario 3: Cold and Windy Shoulder Season
A cold and windy shoulder-season night makes underside insulation and shelter protection more urgent than a minimalist packing target.
A warm bag can create false confidence when body weight compresses the fill beneath it.
Warbonnet’s underquilt explainer and REI’s expert guide both separate bottom insulation from top insulation, while a public Reddit winter-hammock discussion shows the planning uncertainty that remains when no underside layer has a defined role.
Settle the pad-or-underquilt decision before spending attention on pillows, organizers, or convenience accessories.
Before bedtime, verify that the chosen layer covers the occupied area without obvious gaps.
Exact cold-weather selection belongs in the dedicated guides, not in a universal promise from this system map.
Verdict: Prioritize a verified bottom-insulation plan and protected sleep area before comfort extras or weight reduction.
Scenario 4: Wet Morning Teardown
A wet morning reverses the unpacking instinct: dry quilts and clothing move first, while wet tarp fabric waits for separate containment. Dragging a wet shelter across the dry sleep system, or putting both into one container, sacrifices dry insulation for a faster pack-out. A public Reddit backpacking discussion reports keeping tarp and stakes accessible outside dry quilt storage, which supports the separation problem rather than one mandatory packing rule.
Use the remaining tarp cover to remove and pack dry insulation before handling the wet shell.
A sleeve or other tarp-control method can organize the fabric for temporary transport, but it does not demonstrate that the fabric is dry or ready for long-term storage.
Open the tarp at the next suitable opportunity and let it dry according to its manufacturer care instructions before final storage.
Verdict: Pack dry sleep gear under cover first, contain the wet tarp separately, and dry and inspect it before long-term storage.
Mistake 1: Starting With a Shopping List
A category list can tell you that a tarp, hammock, straps, and insulation exist without telling you which one deserves attention first. Across REI, Leave No Trace, Hennessy, Hammock Gear, and Warbonnet, a more useful order emerges: rain exposure, site and suspension, underside heat loss, then wet pack-out. Those sources separate the component jobs and add site checks that a product list cannot supply.
Write the likely failure beside each item before deciding whether to carry it.
Name the earliest credible failure before choosing a product category.
Mistake 2: Exposing Dry Insulation Before Shelter
Dry insulation is often the least forgiving item in the setup sequence because it needs to remain lofted, clean, and available for sleep. Hennessy’s rainfly instructions support putting the weather layer in place before deploying the hammock in rain, while Hammock Gear’s ordinary baseline fits a dry arrival. Keep quilts and clothing inside their dry container until the tarp creates a protected area.
If precipitation is present or credible, protect dry insulation with the tarp before opening it.
Mistake 3: Treating Suspension as a Single Part
Calling suspension a single part hides the trees, straps, connectors, hammock ends, hang geometry, and inspection that make the system function.
REI Expert Advice and Leave No Trace both emphasize healthy trees, wide tree-friendly webbing, low hanging, durable surfaces, and local rules.
Those sources do not establish a universal load rating, tree diameter, strap law, or storm-performance threshold, so do not convert general guidance into a guarantee.
Verify the entire suspension relationship and the site rather than trusting one component label.
Mistake 4: Packing a Warm Bag Without Bottom Insulation
Top insulation and bottom insulation face different physical conditions inside a hammock.
REI explains the compression problem, and Warbonnet’s explainer describes pads, underquilts, and combinations as choices with different fit tradeoffs.
Make the underside decision before packing a warm bag, then verify that the chosen layer can remain positioned beneath the sleeper.
Treat bottom insulation as its own required decision whenever conditions make underside heat loss plausible.
Mistake 5: Mixing Wet Tarp Fabric With Dry Sleep Gear
The tarp and the quilts have opposite pack-out requirements after rain, so putting them together solves convenience while creating a new failure.
The same public Reddit backpacking discussion shows the recurring wet/dry separation problem without proving that one bag arrangement is mandatory.
A temporary containment method can keep wet fabric organized during transport, but it does not replace later drying and inspection.
Separate wet shelter fabric from dry sleep gear during teardown, and do not confuse temporary containment with long-term storage.
The Quick Decision Checklist
Run the checklist in order, but allow the weather to move a later row to the front.
The Tarp Sleeve collection can be reviewed after the weather, suspension, insulation, and pack-out roles are clear.
Final Verdict
Use the tarp-first variant when rain threatens dry components, the normal suspension-and-hammock baseline when conditions are stable, and a separate underside-insulation decision whenever cold or wind can drain heat below the sleeper.
A tarp sleeve can organize fabric during deployment, teardown, and temporary transport, but it cannot prove that wet fabric is dry or ready for long-term storage.
Verdict: Carry and deploy hammock camping gear by the earliest credible failure: protect against rain, verify the site and suspension, solve underside insulation, keep sleep layers dry, and manage the tarp separately at pack-out.

See the one-piece mesh tarp sleeve
Shop Now →