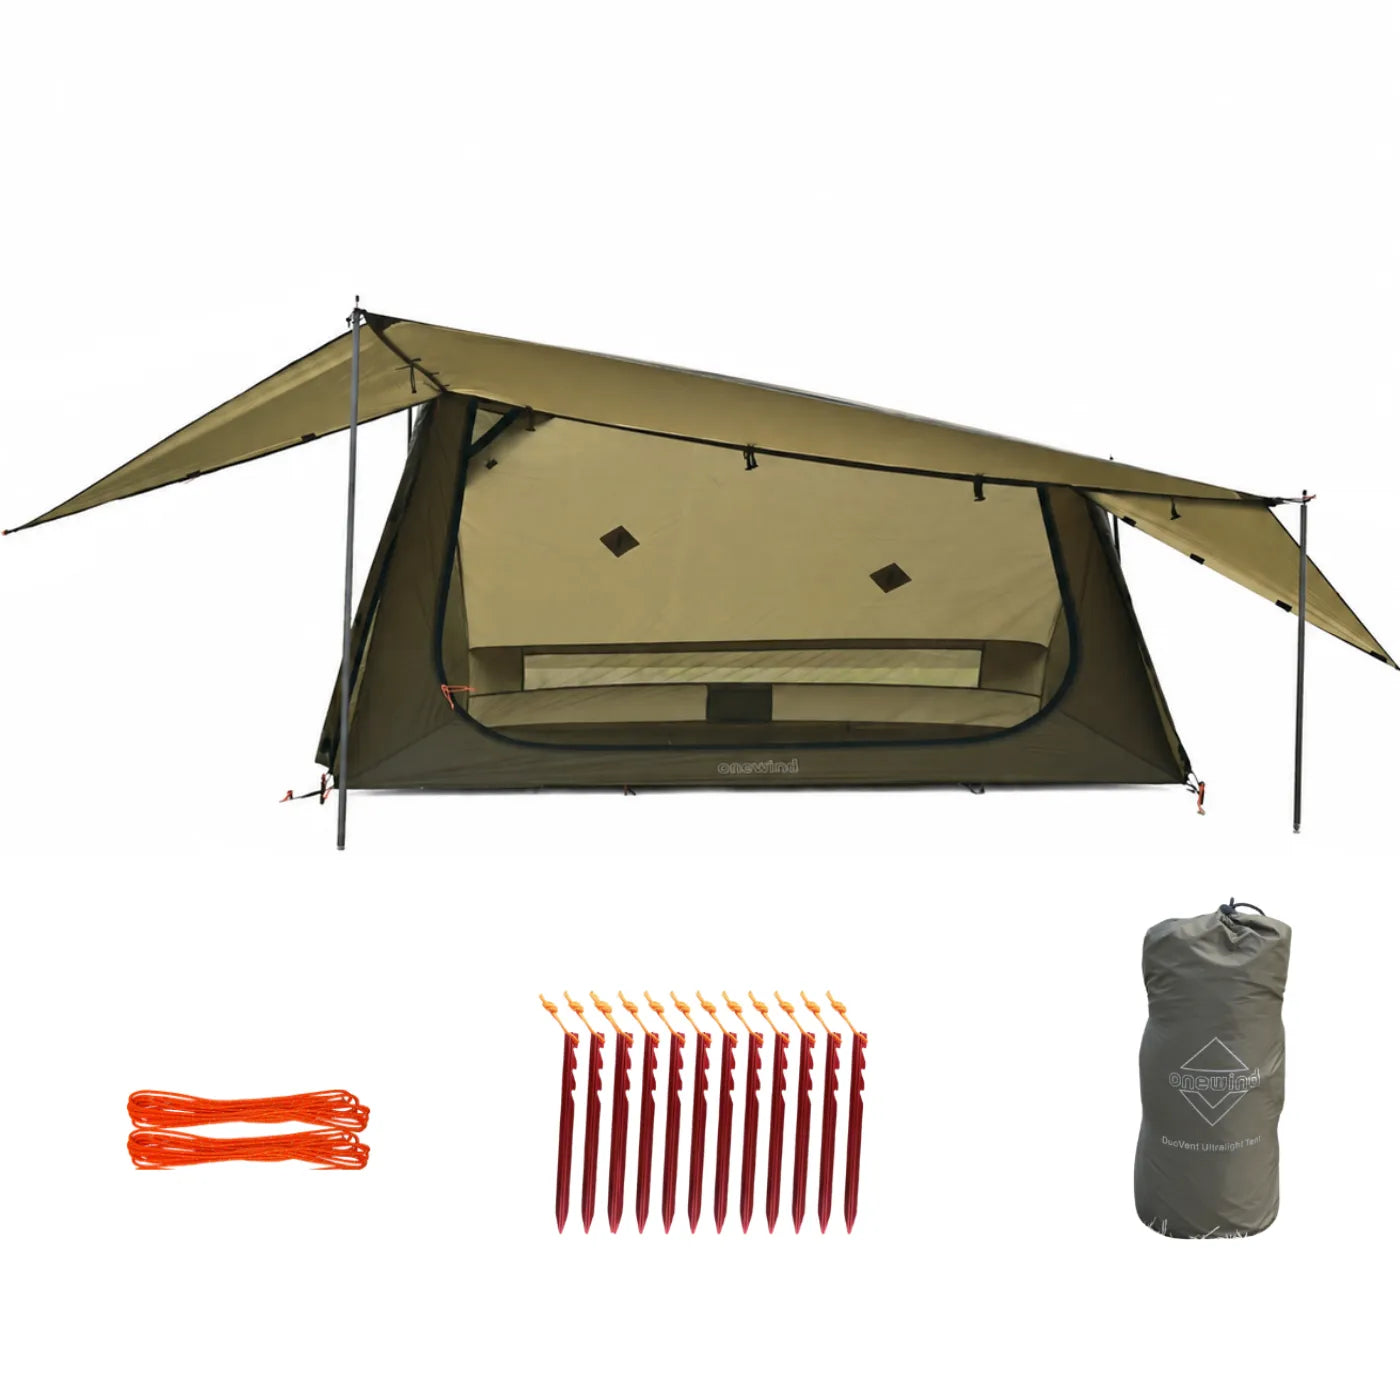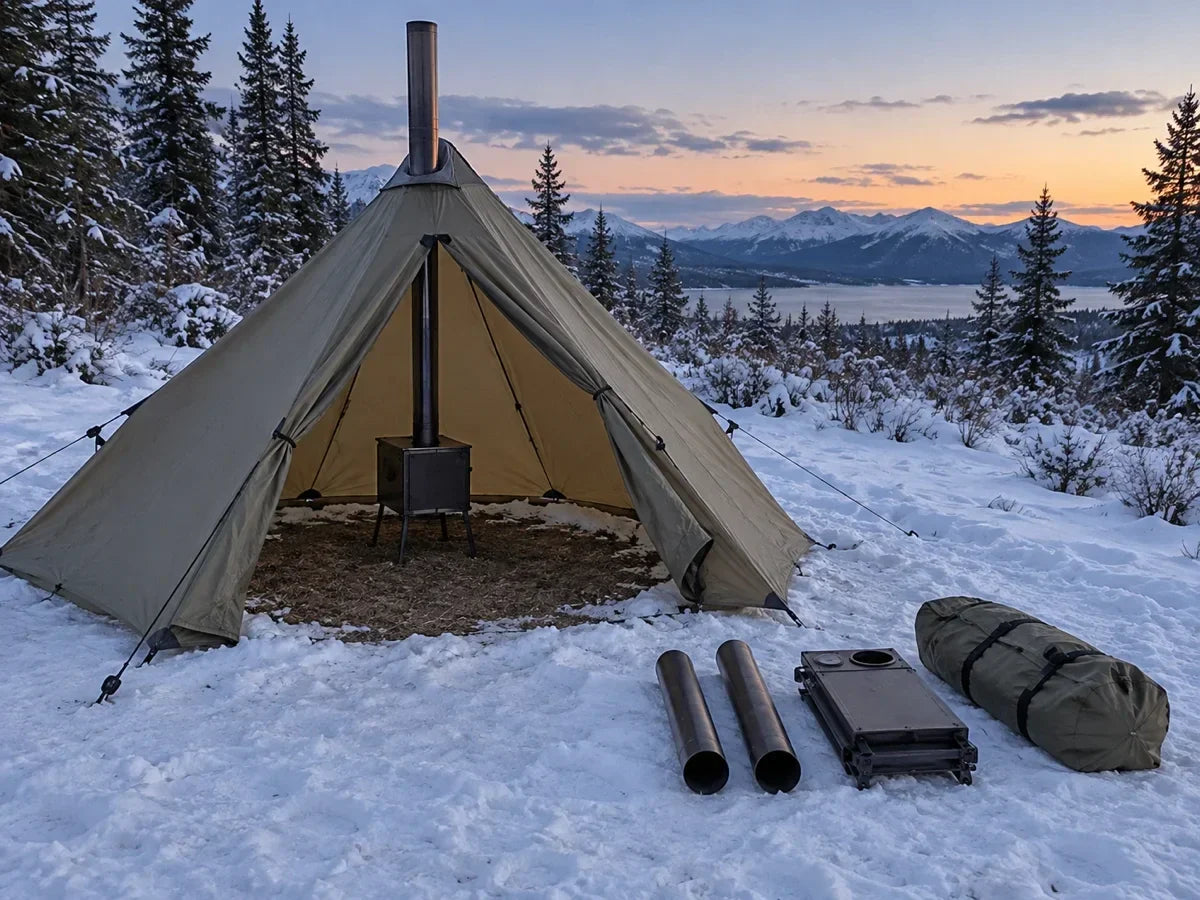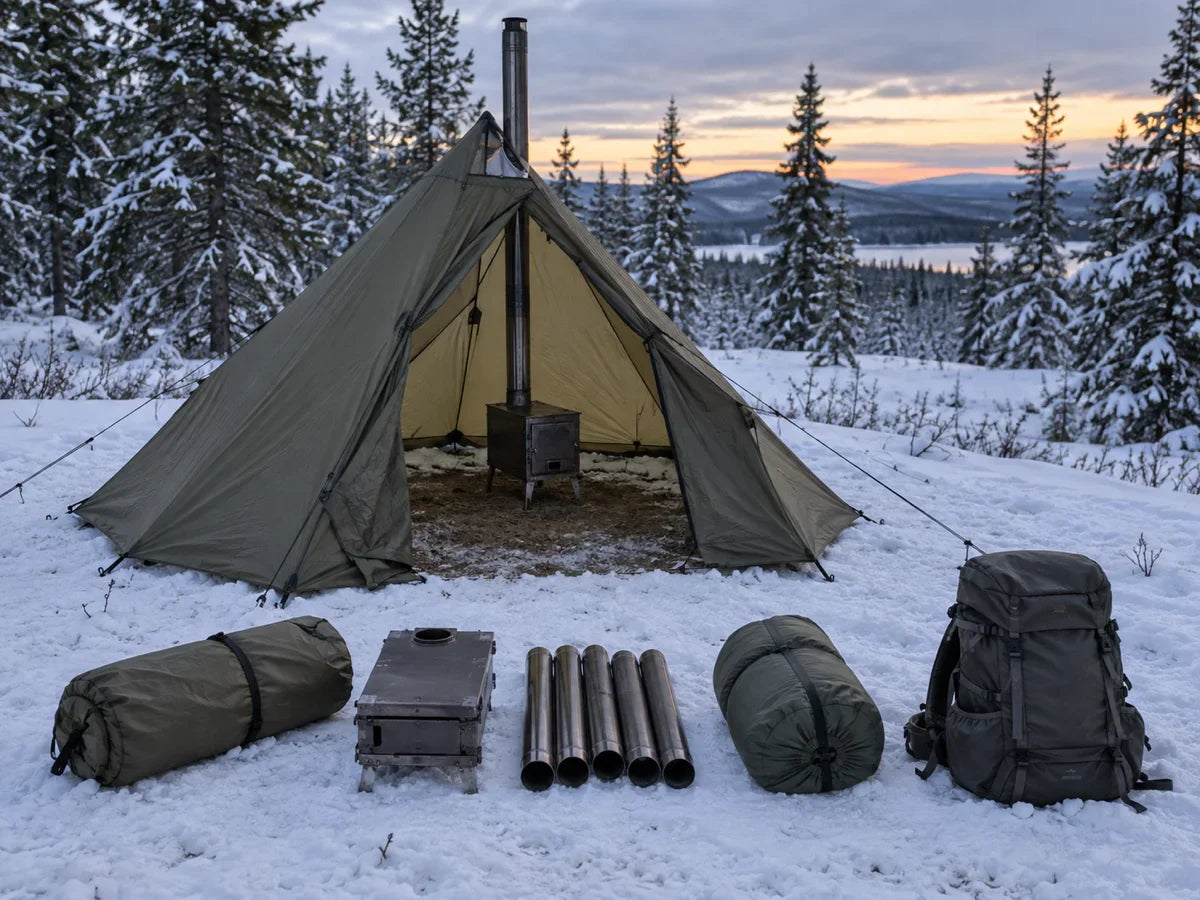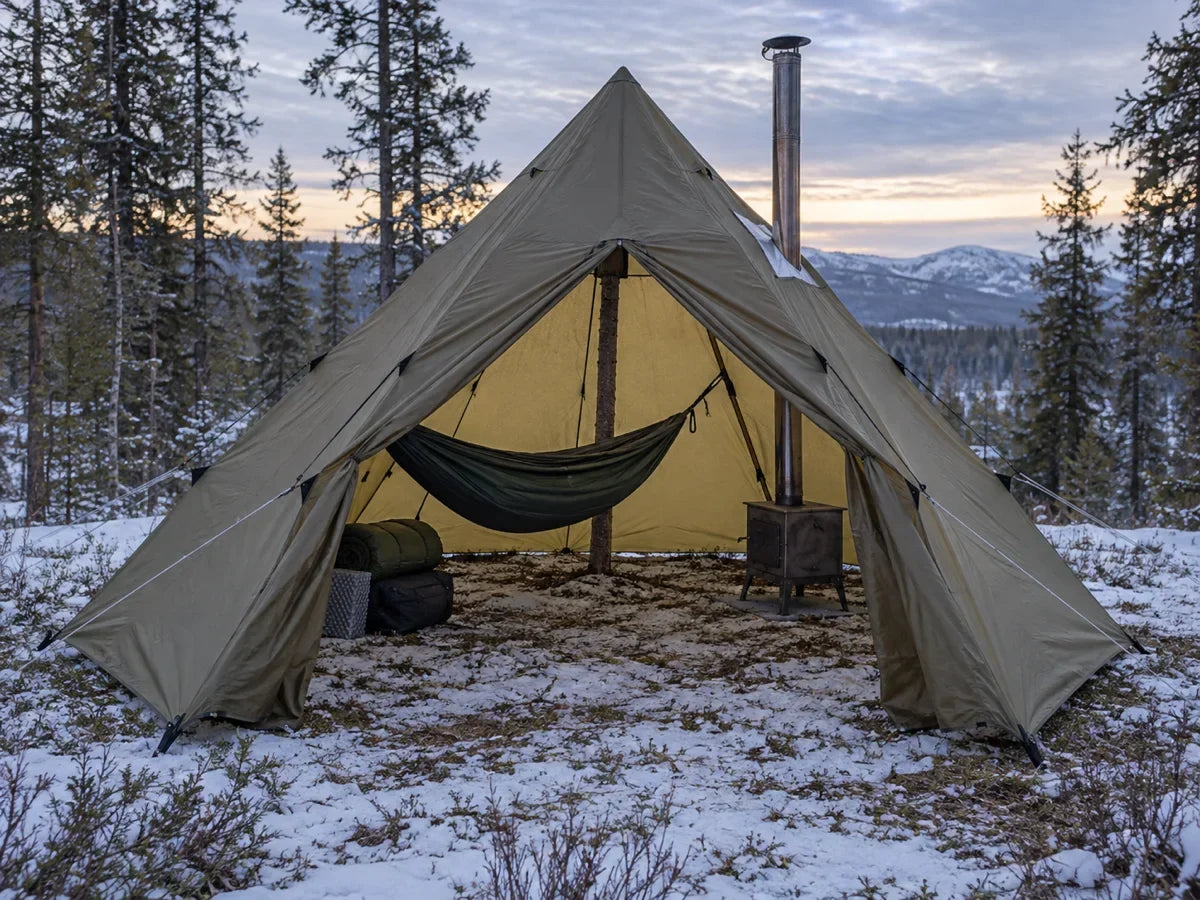

De acordo com o guia de lonas para backpacking de 2026 de Adventure Alan, uma lona catenária moldada pesa entre 9 e 16 onças e arruma-se num volume menor do que uma maçã.
Uma tenda tradicional de campismo para 3 estações pesa 3 a 5 libras.
Essa diferença de peso é real. Mas a queixa mais comum da comunidade r/Ultralight sobre tarps não tem a ver com a poupança de peso. Tem a ver com escolher o tipo de tarp errado para a situação errada.
Comparei dados de peso, guias de montagem e relatórios de condensação em 15 fontes para construir um quadro de decisão entre forma e cenário.
O enquadramento baseia-se num limiar fundamental: o ponto de viragem das 24 onças. Abaixo das 24 onças, as tendas-toldo superam as tendas ultraleves na relação entre peso e proteção. Acima desse valor, uma tenda vence em habitabilidade e está a transportar o incómodo de nível de uma tenda-toldo com o peso de uma tenda.
Se o seu cenário ficar do lado direito desse limiar, o tipo de lona certo poupa-lhe 1 a 3 libras por viagem.
Se escolher o tipo de lona errado, deita dinheiro fora e passa noites miseráveis a aprender porquê.
O que Vai Aprender
Este guia evita o formato genérico de vantagens e desvantagens que todos os outros artigos sobre lonas utilizam.
Em vez disso, mapeia quatro tipos de abrigo com lona para cinco cenários reais de campismo, com limites específicos de peso, custo e nível de experiência.
Resposta Rápida
Pule a lona e compre uma tenda ultraleve se acampar regularmente com chuva forte, precisar de um abrigo fechado para condições de inverno ou não estiver disposto a praticar a montagem em casa primeiro.
Compre uma tenda-lona se quiser proteção semelhante à de uma tenda com o peso de uma lona e já fizer caminhadas com bastões de trekking.
Compre uma lona plana apenas se estiver disposto a investir tempo a aprender três nós e várias configurações de montagem.
O Quadro de Decisão
Existem quatro tipos de lona impermeável num espectro que vai da máxima flexibilidade à máxima proteção.
Cada tipo troca os requisitos de habilidade pela cobertura face às condições meteorológicas.
O formato de 24 onças é o limiar crítico.
A análise tarp vs. tenda de Where The Road Forks mostra que, acima de 24 onças de peso total do abrigo, a maioria dos caminhantes ultraleves escolhe uma tenda. O ganho de habitabilidade supera a perda de versatilidade.
O guia de abrigo para bastões de caminhada da Seek Outside explica porque é que os bastões são a variável fundamental.
Usar bastões de trekking como varetas da tenda poupa 8 a 16 onças de peso dedicado das varetas.
Mas esta poupança só se aplica se já fizer caminhadas com bastões. Se não o fizer, a vantagem de peso desaparece.
A comparação de lonas da SectionHiker identifica a segunda variável-chave: corte catenário vs. corte plano.
As lonas catenárias têm bordos curvos que reduzem o batimento e escoam melhor o vento. Montam-se em menos configurações.
As lonas planas podem ser montadas em 6 ou mais configurações, mas exigem domínio das cordas de fixação e dos nós.
Cenário 1: O Caminhante Ultraleve de Longa Distância
Está a fazer uma caminhada de longa distância por um trilho extenso num clima predominantemente seco. O seu objetivo de peso base é inferior a 10 libras. Cada onça conta.
A ferramenta certa para esta situação é uma lona catenária moldada, combinada com um saco bivy ou um bivy mosquiteiro para proteção no solo.
O guia 2026 de Adventure Alan refere que o Gossamer Gear DCF Whisper pesa apenas 9,8 onças como um abrigo de lona para uma pessoa, sem chão e à prova de insetos.
A Mountain Laurel Designs Trailstar pesa entre 12 e 15 onças e tem capacidade para até três pessoas, embora a maioria dos caminhantes de longa distância a utilize em modo individual.
Comparei os pesos totais do sistema: uma lona moldada com 12 onças mais um bivy mosquiteiro com 6 onças dá-lhe um sistema de 18 onças com proteção total contra insetos.
Uma tenda ultraleve tradicional como a Zpacks PlexSolo pesa 13,9 onças, mas inclui um chão e um fecho completo.
O sistema de lona destaca-se pela ventilação e versatilidade.
A tenda destaca-se pela rapidez de montagem e pela proteção contra as intempéries.
O acesso à competência é real. O guia de toldos da The Hiking Life destaca três nós essenciais: volta de fiel, nó de camionista e prusik.
Sem estes três, as lonas planas e moldadas são impraticáveis.
Pratiquei cada nó 20 vezes antes da minha primeira viagem com tarp. Esse investimento compensou logo na primeira noite.
A escolha do local é 3 vezes mais importante com uma lona do que com uma tenda, de acordo com Where The Road Forks.
Sem vestíbulo de proteção, cada característica do terreno afeta a sua noite: inclinação, drenagem, exposição ao vento e textura da superfície.
Veredicto: Para caminhadas UL de longa distância em climas secos, uma tenda catenária moldada, combinada com um bivy, é o sistema de abrigo viável mais leve. Reserve um orçamento de 150 $ a 400 $ para silnylon ou DCF de qualidade. Evite esta opção se acampar em regiões consistentemente húmidas ou se ainda não praticou os três nós essenciais.
Cenário 2: O Mochileiro de Fim de Semana
Faz viagens de 1 a 3 noites aos fins de semana. Quer proteção fiável contra as intempéries sem ter de transportar 1,8 kg de tenda.
A ferramenta certa é uma tenda lona com bastões de trekking na gama das 16 às 24 onças.
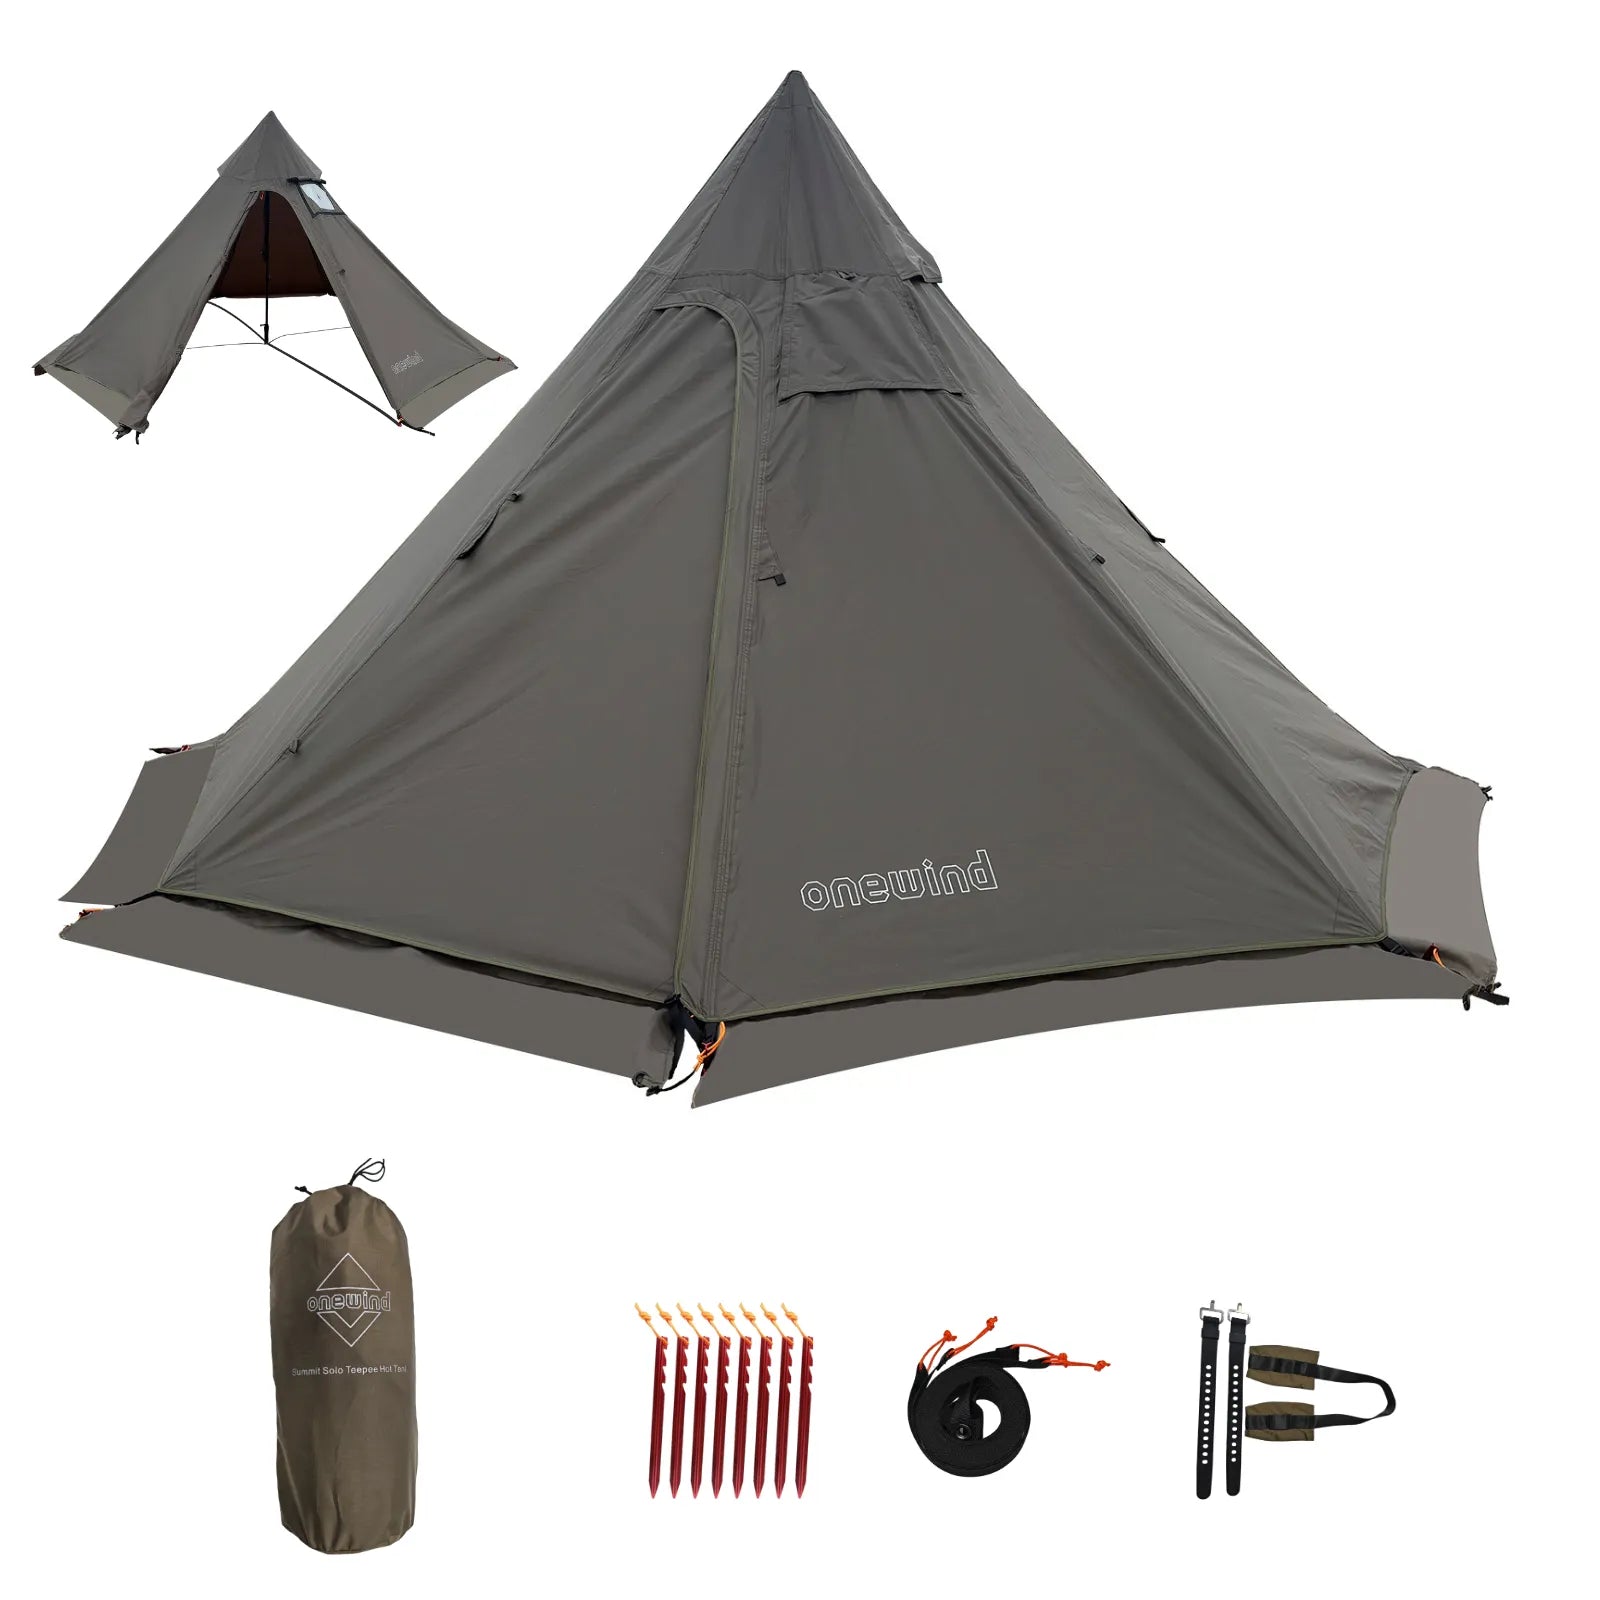
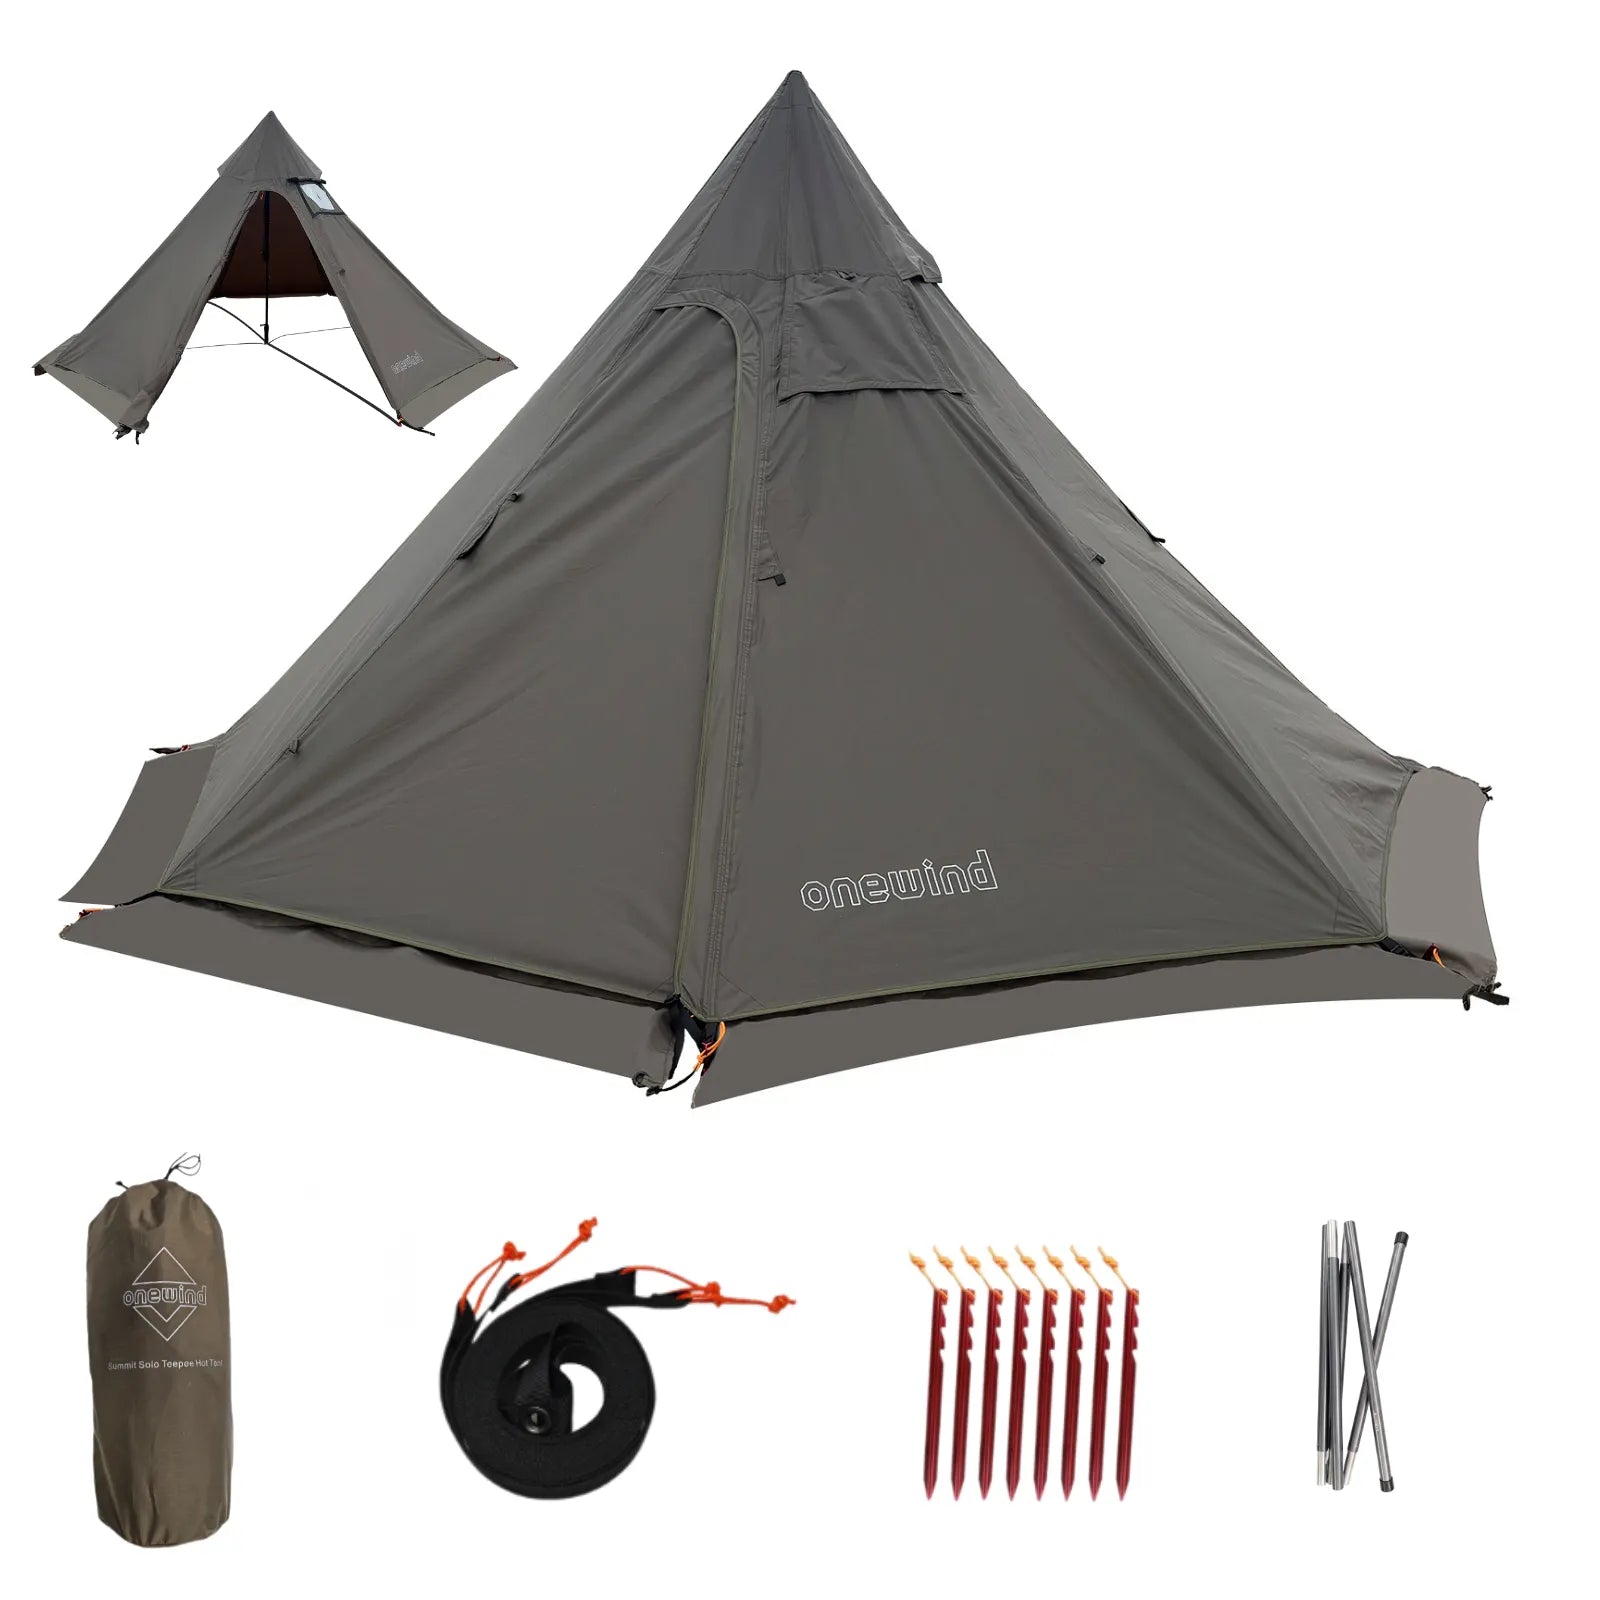
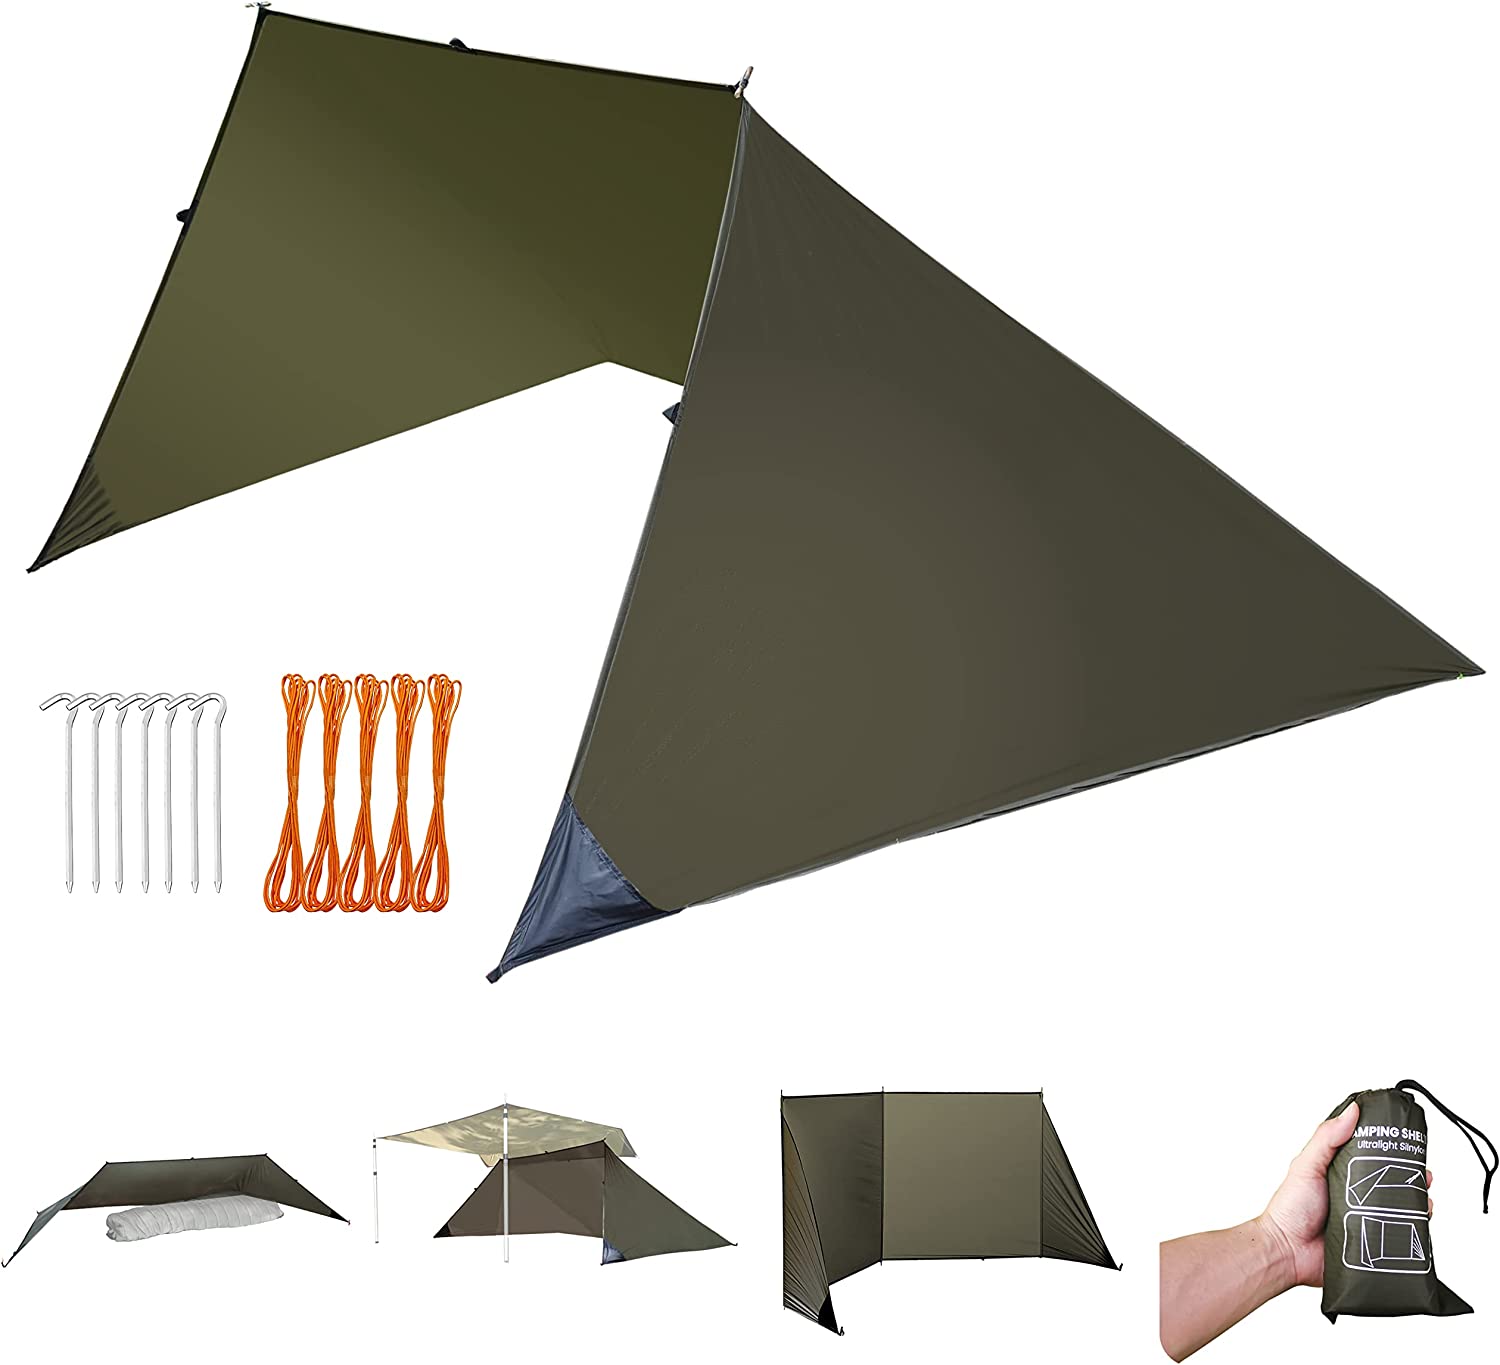
Esta categoria inclui abrigos como o Durston X-Mid 1P, o Six Moon Designs Lunar Solo e o Tenda Tarp Ultraligeira Blackthorn.
A comparação de 2026 da CleverHiker mostra que estas tarp-tendas oferecem 80 a 90 por cento da proteção contra as intempéries de uma tenda tradicional com 40 a 60 por cento do peso.
{% include 'youtube', id: '4M-f61tbWH4' %}
A configuração é simples.
O guia de abrigo com tarp da REI percorre a sequência básica: fixe dois cantos, coloque bastões de trekking nos pontos do vértice, estique as cordas de fixação, fixe os cantos restantes.
O tempo total é de 3 a 5 minutos para um utilizador experiente.
A condensação é a principal desvantagem.
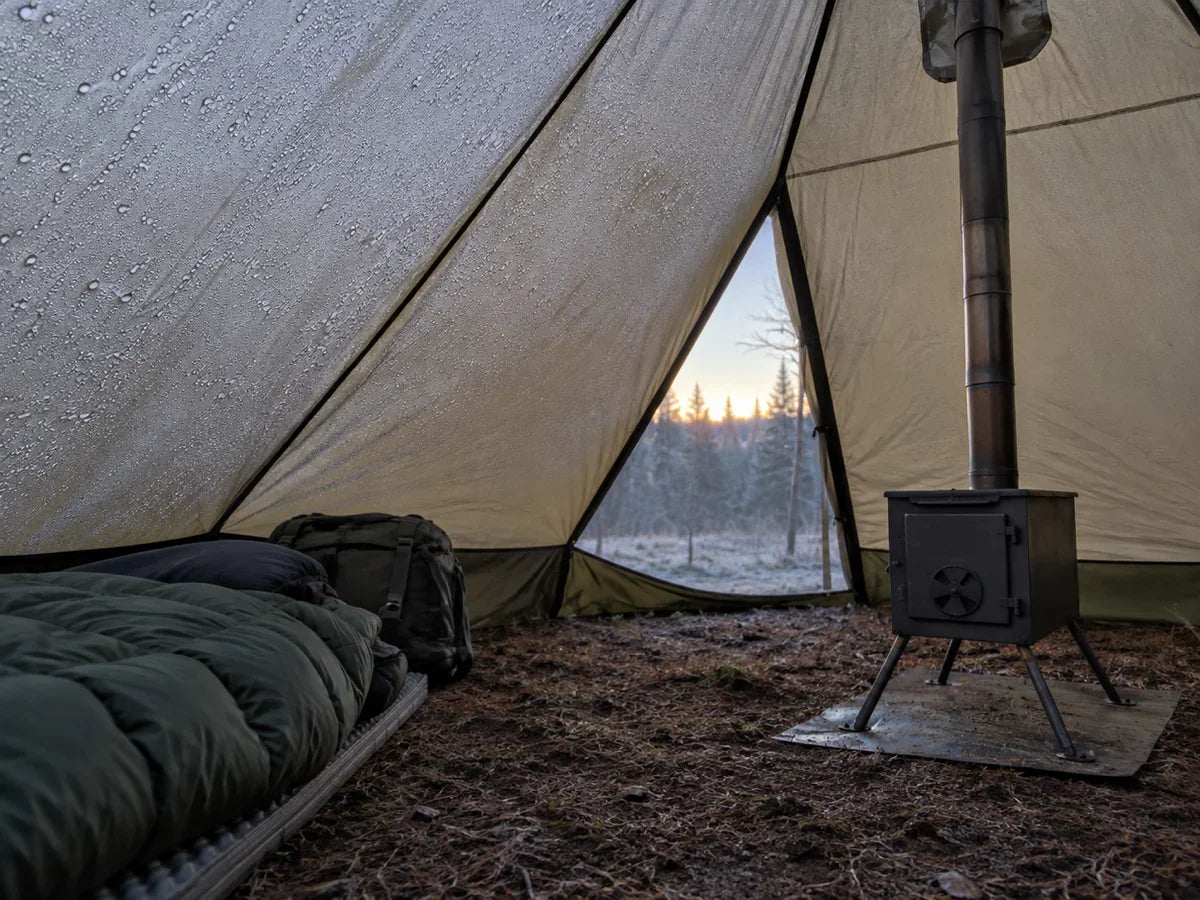
O guia de condensação da Zpacks explica que os abrigos de parede simples precisam de aberturas de ventilação na base para controlar a humidade.
Manter a extremidade inferior elevada 10 a 15 cm acima do solo permite a circulação de ar pelo abrigo e evita situações de pingos na cara.
O requisito do bastão de trekking é importante.
As notas do guia da Seek Outside indicam que estes abrigos poupam 8 a 16 onças ao utilizarem os seus bastões existentes.
Se não fizer caminhadas com bastões, terá de comprar varas dedicadas para o abrigo, o que anula a maior parte da poupança de peso.
O consenso da comunidade r/Ultralight confirma que as escapadinhas de fim de semana são o ponto ideal para tenda-lona, porque o compromisso em relação à condensação se mantém controlável ao longo de 1 a 3 noites.
Veredicto: Para caminhadas de fim de semana com mochila, uma tenda lona com bastões de caminhada é o melhor equilíbrio entre peso, proteção e facilidade de montagem. Orçamento de 150 a 350 dólares. O Blackthorn adapta-se a este cenário com um design de bastão de trekking e proteção contra as intempéries para 3 estações.
Cenário 3: O Acampamento em Grupo ou em Família
Acampa com um grupo de 3 a 6 pessoas. Precisa de um abrigo comunitário para cozinhar e conviver que proteja todos do sol e da chuva.
A ferramenta certa é uma grande lona plana montada como telhado comunitário, com cada pessoa a trazer o seu próprio sistema de dormir por baixo.
Adventure Alan descreve as lonas planas como o tipo de lona mais versátil, porque podem ser montadas em 6 ou mais configurações: A-frame, lean-to, side-V, teepee, wind shed e flying diamond.
O guia da Backpacker Magazine identifica quatro configurações essenciais que abrangem a maioria das situações de campismo em grupo.
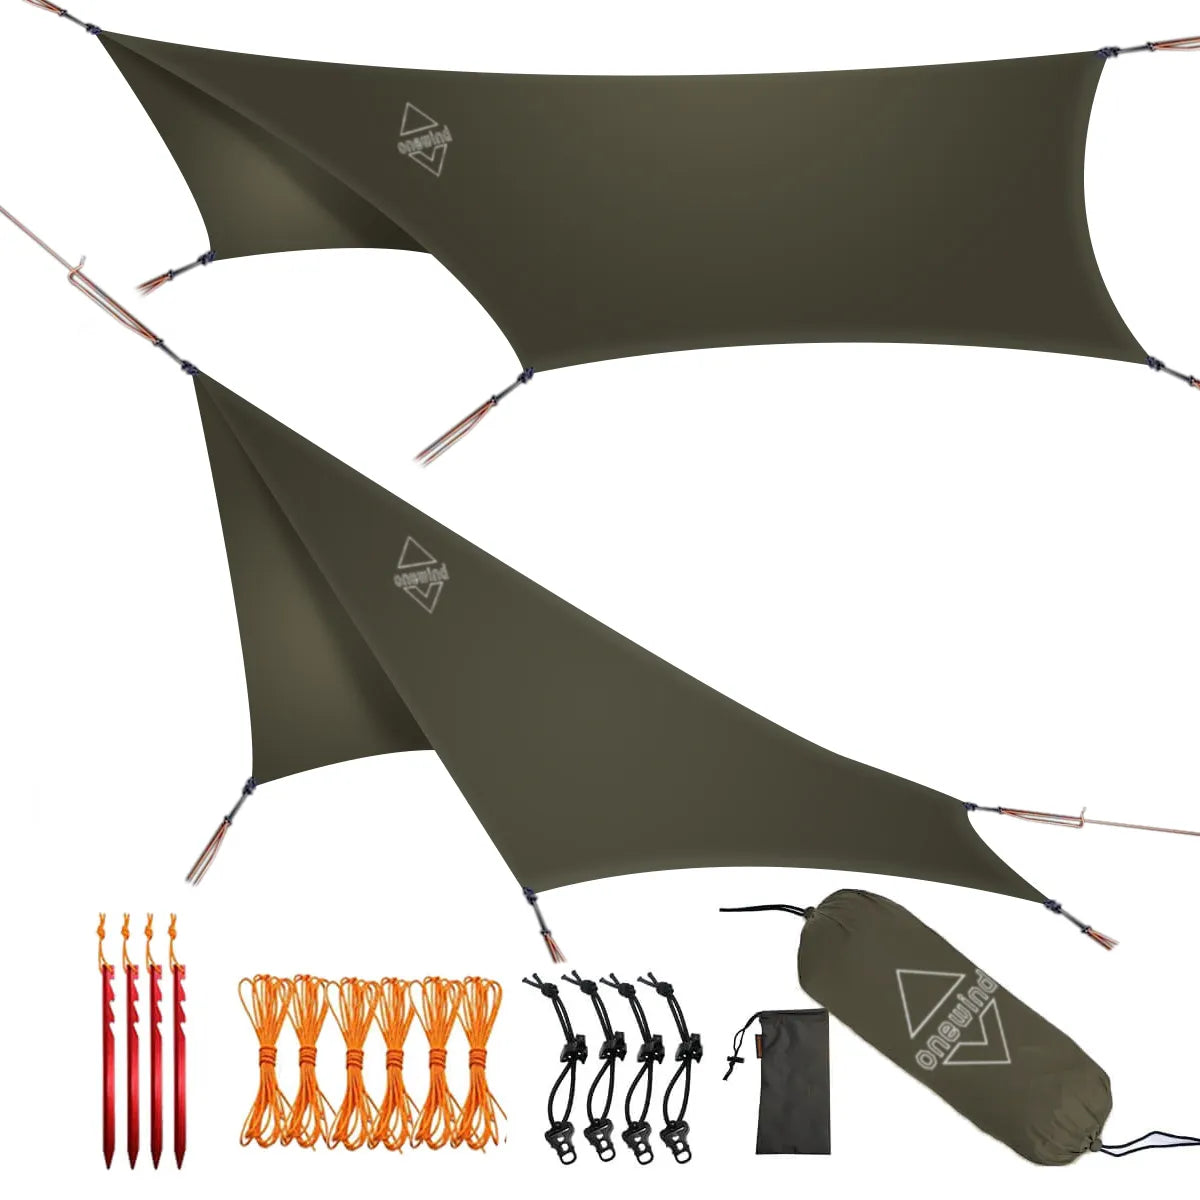
Uma lona plana de 10 por 10 pés custa entre 30 e 100 dólares em silnylon e cobre 3 a 4 lugares para dormir.
O custo por pessoa diminui rapidamente. Uma lona de 60 $ dividida entre 4 pessoas fica a 15 $ por pessoa para proteção contra as intempéries.
O nível de perícia exigido é o mais elevado de qualquer cenário com tarp. O guia de tarp da Alpkit apresenta 6 métodos de montagem diferentes, cada um exigindo padrões de estacas e tensões dos tensores distintos.
Uma pessoa do grupo precisa de saber os nós e as configurações. Todos os outros só precisam de ajudar a fixar os cantos.
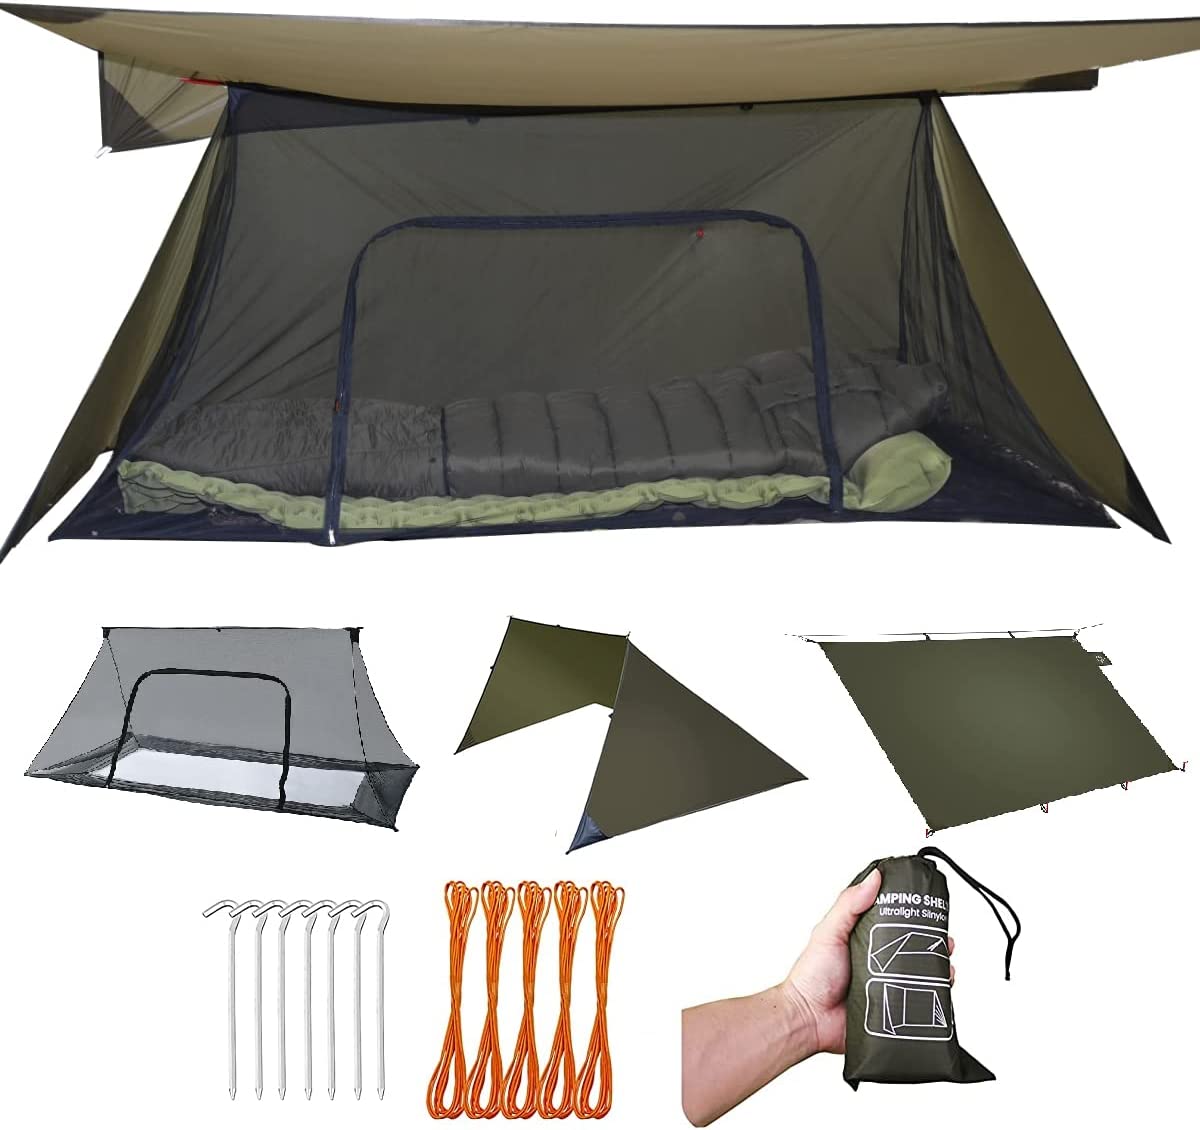
O compromisso é que as lonas planas não oferecem qualquer proteção contra insetos e têm cobertura limitada contra o vento. Cada pessoa continua a precisar do seu próprio abrigo para dormir (bivy, rede mosquiteira ou tenda individual).
Veredicto: Para campismo em grupo, uma lona plana é o abrigo comum mais económico. Orçamento de 30 a 100 dólares. Combine com o Rede mosquiteira para lona de campismo para proteção contra insetos. Requer pelo menos um lançador experiente no grupo.
Cenário 4: O Cicloviajante
Está a fazer bikepacking com espaço limitado na bolsa de quadro e no rolo do guiador. Cada litro de espaço na bagagem importa mais do que cada onça de peso.
A ferramenta certa é uma lona-tenda híbrida com um interior integrado que se compacta para o menor volume possível.
O volume da bagagem é a principal limitação para os ciclistas em bikepacking, não o peso.
Um abrigo-tenda compacta-se em 2 a 4 litros. Uma tenda ultraleve normalmente necessita de 6 a 10 litros.
O Tenda Skyshade Solo foi concebido exatamente para este caso de utilização: suporte para bastões de trekking, chão integrado e um tamanho de embalagem que cabe dentro de uma bolsa de quadro.
O guia de tarp-bivy da Garage Grown Gear aborda a abordagem alternativa: uma pequena lona moldada, mais um saco bivy. Esta combinação pode ocupar ainda menos espaço, mas exige mais habilidade na montagem e oferece menor habitabilidade.
A condensação é mais elevada em híbridos fechados do que em lonas abertas.
Zpacks recomenda deixar os 10 a 15 cm inferiores abertos e montar o acampamento em terreno elevado sempre que possível.
Para ciclistas que fazem bikepacking e acampam após longos dias a pedalar, a simplicidade da montagem é mais importante do que a versatilidade.
Uma tenda-lona híbrida monta-se em 3 a 5 minutos, com decisões mínimas.
Uma lona plana exige 10 a 15 minutos de opções de configuração quando está exausto.
Veredicto: Para bikepacking, uma tenda tarp híbrida com interior oferece a melhor relação volume-proteção. Orçamento de 200 $ a 400 $. O Solo Skyshade adapta-se a bolsas de quadro onde as tendas ultraleves não cabem. Ignore a opção de lona plana, a menos que realmente goste de montar após dias de pedalada de 80 milhas.
Cenário 5: O Iniciante com Orçamento Limitado
4 Formas de Montar um Abrigo com Toldo Ultraligeiro - REI
Nunca acampaste debaixo de uma lona. Queres experimentar sem gastar 300 dólares ou mais num abrigo de DCF de que talvez nem gostes.
A ferramenta de iniciação certa é uma lona plana em silnylon na faixa dos 30 a 50 dólares.
O guia para principiantes da Live for the Outdoors recomenda começar com uma lona básica e aprender a técnica antes de investir em equipamento especializado.
Isto corresponde ao consenso da comunidade r/Ultralight: comece com algo barato, aprenda aquilo de que realmente precisa e, depois, faça um upgrade com base em preferências informadas.
O guia de configuração da Thrifty Hiker lista todos os padrões de montagem comuns com diagramas. Imprima-o ou guarde-o no seu telemóvel antes da sua primeira viagem.
Uma lona de silnylon de 40 dólares, 5 dólares em paracord e 10 dólares em estacas de alumínio dão-lhe um sistema de abrigo completo por 55 dólares.
Pratique primeiro no seu quintal. Todas as fontes que consultei recomendam, no mínimo, duas sessões no quintal antes de uma verdadeira viagem. O guia de tarps do The Hiking Life destaca especificamente os três nós essenciais (nó volta de escota, nó de camionista, prussik) como a competência indispensável.
O limiar dos retornos decrescentes situa-se em cerca de 200 $.
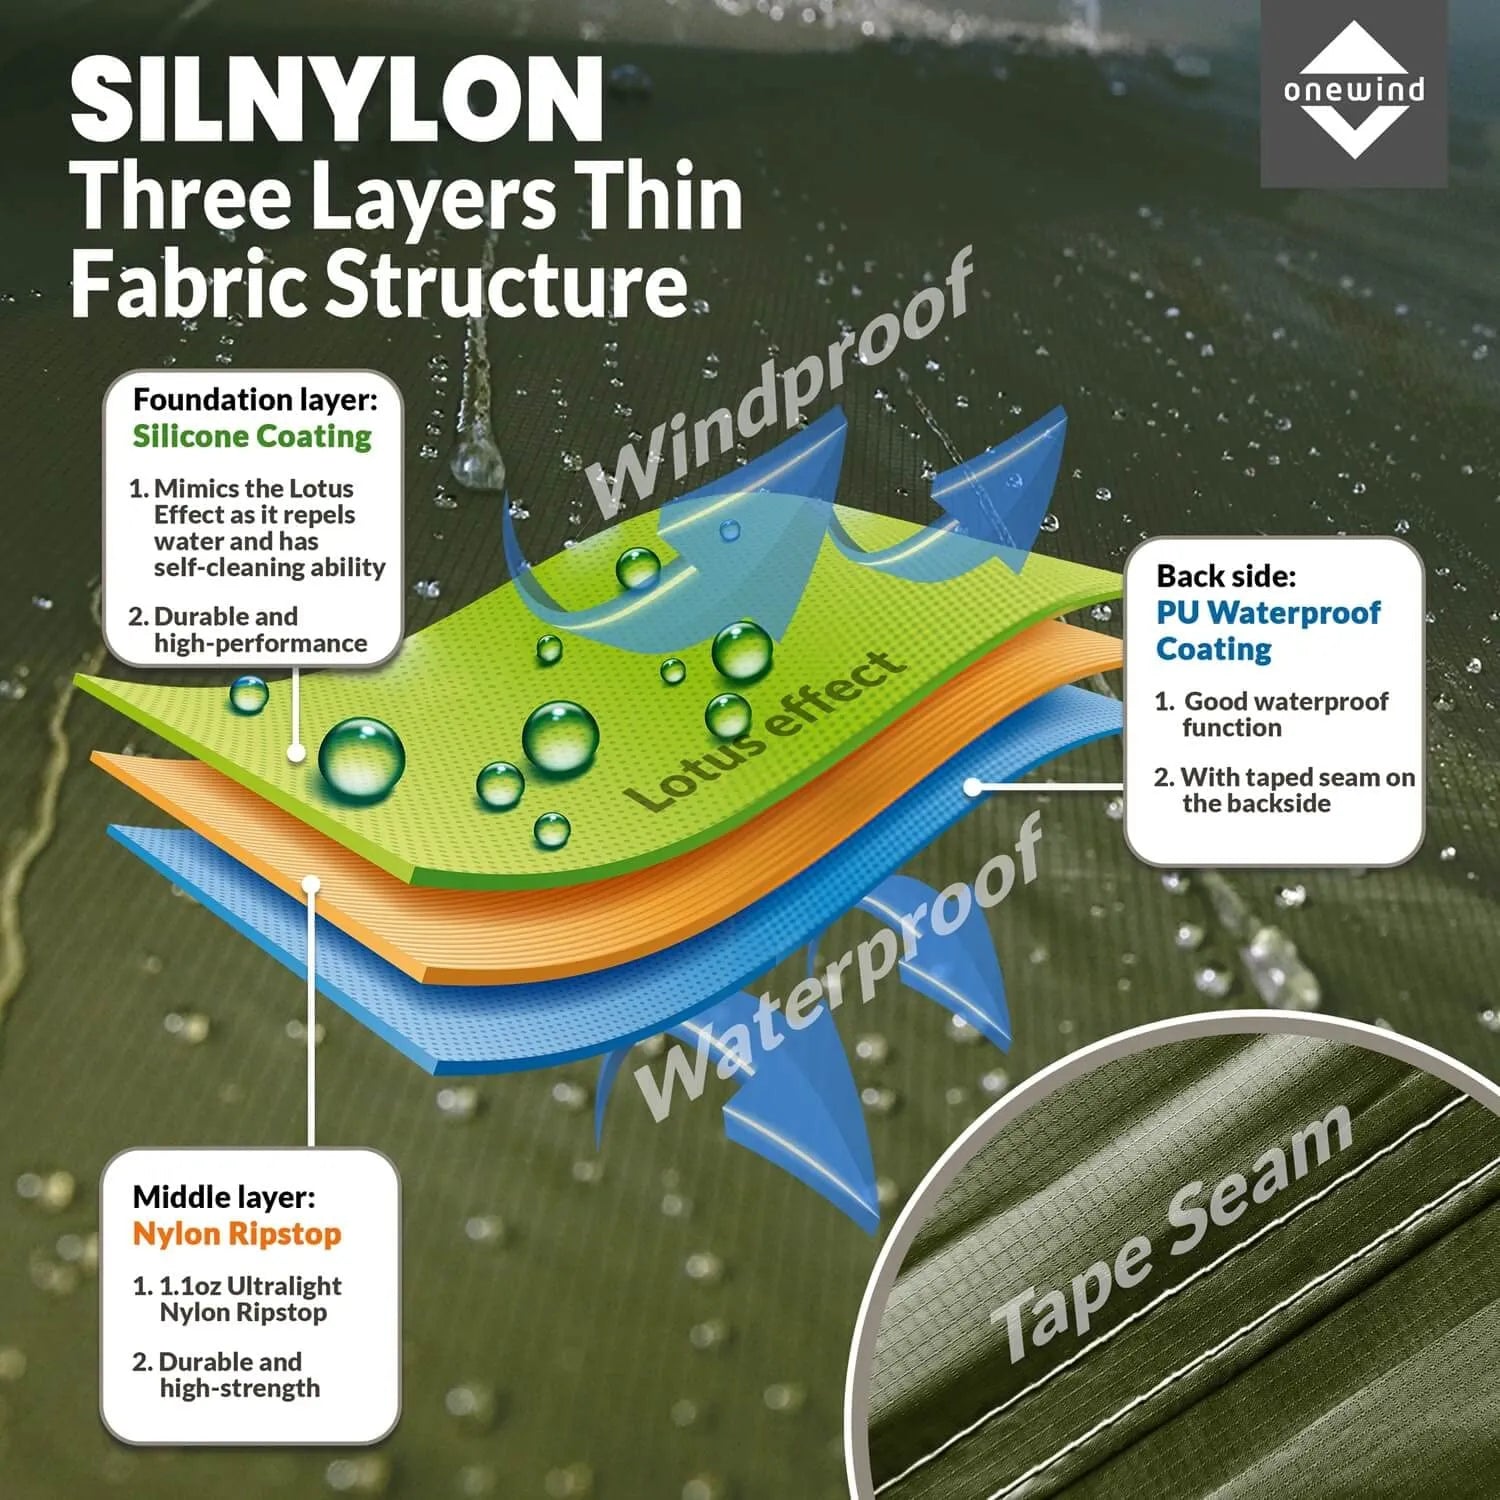
A análise do Thrifty Hiker mostra que uma lona de silnylon ou silpoly de 80 a 200 dólares oferece 80% do desempenho de uma lona DCF de mais de 400 dólares.
A diferença de peso é real: silnylon entre 12 e 16 onças, contra DCF entre 5 e 10 onças.
Mas a proteção contra as condições meteorológicas é praticamente idêntica.
Depois de 3 a 5 saídas com tarp, saberá se prefere tarps abertos, tarps moldados ou tarp-tendas fechadas. Esse conhecimento vale mais do que qualquer avaliação de equipamento.
Veredicto: Para principiantes com orçamento limitado, comece com uma lona plana de silnylon de 30 a 50 dólares e um Pegada do Abrigo para proteção do solo. Domine os três nós. Faça duas dormidas no quintal. Depois decida se deve fazer um upgrade para uma lona moldada ou para uma tenda de lona como a Blackthorn com base no que realmente viveste.
Cenário 6: Quando NÃO se deve acampar com tarp
5 abrigos fáceis com tarp em 10 minutos
Nem todos os cenários de campismo são adequados para uma lona. Eis os cinco fatores de exclusão.
Regiões com chuva intensa e consistente. Where The Road Forks relata que os tarps em climas consistentemente húmidos requerem seleção do local e ajuste da montagem ao nível de especialista.
A maioria dos campistas nunca desenvolve esse nível de competência. Se a sua previsão meteorológica habitual inclui chuva durante vários dias, compre uma tenda.
Condições de inverno e neve. A carga de neve nas lonas cria uma barriga que acumula água derretida diretamente sobre o seu sistema de dormir.
Sem experiência significativa em campismo de inverno, uma tenda fechada com uma estrutura adequada para neve é a escolha mais segura.
Viagens em grupo em que outros precisam de abrigo fechado. Se os seus parceiros de campismo precisarem de proteção contra insetos, privacidade ou abrigo contra o vento, o grupo opta por tendas por defeito.
Um entusiasta de toldos num grupo de campismo em tenda cria problemas logísticos para todos.
Claustrofobia ao contrário. Alguns campistas não gostam da abertura do campismo com lona.
A sensação de exposição e o contacto direto com os sons do exterior mantêm-nos acordados. Trata-se de uma preferência legítima, não de uma lacuna de competências.
Falta de vontade de praticar o lançamento. O guia da Alpkit e todas as outras fontes concordam: acampar com tarp exige prática.
Se saltar as sessões no quintal, a sua primeira noite na natureza selvagem será frustrante e potencialmente perigosa em caso de mau tempo.
{% include 'youtube', id: 'E7QfuUMpPd0' %}
Veredicto: Se algum único fator desqualificador se aplicar, ignore a lona e invista numa tenda ultraleve. A penalização de peso é de 8 a 16 onças. O ganho em conforto e segurança é significativo. Navegue pelo Coleção de abrigos Onewind para opções de tenda que se mantenham abaixo de 2 libras.
Erros Comuns que Estragam as Viagens de Iniciantes
Cada erro abaixo é uma falha de planeamento, não uma falha de técnica no acampamento.
A reclamação mais comum da comunidade r/Ultralight em relação às lonas é a condensação. Mas a condensação é, na verdade, o terceiro erro desta lista, porque os dois primeiros erros criam resultados piores que os principiantes acabam por atribuir ao equipamento.
Corrija estes cinco erros antes da sua primeira viagem e a pernoita será simples.
Erro 1: Chegar Depois de Escurecer
O campismo com lona triplica a importância da escolha do local em comparação com o campismo em tenda, segundo a Where The Road Forks.
Encontrar um bom local para montar a lona demora 15 a 20 minutos a caminhar e a avaliar durante o dia.
No escuro, escolhe-se o primeiro local plano. Esse local plano é normalmente uma depressão onde a água se acumula às 3 da manhã, ou uma crista exposta ao vento onde a tua lona ondula durante toda a noite.
Planeie a sua quilometragem para chegar com pelo menos 90 minutos de luz do dia. Os locais para tarp precisam de mais tempo de avaliação do que os locais para tenda, porque está a construir um abrigo a partir da paisagem, e não apenas a montar uma estrutura independente.
Erro 2: Assumir que todos os parques de campismo são equivalentes
Uma tenda pode ir para quase qualquer sítio plano. Um toldo não pode.
O guia de montagem da REI lista os fatores do local que importam para acampar com tarpa: inclinação do terreno, direção da drenagem, espaçamento entre árvores, direção do vento dominante e perigos suspensos.
Os melhores locais para tarps têm bloqueios naturais ao vento no lado de onde sopra o vento.
Uma ligeira inclinação descendente para longe da sua área de dormir evita a acumulação de água.
O guia de tarp da SectionHiker acrescenta que a composição do solo é mais importante do que a maioria dos principiantes espera.
O solo macio fixa bem as estacas. O terreno rochoso requer uma fixação diferente.
Comparei o tempo de seleção do local entre tipos de abrigo: uma tenda precisa de 2 a 5 minutos de avaliação.
Uma lona precisa de 10 a 15 minutos. Saltar este investimento garante uma má noite.
Erro 3: Subestimar a Condensação
A condensação não é um defeito da lona. É física.
O guia de condensação da Zpacks explica o mecanismo: o ar quente e húmido do seu corpo encontra o tecido fresco do abrigo e liberta água.
Quanto menos ventilação o seu abrigo tiver, mais condensação irá acumular.
O controlo crítico é o espaço livre no solo.
Manter a extremidade inferior do seu abrigo 4 a 6 polegadas acima do nível do solo permite a circulação de ar que afasta a humidade.
Acampar perto de água aumenta a condensação, independentemente do tipo de abrigo.
Mantenha o acampamento a 100 pés de lagos, ribeiros e rios sempre que possível.
Erro 4: Comprar equipamento premium antes da primeira viagem
A comunidade r/Ultralight aconselha regularmente os principiantes a não comprarem toldos DCF de mais de 400 $ como o seu primeiro abrigo.
A razão é simples.
Não sabe que tipo de lona se adequa ao seu estilo de campismo até ter algumas noites sob uma lona.
Uma lona plana de silnylon de 40 $ ensina-lhe tudo o que uma lona DCF de 400 $ ensina sobre a escolha do local, a montagem e o controlo da condensação.
A única diferença é um peso de 6 a 8 onças.
A análise de custos de Adventure Alan mostra um claro retorno decrescente acima dos 200 $ para uso recreativo.
O escalão de 80 $ a 200 $ oferece 80% do desempenho premium.
Comece por algo barato. Durma por baixo dele algumas vezes. Depois compre o Tenda Tarp Ultraligeira Blackthorn ou uma lona com formato DCF com base no que realmente aprendeu.
Erro 5: Ignorar as mudanças meteorológicas no dia da chegada
O campismo com lona exige atenção às condições meteorológicas que o campismo em tenda perdoa.
Uma tenda suporta chuva inesperada sem necessidade de alterar a configuração. Uma lona pode exigir ser montada novamente de uma estrutura em A para um abrigo de encosto baixo, se a direção do vento mudar ou a intensidade da chuva aumentar.
O guia de lonas da Backpacker Magazine recomenda verificar a previsão meteorológica nas 2 horas anteriores à chegada e ajustar o seu plano de montagem em conformidade.
A montagem de contingência é o abrigo encostado com o lado fechado virado para as condições meteorológicas. Aprenda esta configuração no seu quintal para a poder executar rapidamente em condições adversas.
A transportar um Manga para lona acelera a desmontagem e a montagem em condições de deterioração, porque pode guardar a lona rapidamente sem a enrolar.
A Lista de Verificação para uma Decisão Rápida
Navegar o Coleção de abrigos Onewind depois de passar por esta lista de verificação.
Se todas as verificações apontarem para “tarp”, comece pela opção mais barata que se enquadre no seu cenário, na tabela de Resposta Rápida.
Se a vontade de praticar a técnica for baixa e o tempo estiver instável, o Tenda Tarp Ultraligeira Blackthorn oferece um peso semelhante ao de uma lona com a simplicidade de montagem de uma tenda.
Os limiares são claros: cruzamento de 24 onças, 3 nós essenciais para lonas planas, escalão de valor de 80 a 200 dólares para a maioria dos utilizadores.
Associe o seu cenário à estrutura acima.
Comece por algo barato se for novo.
Atualize após as suas primeiras saídas com a lona, com experiência real a informar a sua decisão.