A standard 10-stake camp kit can cover four tent corners, two vestibule or fly points, and four spare guyline points, but the tent can still fail if those stakes are pointed at the wrong load.
I checked REI's tent setup guidance, Cascade Designs/MSR support notes, Leave No Trace campsite guidance, and Onewind's stake specs before writing this.
The pattern is consistent: a secure pitch starts before the stake touches the ground.
Expert setup guidance from REI backs that order because wind, stake depth, fly tension, and wet-fabric re-checks all change the final pitch.
You choose the site, face the shelter correctly, control the first corner, seat the stake deep enough, tension the fabric evenly, and re-check the system after wind or rain changes the load.
The lower-regret rule is simple enough to use in the dark: stake the load path, not just the corners.
Here is the field version of how to stake a tent without waking up to a loose fly, a bent peg, or a trip line across the camp path.
What You'll Learn
You will learn the sequence, not a single magic angle.
Stake angle matters, but it matters less than the direction of the pull.
I keep the beginner mistake map focused on one pattern: treating every loop as the same job.
A corner loop holds the tent floor in shape.
A fly edge loop keeps the rainfly from sagging into the inner wall.
A mid-wall guyout pulls fabric away from your sleeping space and sends wind load into the soil.
The goal is to make each stake resist the pull it will actually receive.
Quick Answer
Use four corner stakes for a calm freestanding tent only as the starting point.
Add fly stakes when the rainfly needs shape.
Add guylines before wind turns the tent wall into a sail.
Carry spares because lost or bent stakes turn small problems into late-night repairs.
According to Cascade Designs/MSR, tents normally ship with the stakes and guy lines needed for a normal setup, but different conditions can require different stakes, guy lines, or replacement parts.
That source should change how you think about "enough stakes."
Enough for the manual is not always enough for sand, a front passing through camp, or a fly that stretches after midnight rain.
The Decision Framework

Start with the ground.
Leave No Trace recommends durable surfaces for tents and camp gear, so a good stake location is also a low-impact location.
I use this order: durable surface, tent orientation, first anchor, corners, fly, guylines, final walk-around.
Wind changes the order.
According to REI, campers should stake corners early in windy setup conditions, then continue the pitch under control.
On a calm evening, you can spread the tent body and work around the corners.
On an exposed ridge, one loose corner can make the shelter behave like a kite.
Rain changes the finish.
REI also advises even rainfly tension and checking tension after wet fabric stretches.
That late re-check is where many clean-looking pitches fail.
So the decision is not "30 degrees or straight down" in isolation.
The decision is what the line is pulling, what the soil can resist, and whether the setup will still be tight after the weather touches it.
Fit Test 1: Load Rating Is Not Comfort Rating
How to Adjust Tent Guy Lines with Tensioners

The heading says load rating, but the camping version is load path.
A stake does not hold a tent because the package says "stake."
It holds because the line pulls against a buried shape and the soil resists that pull.
I compared the common loop points on backpacking tents and tarps, and they do not ask the stake to do the same job.
A corner stake mainly keeps the tent floor geometry from creeping.
A fly edge stake shapes the rainfly so water sheds away from the inner tent.
A guyline stake moves wind force from a broad fabric panel into the ground.
According to REI, stakes should usually be driven fully into most soil with only enough exposed for the tie-down cord.
Shallow stakes feel faster at setup, but they reduce the amount of soil holding the load.
The comfort result shows up later.
A loose fly can touch the inner wall, a flapping side panel can steal sleep, and a shifted floor can make a door harder to zip.
Fit Test 2: Weather, Bugs, and Insulation Still Need to Fit
How to use Tent Line Tensioners

Weather does not ask whether the tent is technically standing.
Weather tests whether the fly is tight, the wall is supported, and the ground still grips after moisture softens it.
I check three points before dark: fly gap, guyline direction, and runoff path.
The fly gap matters because wet fabric can sag.
According to REI, campers should tension the rainfly evenly and re-check tension after wet fabric stretches.
Bug protection depends on that same geometry.
If the fly presses the inner tent, moisture and fabric contact can make the inside feel worse even when the bug net itself is fine.
Insulation also depends on stable space.
A tent wall that slaps or leans inward can brush sleeping bags, pads, and gear.
The fix is not more force at one corner.
The fix is balanced tension across the fly, enough guyline support at broad panels, and a final hand-pull on each anchor before you stop working.
Use a wider or longer anchor when the ground cannot hold the pull.
Do not expect a short general stake to solve every soft surface.
Fit Test 3: Include a Step By Step Pitching Sequence From

The useful sequence starts at site choice and ends after the final re-tension.
Step 1: choose a durable, drainable surface where staking will not tear vegetation or put the tent in runoff.
Step 2: orient the shelter so the narrow end or strongest side faces the wind when the shelter design allows it.
Step 3: in wind, stake the windward corner before spreading the tent body.
Step 4: stake the remaining corners enough to square the floor without pulling the fabric out of shape.
Step 5: add poles or structure according to the tent design.
Step 6: stake fly edges, vestibules, and footprint corners that affect rain protection.
Step 7: add guylines before bad weather, not after the fly starts slapping.
Step 8: tension evenly, then walk the tent perimeter and hand-check every anchor.
Step 9: after rain begins or the fabric cools and relaxes, re-check the fly before sleeping.
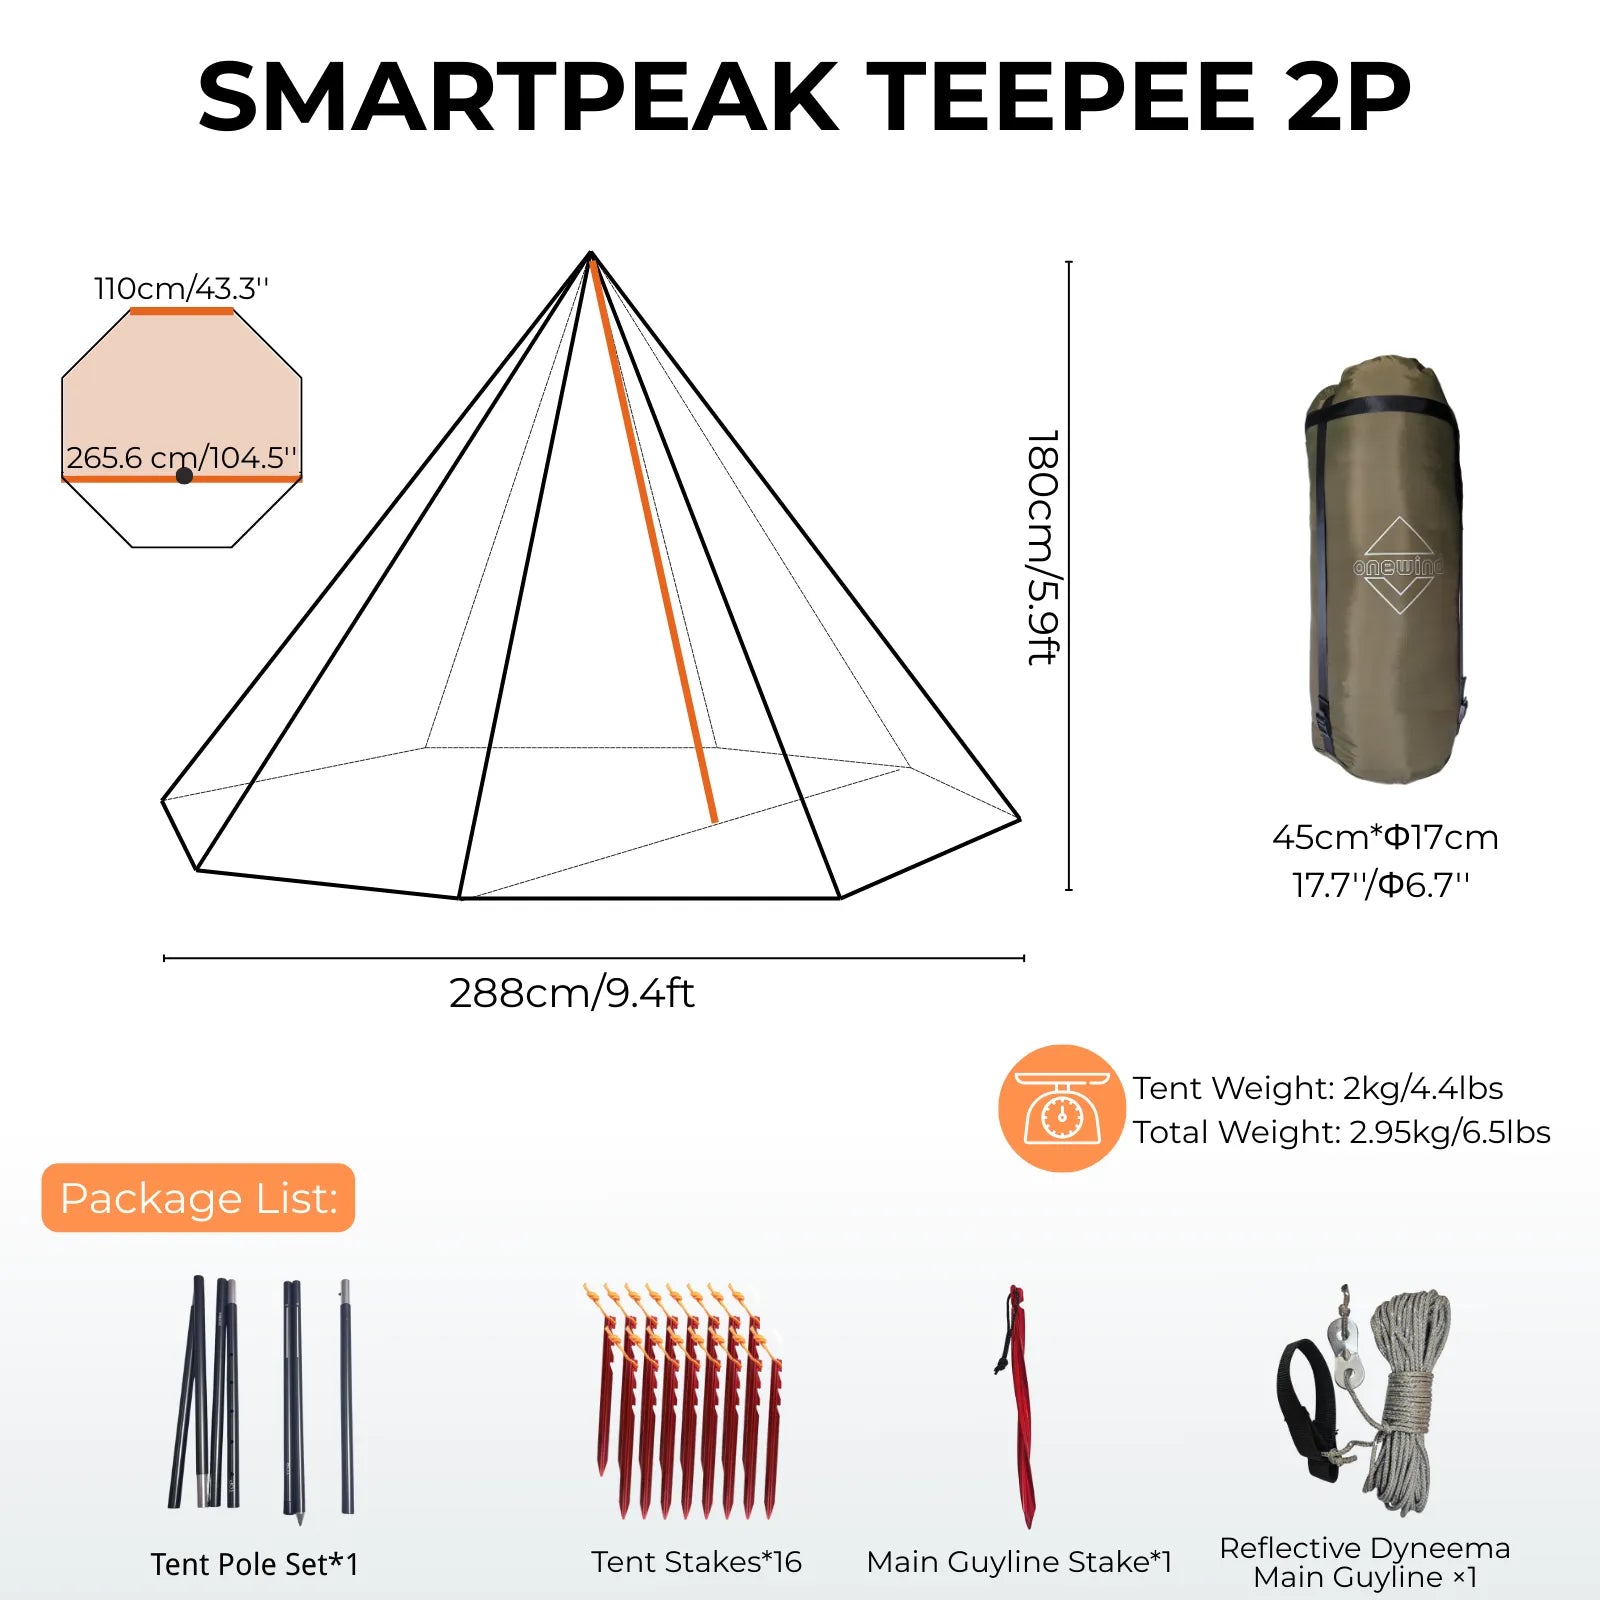
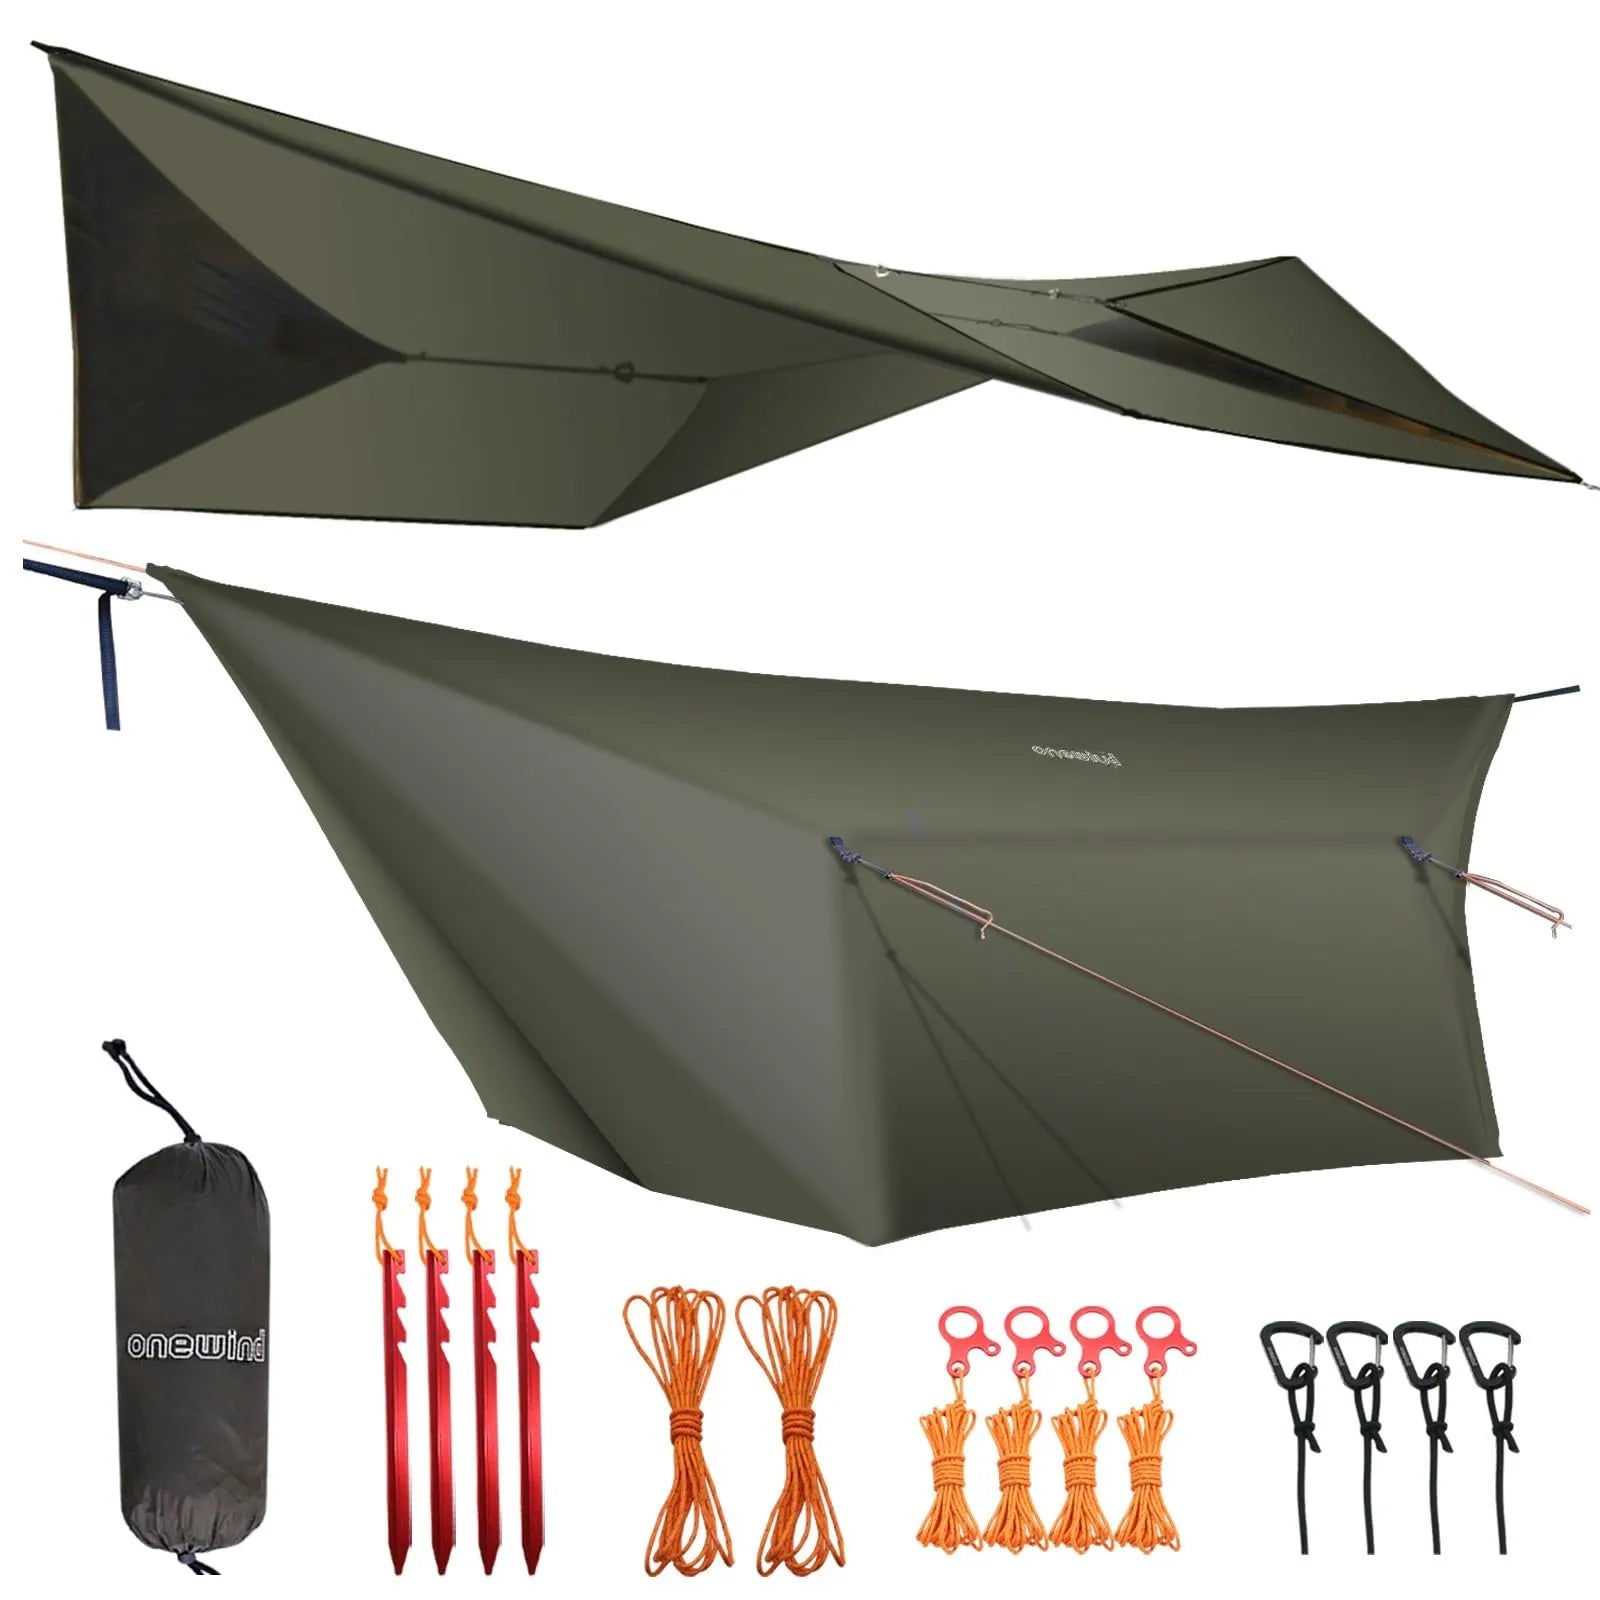
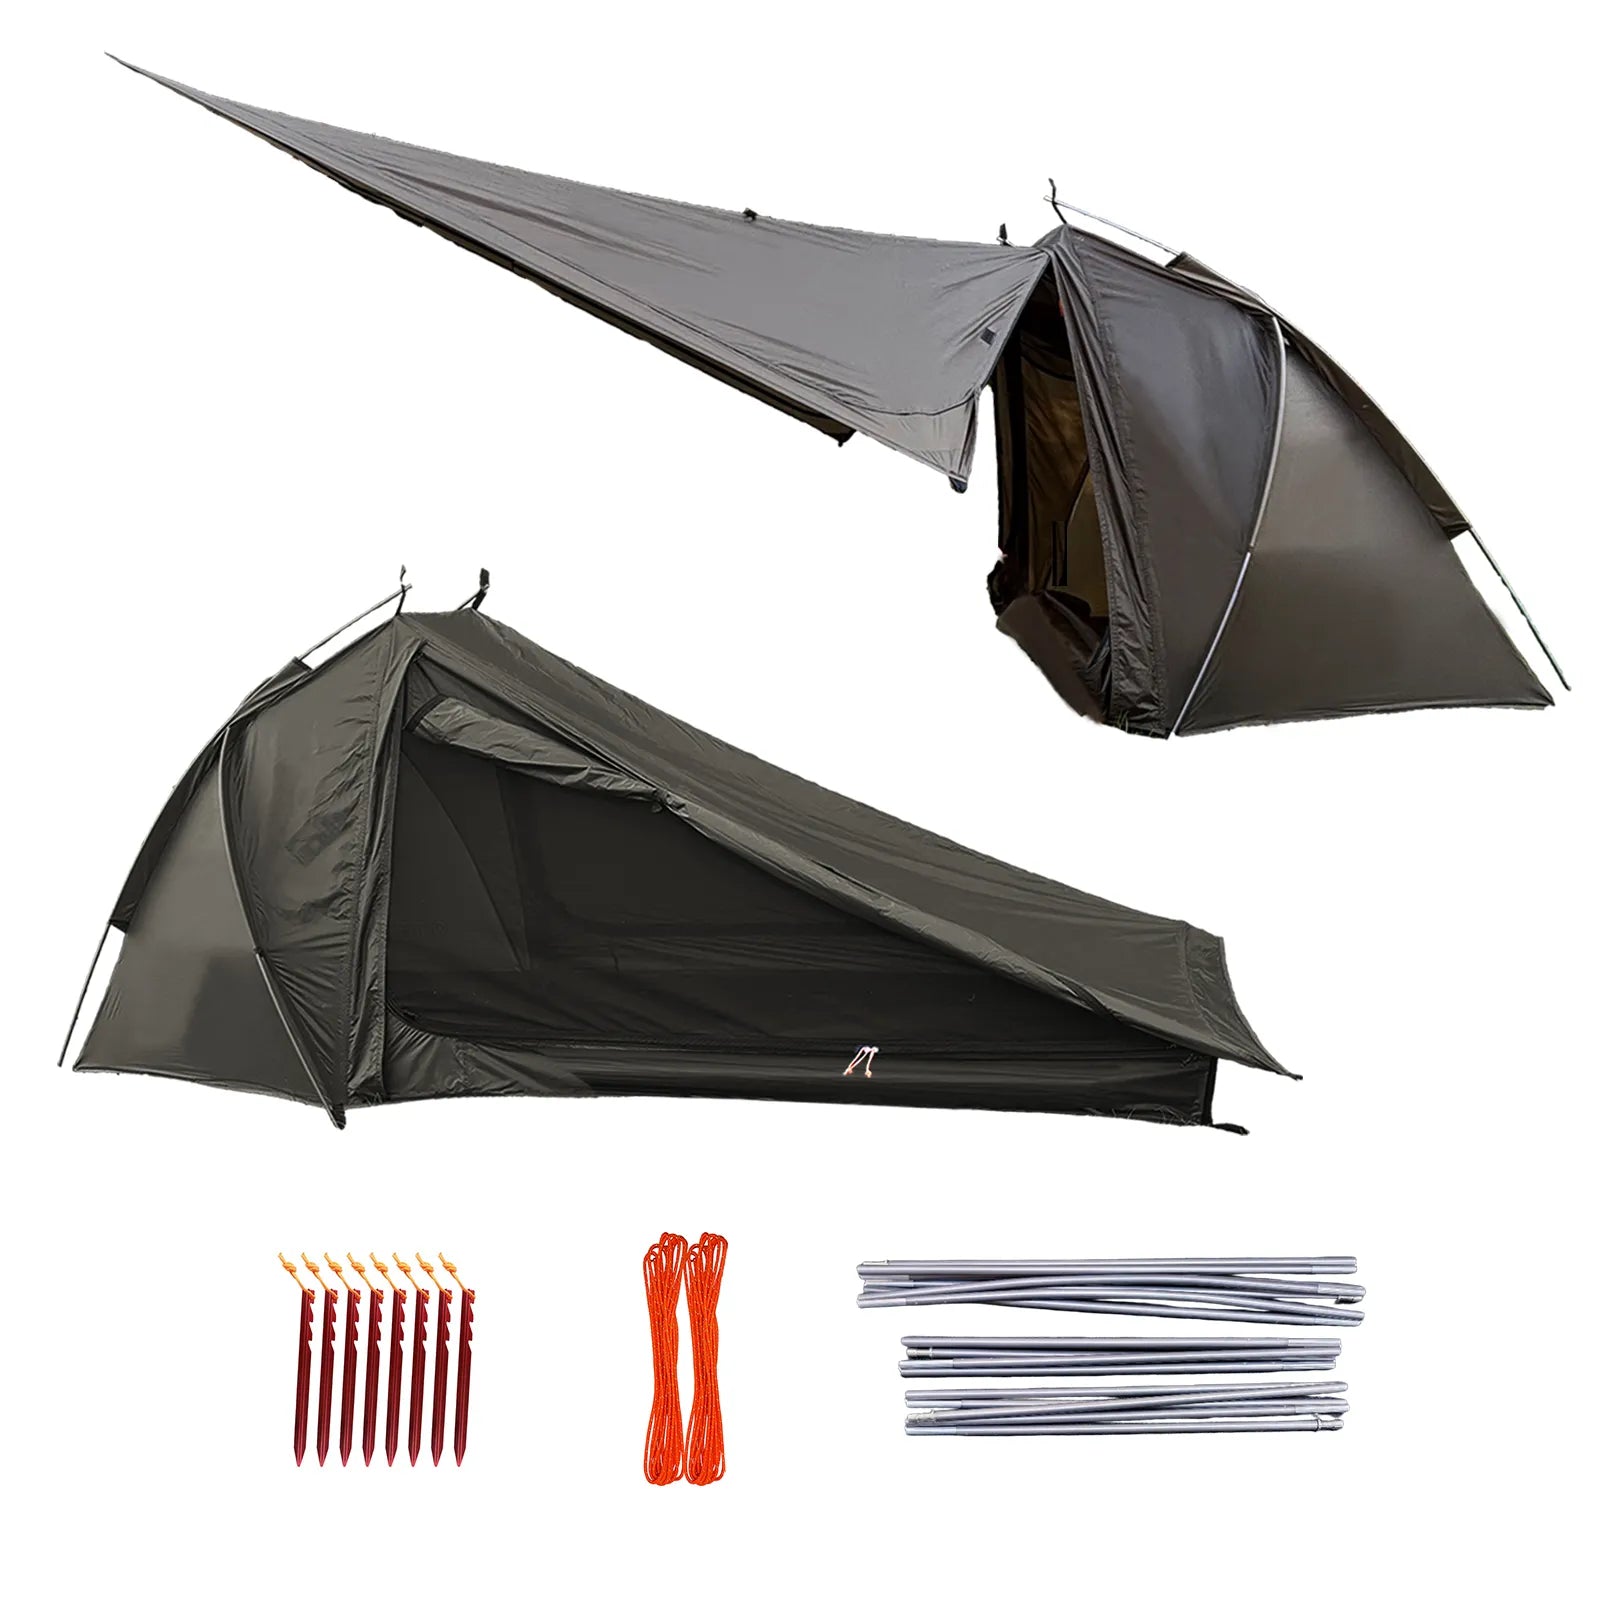
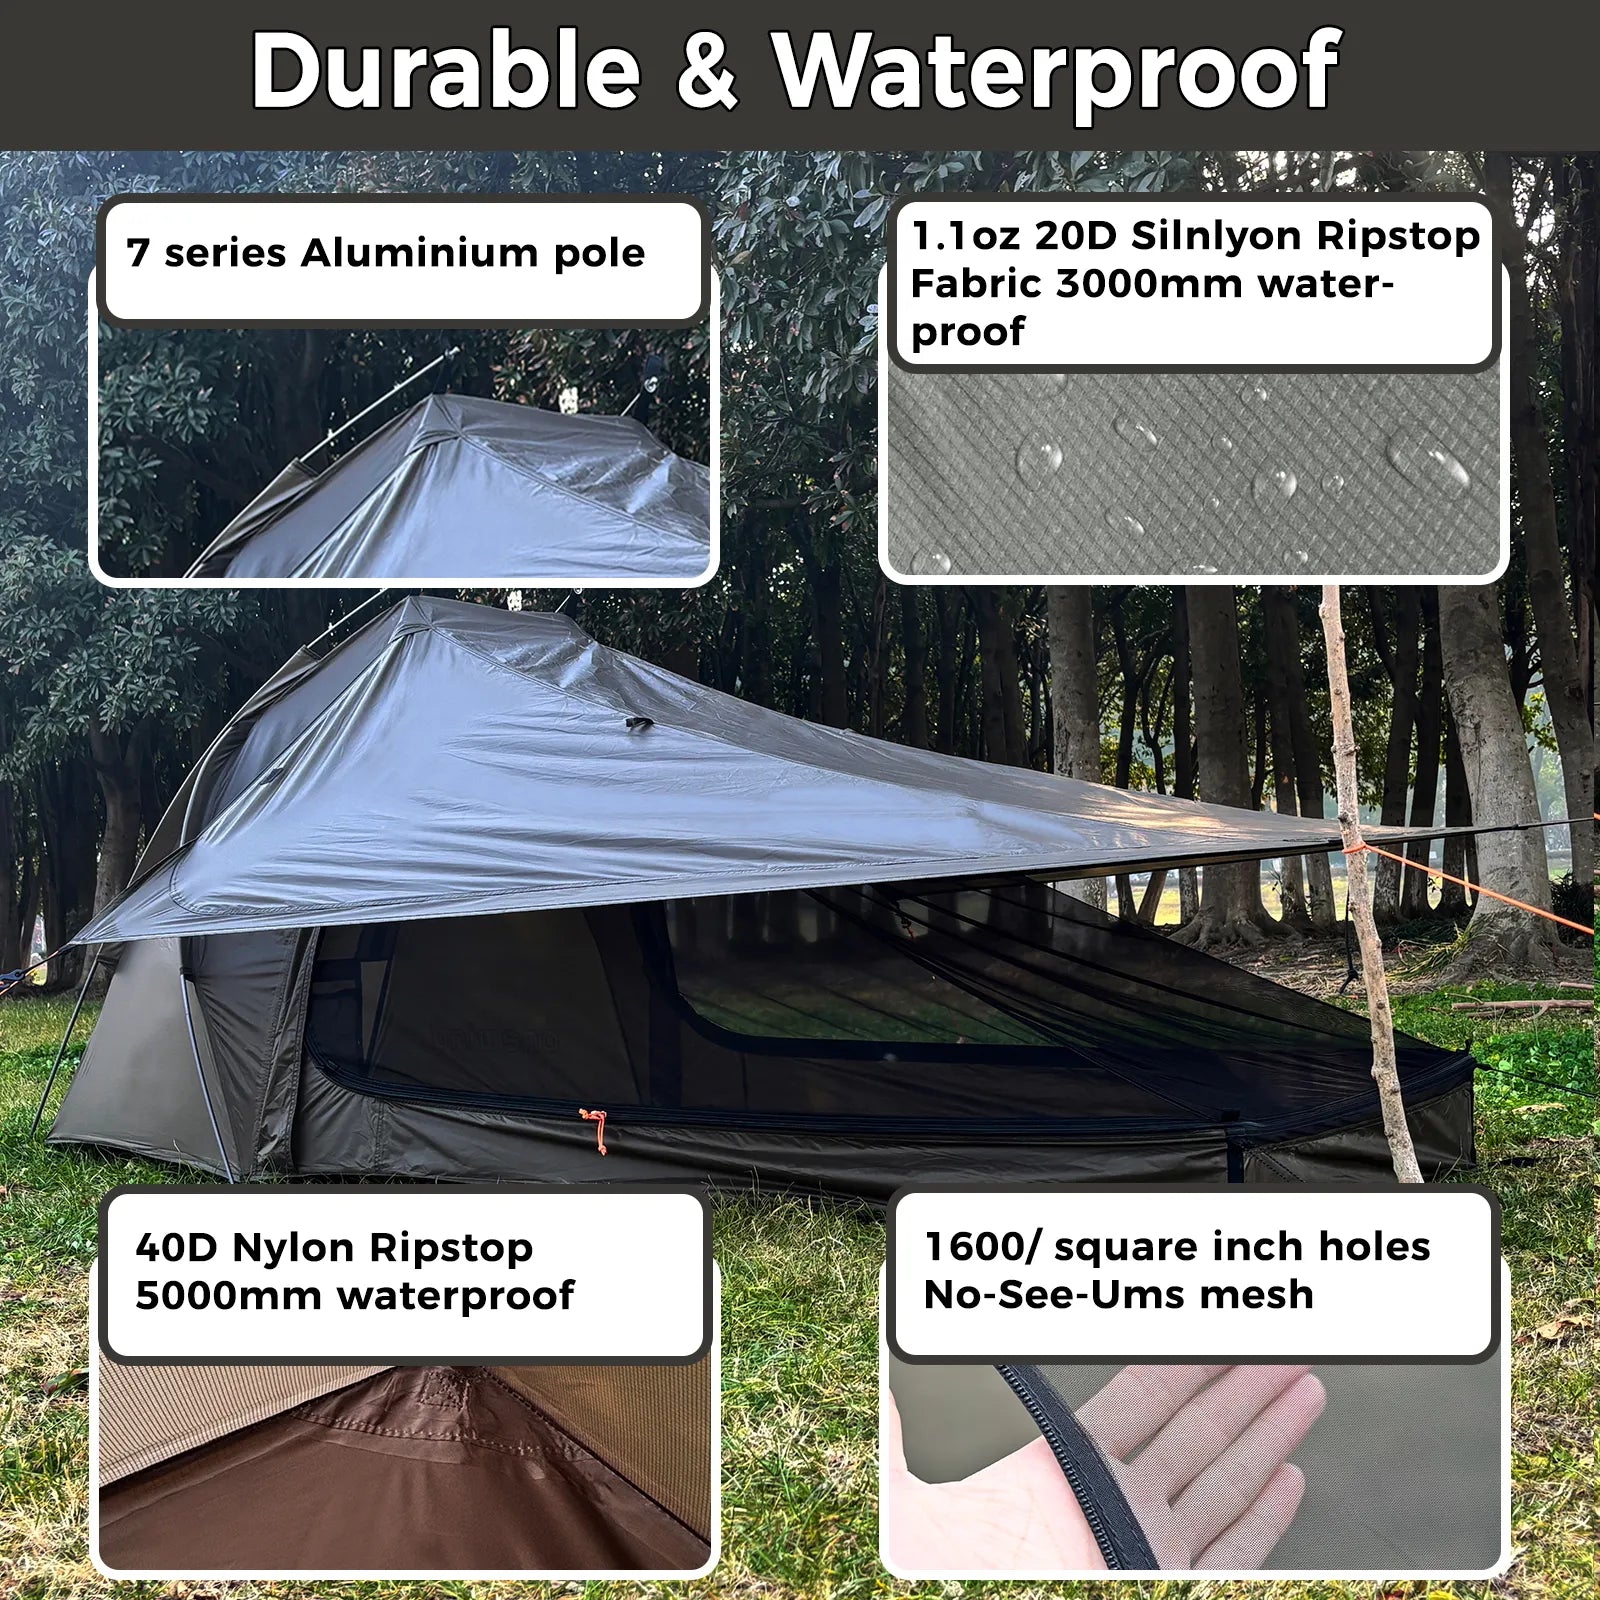
For a general soil kit, Onewind Aluminum Tent Stakes fit this sequence because they use 7075 aluminum, a Y-shaped body, three latch points, reflective pull cords, and a 7-inch length at 15 grams per stake.
Treat those specs as a general lightweight tool, not permission to force a stake into rock or rely on it alone in sand or snow.
Scenario 1: Beginner car camper on firm soil who thinks a freestanding tent does not need stakes.

The tent stands on its poles in the driveway, so the beginner skips the stakes.
The risk arrives after the first gust or the first wet fly sag.
A freestanding tent can stand without stakes, but it does not hold its shape or weather protection as well without anchors.
According to REI, staking the tent helps keep the structure in place, and stakes should be driven fully into most soil.
On firm soil, the right call is boring and reliable.
Square the tent body, fully seat the four corner stakes, attach the fly, then tension all sides evenly.
Do not crank one corner until the floor distorts.
A small hand pull on the line should feel secure before you move on.
If the tent has a vestibule, stake it too because that is often where rain protection and door access depend on shape.
A 10-pack of lightweight stakes gives this camper enough anchors for four corners, fly points, and spares without making the car-camping kit complicated.
Verdict: Stake the freestanding tent anyway, because firm soil makes the extra two minutes cheap and the overnight protection much better.
Scenario 2: Backpacker on windy exposed ground who must control one corner before the tent becomes a kite.

The exposed-site problem starts before the poles are in.
A loose tent body can catch wind while you are still sorting clips, sleeves, or poles.
Reddit camping discussions about windy setup often start with the same move: control one corner first, then continue the pitch.
REI's guidance points the same direction by recommending early corner staking in wind.
Face the shelter into the wind according to the tent design, then pin the windward corner.
Keep the fabric low while you assemble the structure.
Once the tent is upright, add the remaining corner stakes and move quickly to guylines.
Do not wait for the first hard gust to decide whether the side panel needs support.
Cascade Designs/MSR notes that different conditions may require different stakes or guy lines, which matters on exposed ground.
If the supplied stake spins in the soil, change the angle, find firmer ground, use a backup anchor, or move the tent before relying on hope.
Verdict: In wind, stake the first corner before the tent is fully pitched, then add guylines as part of setup rather than as an emergency repair.
Scenario 3: Rainy campsite where the fly stretches overnight and needs re-tensioning.

The rainy-camp problem is not always a leaking fabric problem.
Often, the fly relaxes, touches the inner tent, or sends runoff toward the wrong place.
REI specifically recommends even rainfly tension and re-checking tension after wet fabric stretches.
Build that re-check into the pitch before you crawl into the sleeping bag.
Stake the corners, set the fly, then tension each side in small changes rather than yanking one corner tight.
Look from the door toward the fly edge.
You want an air gap between the fly and the inner tent.
You also want the footprint tucked under the tent body, not sticking out where it can catch water.
If rain starts after dinner, walk the perimeter with a headlamp and hand-check the fly edge stakes.
If one side sags, tension opposite points gently until the shape looks even again.
Verdict: For rain, the winning move is even fly tension plus a second tension check after the fabric gets wet.
Scenario 4: Soft sand or snow campsite where normal stakes pull out unless the camper uses a deadman or wider anchor.

Soft ground changes the job completely.
A normal short stake may slide out because the soil or snow cannot grip the narrow profile.
REI points campers toward sand or snow stakes for those environments rather than treating one stake style as universal.
In soft sand, burying a deadman anchor can work better than hammering a narrow stake deeper.
In snow, a wider snow stake or buried object spreads the load across more material.
The same load-path rule still applies.
The line pulls, the buried anchor resists, and the surrounding material supplies holding power.
If the anchor pulls out during a firm hand test, it will not become stronger at 2 a.m.
Do not bury fragile trash or damage the site to create an anchor.
Choose an appropriate stake, a deadman method, or a more durable campsite.
Verdict: In sand or snow, stop treating a normal tent stake as the answer and use a wider anchor, deadman setup, or different site.
Scenario 5: Rocky or root-filled site where forcing a stake bends it and a different location or rock-assisted anchor is smarter.

Hard ground tempts people to swing harder.
That is how weak stakes bend, cords fray, and roots get damaged.
NPS Denali includes rock, sand, gravel, and snow among durable surfaces in the right context, but that does not mean every rock pocket accepts a normal stake.
Probe the soil with the stake before committing.
If the tip hits rock or root, move the anchor point a few inches and try again.
If the site allows rock assist, wrap the line so the rock holds tension without sawing the cord or crushing fabric.
Keep the pull aligned with the guyline.
A rock sitting beside the stake can reduce sideways movement, but it should not replace judgment about the site.
Never pound through a root just to keep the tent perfectly centered.
The smarter move is a slight tent shift, alternate guyline angle, or different spot.
Verdict: In rock or roots, protect the stake, cord, and campsite by moving the anchor or using careful rock assist instead of forcing the peg.
Scenario 6: Night campsite where dark guylines and low stakes create trip hazards.

The last failure mode is not weather.
It is the half-awake walk from the tent door to the bear can, water bottle, or bathroom spot.
Dark cord across a natural path can surprise people even when the tent itself is pitched well.
I checked this against the product detail that actually matters at night: reflective pull cord.
Reflective cord does not remove every risk, but it gives a headlamp something to catch.
Start by routing guylines away from the main door path.
Keep lines low and predictable rather than crossing walkways at shin height.
Use the minimum line length needed for the load.
If a guyline must cross a traffic area, change the traffic area.
The night walk-around is also the moment to count stakes, because reflective pull cords make removal easier the next morning.
Verdict: A safe night pitch uses visible, predictable lines and avoids routing guylines across the places people naturally walk.
Common Mistakes With How to Stake a Tent

The pattern behind most stake mistakes is rushing from "tent is standing" to "camp is done."
A standing shelter is only one checkpoint.
The better checkpoint is whether each line has a job, each stake resists that job, and the layout still works after weather and darkness arrive.
The next mistakes are the ones I would fix first because they create the most overnight regret.
Mistake 1: Skipping the Backyard Movement Test

The backyard test is not about pretending the lawn is the campsite.
It is about learning which loop controls which part of the shelter before rain or wind adds pressure.
Pitch the tent once in daylight and pull each line by hand.
Watch what moves.
If a corner pull shifts the floor, that loop holds shape.
If a mid-wall guyline opens interior space, that line stabilizes the wall.
If a fly edge pull changes the vestibule, that stake affects rain coverage.
I judge the value of this test by how many decisions it removes in the field.
You stop guessing which line matters first.
You also learn how many stakes your actual tent uses before you pack only the minimum.
Mistake 2: Include a Step By Step Pitching Sequence

The mistake is treating pitching as a pile of parts instead of an order of operations.
Wrong order creates extra work.
In wind, raising a loose tent before anchoring a corner makes the job harder.
In rain, forgetting the fly edge points can put wet fabric against the inner wall.
In darkness, adding guylines after everyone has chosen walking paths creates trip lines.
Use the same sequence every time: site, orientation, first anchor, corners, structure, fly, guylines, tension, re-check.
According to REI, wet fabric can need another tension check, so the sequence should not end the moment the poles stand.
The final step is a perimeter walk.
In the field report version, this walk catches the stake that looked fine from above but wiggles under a firm hand pull.
Touch every stake, look at every line, and fix the weak point before you stop.
Mistake 3: Corner Stake Loops Fly Edge Loops

The mistake is pretending every loop does the same job.
Corner loops usually set the footprint.
Fly edge loops shape rain protection.
Mid-wall guyouts create space and reduce fabric movement.
Mixing them up leads to the wrong fix.
If the rainfly is touching the inner tent, yanking a floor corner may not solve it.
If a wall panel is slapping, the missing support may be a guyout, not another corner adjustment.
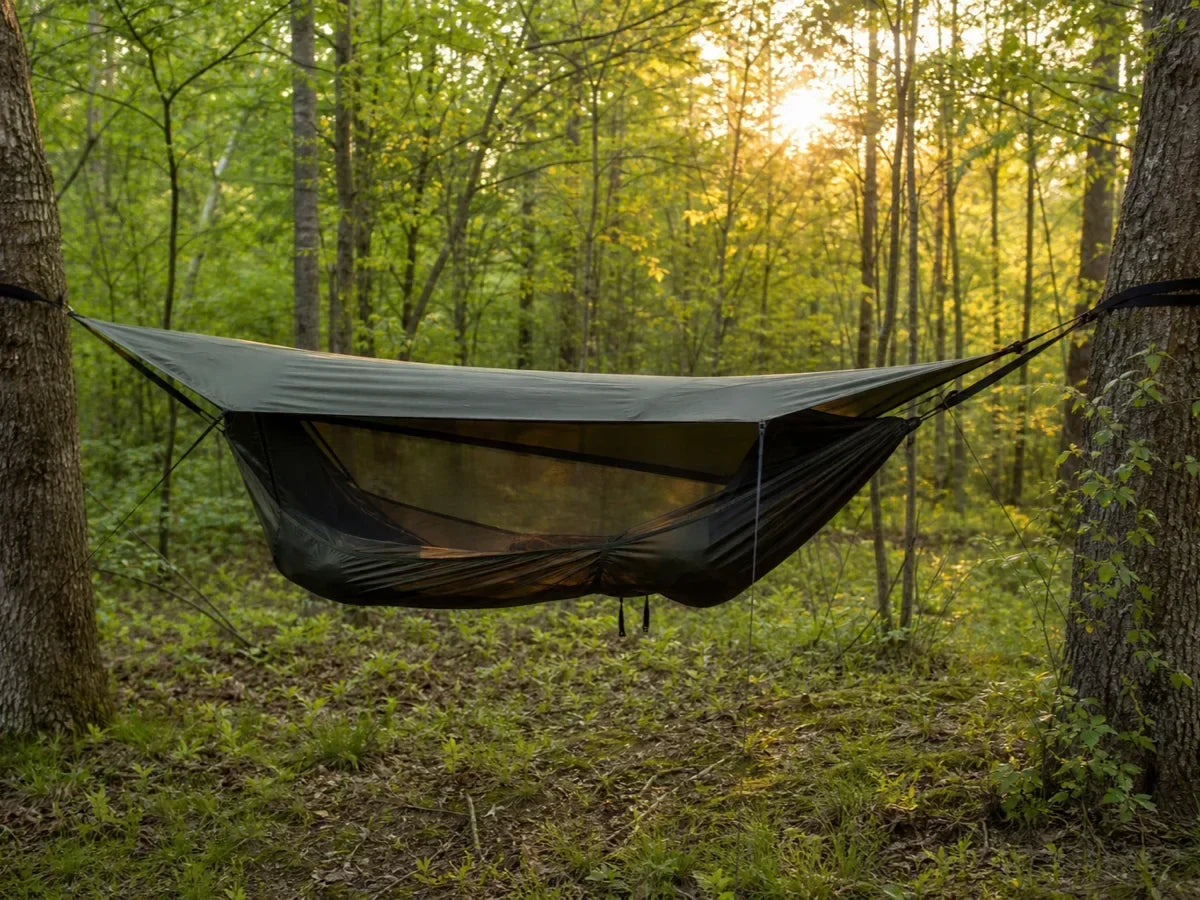
Onewind's tent stake collection points to the same practical idea by grouping stakes around tents, tarps, canopies, groundsheets, and hammock rain fly use.
Different shelter pieces ask anchors to do different work.
Name the job before you choose the stake point.
Mistake 4: Include a Ground Type Decision Table Covering
The mistake is asking one stake to solve every ground type.
A 7-inch aluminum Y stake can be a useful general anchor in normal soil because the shape gives more bite than a round pin of similar weight.
That does not make it a sand anchor, snow anchor, rock drill, or frozen-ground tool.
According to REI, sand and snow call for stakes designed for those environments.
According to Leave No Trace, durable surfaces matter, and campers should avoid expanding damage around a site.
Match the anchor to the ground before you add force.
If the first hand-pull fails, change the anchor or the site.
Mistake 5: Include a Common Mistakes Section No Stakes

The mistake is assuming "freestanding" means "finished."
Freestanding means the pole structure can stand without needing stakes for basic shape.
It does not mean the tent is protected against wind shift, rainfly sag, vestibule collapse, or a footprint catching runoff.
According to Cascade Designs/MSR, the normal setup uses the supplied stakes and guy lines, with different anchors needed when conditions change.
That is a gear-system statement, not a decoration note.
Use the stakes that make the shelter function as designed.
If you want a simple general kit, a lightweight 10-pack of tent stakes can cover the basic pitch plus backups for many soil campsites.
If the campsite is sand, snow, frozen, or rocky, pick the anchor for that ground instead of trusting the word freestanding.
The Quick Decision Checklist
Run this checklist before your headlamp goes off.
If one row fails, fix that row before adding more force somewhere else.
I would rather move one stake in daylight than wake up to a wet fly touching the inner tent.
For general tent, tarp, groundsheet, canopy, and hammock rain fly setups on normal soil, Onewind Aluminum Tent Stakes are a good match because they combine 7075 aluminum, a Y shape, three latch points, reflective pull cords, and a 10-pack format.
For the wider shelter system around those anchors, compare tarps, tents, and rain protection in the Tarps & Shelters collection.
For sand, snow, frozen ground, or high-exposure wind, choose the anchor method first, then decide whether a general stake belongs in that setup.

Shop the recommended setup
Shop Now →