
Saskaņā ar REI ekspertu pajumtes ceļvedi, bivaka telts jūsu gulēšanas sistēmai pievieno aptuveni 10 grādus pēc Fārenheita siltuma, vienlaikus sverot no 1 līdz 2 mārciņām.
Tas izklausās pēc pašsaprotama uzlabojuma salīdzinājumā ar 3 līdz 5 mārciņu pārgājienu telti.
Bet r/Ultralight kopiena stāsta pavisam citu stāstu. Visvairāk atbalstītais padoms bivaka guļammaisu ziņkārīgiem iesācējiem ir trīs vārdi: "vienkārši iegādājieties telti."
Abas puses ir pareizas. Atšķirība ir scenārijā.
Es salīdzināju svara datus, kondensācijas ziņojumus un lauka apskatus no 15 avotiem, lai izveidotu lēmumu pieņemšanas sistēmu.
Ietvars balstās uz trim sliekšņiem: 1 mārciņas pārejas punktu, 2 nakšu komforta robežu un 15 grādu Fārenheita kondensācijas kritumu.
Ja jūsu scenārijs atbilst visiem trim kritērijiem, bivaka telts ir vieglākais ceļš uz iespēju pavadīt nakti.
Ja kāds no sliekšņiem tiek pārsniegts, telts uzvar, un bivaks kļūst par lieku nastu, ko nožēlosiet, ka nesāt līdzi.
Ko jūs uzzināsiet
Šis ceļvedis izlaiž vispārējo plusu un mīnusu formātu.
Tā vietā tas piešķir piecus reālus kempinga scenārijus konkrētam bivaka tipam, budžeta līmenim un ekipējuma kontrolsarakstam.
Ātra atbilde
Izlaidiet bivaku un iegādājieties īpaši vieglu telti, ja kempingojat 3 vai vairāk naktis pēc kārtas, kempingojat pastāvīgi mitrā klimatā vai jums nepieciešama vieta partnerim.
Iegādājieties bivaku telti, ja kempingojat vienatnē 1 līdz 2 naktis un jums nepieciešama uzstādīšana mazāk nekā 60 sekundēs ar minimālu iepakojuma apjomu.
Bivi telšu kategorija tieši risina kondensāta un klaustrofobijas problēmas, kuru dēļ tradicionālās bivi ir kļuvušas par rīku tikai speciālistiem.
Lēmumu pieņemšanas ietvars
Trīs kritēriji nosaka, vai bivi telts ir pareizā izvēle.
1 mārciņas šķērsošanas punkts. Saskaņā ar Outdoor Gear Lab pārbaudītajiem reitingiem OR Helium Bivy sver 15,8 unces.
Zpacks PlexSolo telts sver 13,9 unces.
Virs 16 uncēm kopējā patvēruma svara lielākā daļa ultralielo pārgājienu cienītāju izvēlas telti, jo dzīvojamības ieguvums atsver iepakojamības zudumu.
2 nakšu komforta slieksnis. Where The Road Forks ziņo, ka gandarījums par bivaku strauji samazinās, tiklīdz brauciens ilgst ilgāk par 2 naktīm, un lielākā daļa lietotāju vēlētos, lai būtu paņēmuši līdzi telti.
Nav ekipējuma uzglabāšanas. Nav pārģērbšanās vietas. Nav patvēruma no vētras.
Šīs uzkrātās komforta izmaksas pēc otrās nakts strauji pieaug.
15 grādu pēc Fārenheita kondensācijas slieksnis. SectionHiker 2025. gada ziemas bivaka ceļvedis dokumentē, ka elpojošās membrānas zem sasalšanas temperatūras zaudē 60 līdz 80 procentus no savas mitruma novadīšanas spējas.
Zem 15 grādiem jūsu bivaks kļūst par kondensāta slazdu neatkarīgi no materiāla kvalitātes.
Ja visi trīs sliekšņi norāda uz "bivy uzvar", turpiniet. Ja kaut viens slieksnis mainās, iegādājieties telti.
Scenārijs 1: Ultraleglais pārgājienu garo distanču gājējs
Jūs dodaties pārgājienā 20 līdz 30 jūdzes dienā pa PCT, CDT vai līdzīgu garu taku cauri sausam kalnainam apvidum.
Katra unce ir svarīga. Jūsu pamataprīkojuma mērķa svars ir mazāks par 10 mārciņām.
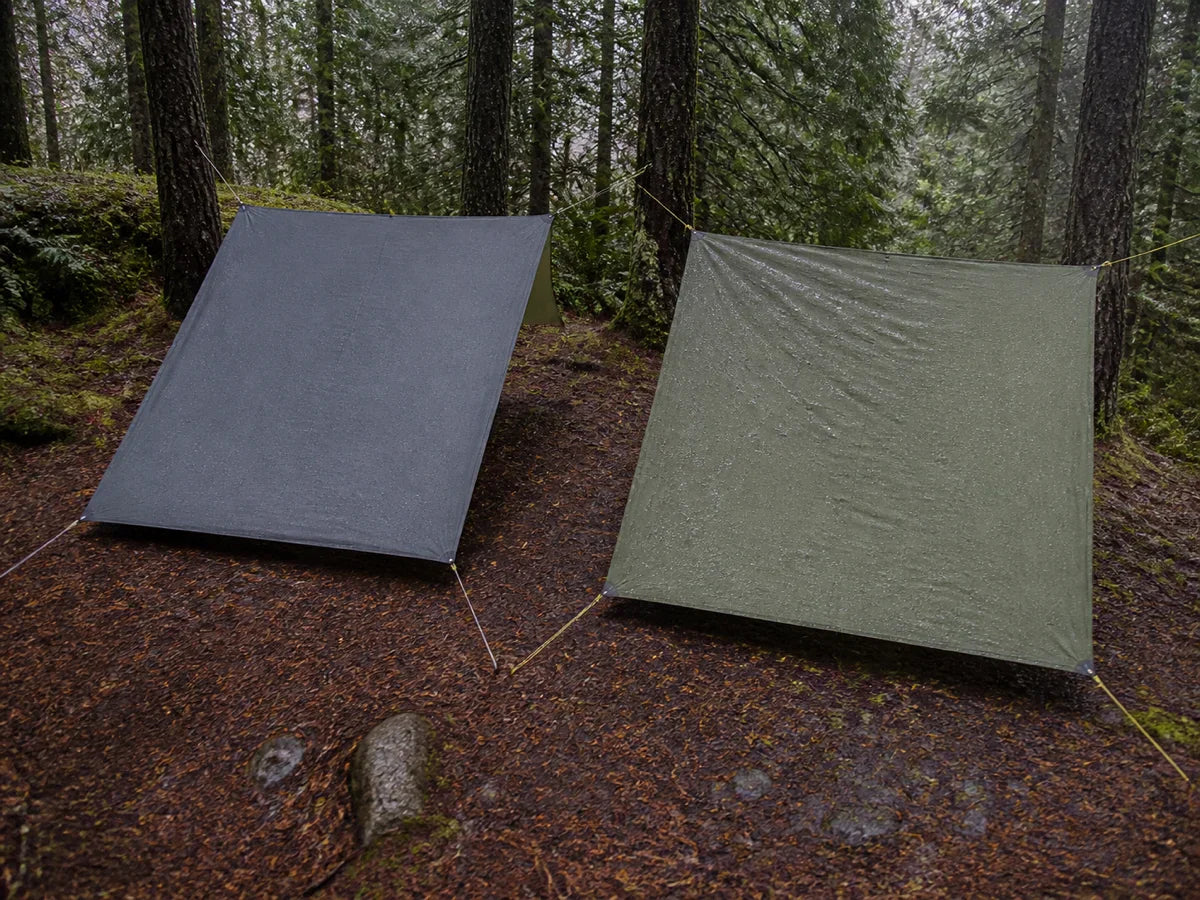
The Hiking Life ultralightais bivy ceļvedis, ko sarakstījis pārgājējs ar 20 000 taku jūdzēm, nosaka ideālo līdzsvaru: kukaiņu bivy no 5 līdz 10 uncēm kopā ar tarpni no 7 līdz 12 uncēm, veidojot kopējo sistēmu, kas sver mazāk nekā 1 mārciņu.
Šis komplekts nodrošina 90 procentus telts aizsardzības pie 50 līdz 60 procentiem svara, saskaņā ar MSR lauka rokasgrāmatu.
Āķis ir tāds: tas darbojas tikai sausos klimatiskajos apstākļos.
Sjēra, Klinšu kalni, Vējtveru kalnu grēda un Pireneji ir pārbaudīta vieta bivaka maisiņa un brezentu izmantošanai.
Klusā okeāna ziemeļrietumi novembrī tā nav.
Outdoor Gear Lab 2026. gada lauka testi rāda, ka pārejas punkts ir apmēram pie 16 uncēm.
Zem tā bivija un tentu kombinācija uzvar gan svara, gan iepakojamības ziņā.
Turklāt Zpacks PlexSolo svars — 13,9 unces — patiesībā ir vieglāks nekā vairums ūdensnecaurlaidīgo bivaku.
Šeit svarīgs ir bivaka tipa spektrs. Kukaiņu bivaks ar svaru no 5 līdz 10 uncēm nodrošina sieta aizsardzību pret kukaiņiem un vēja nepūstu gulēšanas vidi. Ūdensnecaurlaidīgs, elpojošs maiss ar svaru no 12 līdz 16 uncēm pievieno aizsardzību pret lietu, taču rada kondensāta kompromisu. Sausa klimata garo distanču pārgājieniem uzvar kukaiņu bivaks, jo ūdensnecaurlaidīgais slānis ir vajadzīgs reti.
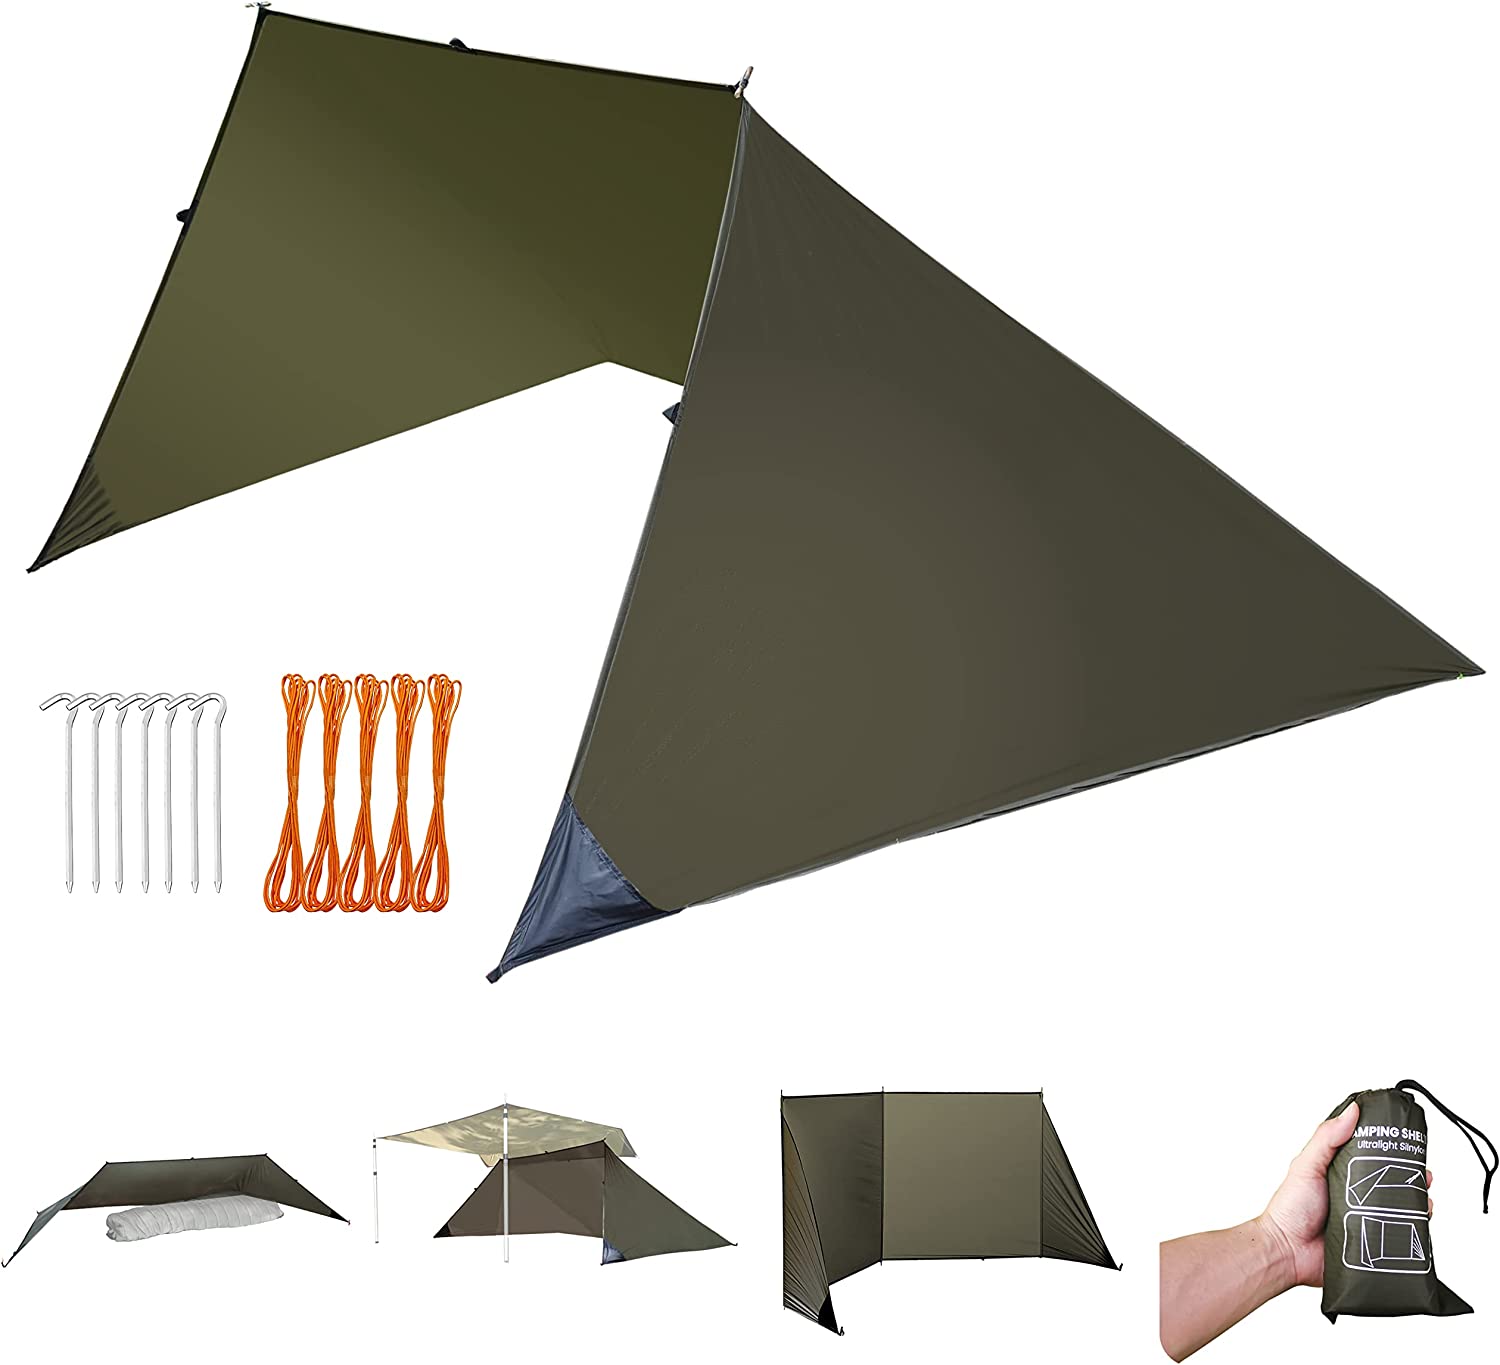
Spriedums: Sausā klimata pārgājieniem ar pilnu ekipējumu, kuru kopējais svars nepārsniedz 16 unces, kukaiņu bivaka un brezenta kombinācija ir pārbaudīta ultrviegla sistēma. Mitrā klimatā izlaidiet bivaku un ņemiet līdzi telti, kas sver mazāk par 1 mārciņu, piemēram, the SoloVent Bivy telts Tas pievieno sieta ventilāciju un stieņu konstrukciju.
Scenārijs 2: Nedēļas nogales solo mugursomnieks
Tu dodies pārgājienā piektdienas pēcpusdienā, nakšņo vienu vai divas naktis un svētdien brauc mājās.
Ātrums, ar kādu to uzstāda, ir svarīgs, jo jūs ierodaties nometnē ar ierobežotu dienasgaismu.
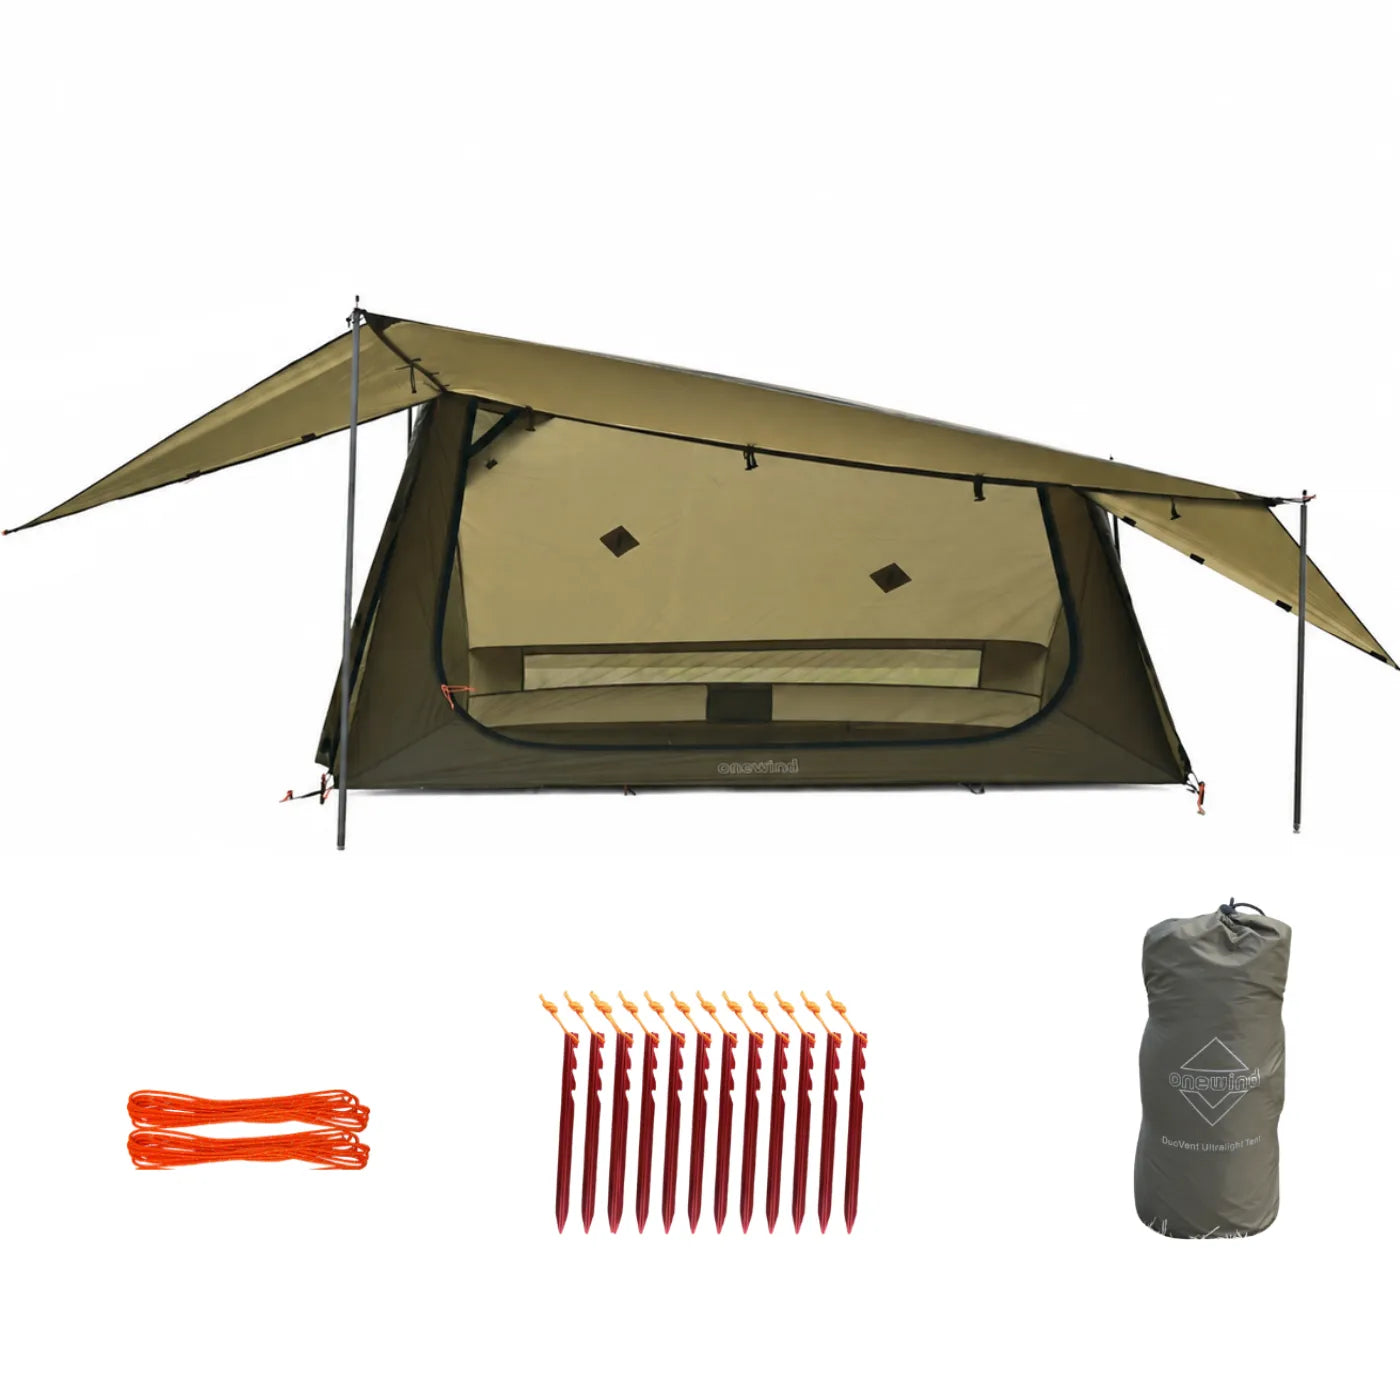
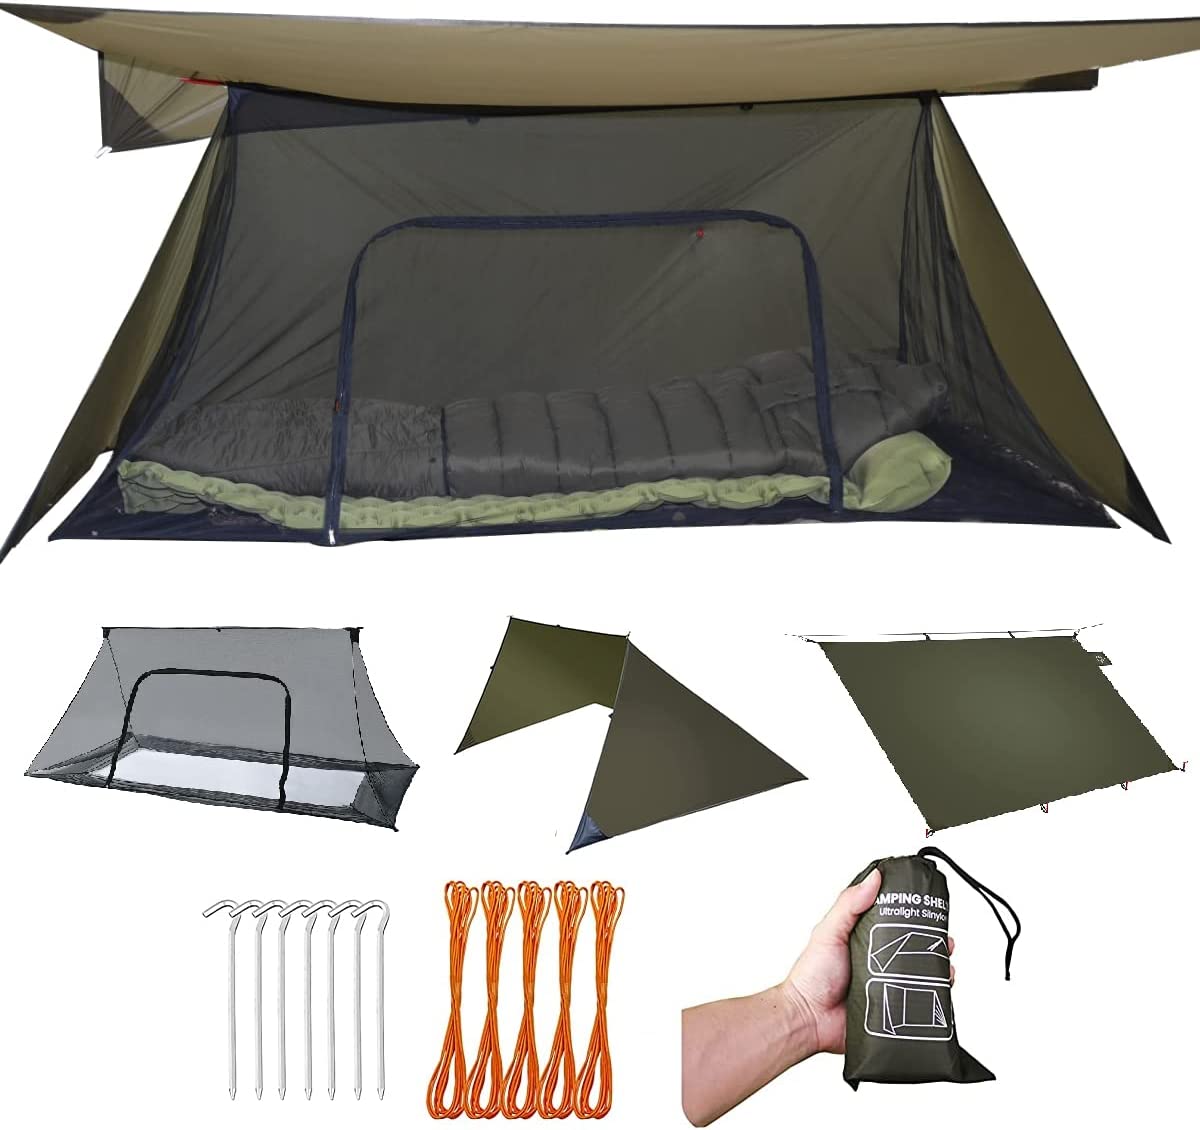
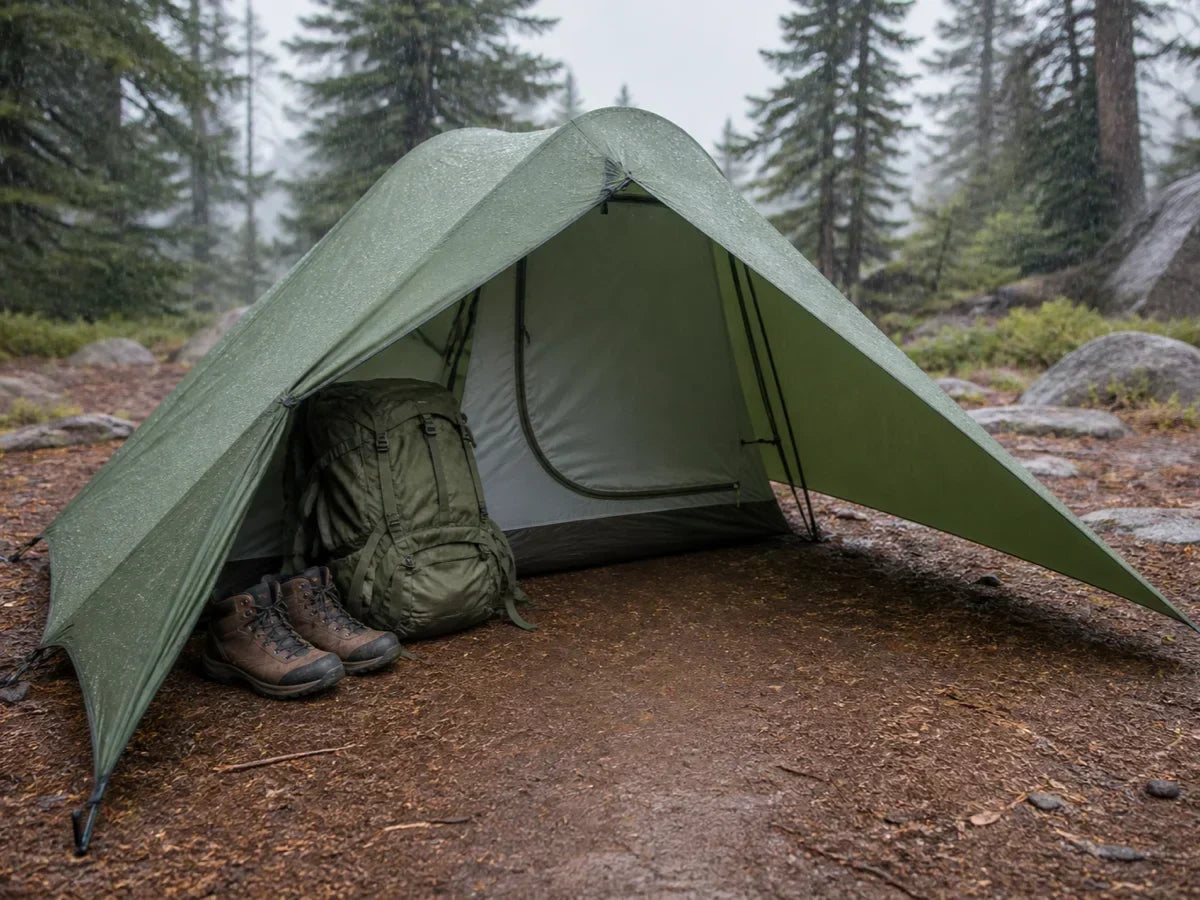
Bivaka telts ar sieta paneļiem un vienu stieņa loku tiek uzstādīta mazāk nekā 60 sekundēs. REI ekspertu ceļvedis šo klasificē kā "bivaka patversmes" kategoriju: sieta paneļi pie galvas atveres, kā arī stieņi, kas paceļ audumu prom no jūsu sejas.
Deeper Trails kempinga padomu ceļvedis nosaka, kas padara šo kategoriju piemērotu nedēļas nogales ceļojumiem.
Tīkls nodrošina ventilāciju, kuras plakaniem bivaku maisiem trūkst.
Stabs nodrošina papildu vietu virs galvas, lai varētu lasīt, sakārtot sīkus priekšmetus un izvairīties no “zārka efekta”, ko Reddit lietotāji raksturo kā īstu paniku lietus laikā.
Trailspace apkopotās lietotāju atsauksmes apstiprina, ka apmierinātība visvairāk korelē ar ventilācijas dizainu, nevis ar ūdensizturības vērtējumu.
Pērciet vispirms gaisa caurlaidībai, pēc tam ūdensnecaurlaidībai.
{% include 'youtube', id: 'IbRuQU-BMxU' %}
Budžeta diapazons šim scenārijam: 100 līdz 200 ASV dolāri par kvalitatīvu bivaka telti ar sietu un stieņiem.
The Īpaši viegla SoloVent bivaka telts piemērots šim lietojuma gadījumam: sieta ventilācija, stabu konstrukcija papildu telpai virs galvas un uzglabāšanas maiss, kas salokās kompakti piektdienas pēcpusdienas došanās uz takas sākumpunktu.
Spriedums: 1 līdz 2 nakšu nedēļas nogales braucieniem bivaka telts ar sietu un stieņiem ir īstā kategorija. Tā atrisina kondensāta un dzīvojamības problēmas, kas padara plakanos bivaka maisus nepatīkamus, vienlaikus saglabājot uzstādīšanas laiku zem 60 sekundēm.
3. scenārijs: velobraucējs ar nakšņošanu ārpus telpām
Jūsu ekipējums tiek glabāts rāmja somās, stūres rullī un sēdekļa somā.
Tilpums ir ierobežojums, nevis svars. Telts, kas sapakota aizņem 8 litru vietu, ir lemta neveiksmei jau no paša sākuma.
Advnture.com bikepacking pajumtes salīdzinājums kvantificē reālo priekšrocību: bivaka telts salokās 2 līdz 4 litru kompresijas maisā, salīdzinot ar 6 līdz 10 litriem ultralight teltij. Šī 4 līdz 6 litru starpība ir tā atšķirība, kas nosaka, vai jūsu pajumte ietilps, vai arī nāksies atstāt aiz sevis lietus jaku.
Svara atšķirība ir niecīga. Unces, nevis mārciņas.
Saskaņā ar Advnture lauka ziņojumu, lielākā daļa velotūristu, kuri sāk ar bivaku, galu galā pievieno arī tentu lietainiem reģioniem. Tikai ar bivaku aprīkotais risinājums darbojas sausos apstākļos. Mitros apstākļos tas kļūst nepatīkams, jo nav priekštelpas, kur uzglabāt sānu somas vai pakarināt lietus jaku, lai no tās notecētu ūdens.
BIKEPACKING.com apstiprina, ka ātra uzstādīšana un nojaukšana ir izšķiroša. Kempinga laiks tiek saīsināts, kad jūs ierodaties pēc pilnas braukšanas dienas.
Spriedums: Braucieniem ar velosipēdu ar ierobežotu rāmja tilpumu bivaka telts ir pareizā izvēle. 2 līdz 4 litru iepakojuma maiss ir īstā priekšrocība salīdzinājumā ar teltīm. Pievienojiet brezentu, ja jūsu maršrutos ir lietus.
Scenārijs 4: Alpu kāpējs
Jūs atrodaties vairāku dienu kalnu maršrutā. Nakšņošanas dzegas ir pārāk mazas teltij. Svaram jābūt absolūti minimālam.
Šis ir sākotnējais bivy lietojuma gadījums. MSR ekspertu ceļvedis skaidro, ka bivy maisi tika izgudroti alpīnistiem, kuriem vairāku nakšu kāpienos uz lielajām sienām bija nepieciešama ārkārtas aizsardzība pret laikapstākļiem.
Šim scenārijam paredzētais rīks ir tradicionāls ūdensnecaurlaidīgs un elpojošs bivaka maiss, nevis bivaka telts. Nav sietiņa, nav kātu, nav lieku elementu. Tikai Gore-Tex vai eVent apvalks, kas pasargā jūsu guļammaisu no vēja un nokrišņiem.
OR Alpine Bivy ar 2 mārciņu svaru un Gore-Tex konstrukciju ir Outdoor Gear Lab labākā izvēle 4 sezonu kalnu lietošanai.
Mikro-kempingi šeit ir unikāla bivaka priekšrocība. Akmens dzegas, šauras grēdas un sniega plaukti, kas ar telti nav izmantojami, ar bivaka guļammaisu kļūst par izmantojamu vietu, liecina MSR lauka rokasgrāmata.
Kondensāta kompromiss ir reāls, taču pieņemams. Alpu kāpēji augstumā sagaida salu uz iekšējās bivaka virsmas un no rīta to izpurina. Komforts nav prioritāte. Svarīgs ir izdzīvošanas svars.
Spriedums: Alpu kāpšanai tradicionālais WPB bivaka maiss ir standarta rīks. Izlaidiet bivaka teltis ar stieņiem un sietu. Jums vajadzīgi īpaši izturīgi materiāli un nulles uzstādīšanas prasības atklātām dzegām.
5. scenārijs: budžeta iesācējs
Telts vai bivaks — kāda ir labākā pārgājienu patversme?
Jūs vēlaties izmēģināt bivaku kempingu, netērējot 300 $ par premium klases ekipējumu, kas jums varētu nepatikt.
Cool of the Wild produktu salīdzinājums nosaka optimālo cenu zonu: par 80 līdz 120 ASV dolāriem var iegādāties trīs sezonām piemērotu bivaka telti, kas nodrošina 80 procentus no premium klases veiktspējas. Tērējot vairāk nekā 150 ASV dolārus atpūtas bivaka kempingam, ieguvums kļūst arvien mazāks.
Kritiska iesācēju kļūda ir iegādāties plakanu bivaka maisu, nevis bivaka telti ar sietu un stieņiem.
Plakans maiss pirmajā pārgājienā rada jums “zārka efektu”. Bivaka telts ar sietu nodrošina galvas vietu, ventilāciju un mazāk klaustrofobisku pieredzi.
Alpkit iesācēju ceļvedis iesaka pirms došanās pārgājienu takā trenēties savā pagalmā. Uzstādiet visu sistēmu, pārliecieties tajā gulēt un drošā vidē izbaudiet kondensātu un ierobežoto vietu.
The SoloVent Bivy telts sākuma cenu līmenī tas ietver sieta ventilāciju un stieņu konstrukciju, kas piedod iesācēju kļūdas, piemēram, gulēšanu ar aizvērtu ventilācijas atveri.
Spriedums: Sāciet no 80 līdz 120 ASV dolāru cenu kategorijas ar bivaka telti, kurai ir siets un loki. Pirms jebkura brauciena savvaļā veiciet izmēģinājumu pagalmā. Atjauniniet tikai pēc tam, kad būsiet pārliecinājušies, ka bivaka kempings atbilst jūsu stilam.
Scenārijs 6: Kad NENOPIRKT bivakùzi
Izlaidiet bivaku pilnībā, ja attiecas kāds no šiem nosacījumiem.
Jūs dodaties kempingā uz 3 vai vairāk naktīm vienlaikus. Uzkrātās lietojamības izmaksas iznīcina svara ietaupījumu.
Pēc otrās nakts nespēja apsēsties, sakārtot aprīkojumu vai pārdzīvot lietu patversmes iekšpusē kļūst par īstu problēmu.
Where The Road Forks apstiprina šo slieksni, balstoties uz daudzu gadu riteņbraukšanas tūrisma pieredzi.
Matemātika ir vienkārša: jūs ietaupāt 8 līdz 16 unces mugursomas svara, bet zaudējat iespēju normāli darboties nometnē laikapstākļu dēļ noteiktu paužu laikā.
Jūs kempingojat pastāvīgi mitros klimatiskajos apstākļos. Atsevišķas bivaka teltis lietū ir nožēlojamas.
„Zārka efekts” ir reāls.
r/Ultralight lietotāji ziņo, ka pēc vienas sliktas vētras viņi atsakās no atsevišķām bivija teltīm.
Pat ar tentu pieredze ilgstoša lietus laikā krietni atpaliek no telts ar priekštelpu.
Kondensāts vēl vairāk pasliktina problēmu. Mitros apstākļos virs sasalšanas temperatūras elpojošās membrānas darbojas ar samazinātu jaudu. Jūs pamostaties mitrs. Jūsu guļammaiss zaudē apjomu. Jau trešajā naktī siltuma veiktspēja ir jūtami samazinājusies.
Jums ir nosliece uz klaustrofobiju. MSR paša ekspertu ceļvedis atzīst, ka viss, ko jūs varat darīt bivakā, ir “klausīties podkāstus vai doties gulēt.”
Ja šauras telpas izraisa trauksmi, bivaks to pastiprinās.
Neviens ekipējuma optimizācijas apjoms neizlabo psiholoģisku nesaderību ar patversmes formātu.
Jūs dodaties kempingā ar partneri. Divvietīgās nojumes pēc būtības ir paredzētas vienam cilvēkam.
The DuoVent īpaši viegla telts vai standarta 2 personu īpaši vieglā telts ir pareizā kategorija divu cilvēku kempingam.
Jūs dodaties kempingā tikai 1 līdz 2 nedēļas nogales gadā. Mācīšanās līkne izlīdzinās pēc 2 līdz 3 braucieniem.
Ja jūs reti dodaties kempingā, šīs mācīšanās līknes izmaksas uz vienu braucienu ir pārāk augstas.
Investējiet teltī, kas darbojas jau pirmajā braucienā.
Spriedums: Ja uz jebkuru no diskvalificējošajiem faktoriem attiecas, izlaidiet bivaku un ieguldiet ultralight teltī. Svara pieaugums tiek mērīts uncēs, nevis mārciņās. Komforta ieguvums tiek mērīts ar pārgājienu glābjošu veselo saprātu.
Biežāk pieļautās kļūdas, kas sabojā iesācēju pārgājienus
Katra kļūda zemāk ir lēmuma kļūda, kas pieļauta pirms jūs pametat takas sākumpunktu, nevis tehnikas kļūme nometnē.
r/Ultralight kopienas visbiežākā sūdzība par bivaku ir kondensāts. Taču kondensāts patiesībā ir šī saraksta trešā kļūda, jo pirmās divas kļūdas rada vēl sliktākas sekas, par kurām cilvēki vaino pašu ekipējumu.
Pirms pirmā brauciena sakārtojiet šīs lietas, un nakšņošana būs vienkārša. Ignorējiet tās, un šī pieredze jūs neatgriezeniski atgrūdīs pie teltīm.
Kļūda 1: Ierašanās pēc tumsas iestāšanās
Bivy kempings pastiprina vietas izvēles nozīmi. 10 Mile Hike iesācēju ceļvedis uzsver, ka bez telts priekšnodalījuma bufera katra zemes virsmas īpatnība ir svarīga: slīpums, drenāža, vēja iedarbība un virsmas tekstūra.
Labas bivaka vietas atrašana prasa 10 līdz 15 minūtes iešanas un izvērtēšanas dienas gaismā.
Tumsā jūs izvēlaties pirmo līdzenu vietu. Tā līdzena vieta parasti ir iedobe, kur pulksten 3:00 krājas ūdens.
Plānojiet savu brauciena attālumu tā, lai ierastos vismaz vienu stundu pirms tumsas iestāšanās.
2. kļūda: pieņemt, ka katra kempinga vieta ir vienāda
Telts ar priekštelpu un vannveida grīdu piedod slikti izvēlētu vietu.
Bivaka maisiņš to nedara.
Deeper Trails 14 padomu ceļvedis nosaka vietas izvēles noteikumus, kas bivaka kempingā ir 2 līdz 3 reizes svarīgāki.
Izvairieties no dabiskām iedobēm, kurās uzkrājas ūdens.
Meklējiet nelielu pacēlumu ar dabīgiem vēja aizsegiem, piemēram, klinšu sienām vai blīviem krūmiem.
Zemes virsma zem jūsu bivaka ir svarīgāka nekā zem telts.
Asi akmeņi pārdur plānas bivaka telts grīdas.
Priežu skujas saspiežas nevienmērīgi.
Smiltis pārvietojas nakts laikā.
Deeper Trails pieredzējušie autori ziņo, ka viņi vairāk laika pavada, izvēloties vietas, nekā uzstādīšanai.
Iestatīšana aizņem 60 sekundes.
Vietas izvēle aizņem 10 minūtes.
Šī attiecība parāda, kur ieguldīt savu enerģiju.
Kļūda 3: Kondensāta nenovērtēšana par zemu
Patiesība par bivija izmantošanu pārgājienos ar mugursomu
Kondensāts ir fizikas problēma, nevis produkta problēma.
Backpacking Light tehniskā foruma diskusija to kvantificē: viena persona nakts laikā elpošanas un svīšanas rezultātā rada vairāk nekā 1 litru mitruma.
Tā mitrums nonāk uz vēsākā bivy auduma un kondensējas.
Tādas pašas fizikālās īpašības kā auksta dzēriena glāzei.
Elpojošas membrānas ūdens tvaiku caurlaidības rādītāji dažādiem produktiem svārstās no 5000 līdz 20 000 gramiem uz kvadrātmetru 24 stundu laikā.
Pat vislabākā membrāna nevar tikt līdzi 1 litra izdalījumam ierobežotā telpā.
Risinājums ir ventilācija, nevis labāki materiāli.
Pievelc kapuci ap seju, bet elpo ārpus bivaka.
Turiet ventilācijas atveres atvērtas.
Uzņemiet nedaudz kondensāta un no rīta izvēdiniet bivaku.
Dūnu guļammaisi katrā slapjā naktī zaudē 10 līdz 30 procentus no siltumizolācijas veiktspējas.
Sintētiskais pildījums labāk panes kondensātu.
Ja jūs regulāri nakšņojat bivakā, apsveriet sintētisku guļammaisu vai pievienojiet a… pamatnes nospiedums zem jūsu sistēmas augsnes mitruma aizsardzībai.
{% include 'youtube', id: 'JVkPz4gn0QY' %}
Kļūda 4: premium ekipējuma iegāde pirms pirmā brauciena
Cool of the Wild apkopojums apstiprina, ka 80 līdz 120 dolāru cenu kategorija nodrošina 80 procentus no premium bivaka snieguma.
300 USD iztērēšana uz Gore-Tex bivaku pirms jūsu pirmās nakšņošanas ir izplatīts modelis.
Tad jūs atklājat, ka bivija kempings nav domāts jums.
Dārgais maiss stāv tavā skapī.
Ieguvusī secība: sāciet ar budžeta līmeni, veiciet izmēģinājumu pagalmā, pēc tam pavadiet nakti pie labvēlīgiem laikapstākļiem kempingā ar piekļuvi automašīnai kā rezerves variantu.
Pārejiet uz premium versiju tikai pēc trim līdz pieciem braucieniem, kad būsiet pārliecinājušies, ka bivaka kempings atbilst jūsu stilam.
r/Ultralight kopiena to apstiprina. Vairākos pavedienos ir dokumentēts, ka lietotāji pārdod gandrīz nelietotas premium klases bivus par 50 procentu zaudējumu, jo viņi uzreiz iegādājās pašu augstākās klases ekipējumu.
Budžeta biviji ir piedodoši. Premium biviji ir optimizēti. Pirmajā braucienā piedošana ir svarīgāka.
Kļūda 5: Ignorēt laikapstākļu izmaiņas ierašanās dienā
Alpkit iesācēju ceļvedis iesaka pārbaudīt 48 stundu prognozi, ne tikai laikapstākļus konkrētajā dienā.
Laikapstākļu sistēmas ierodas agri vai vēlu.
Skaidra sestdienas prognoze neko nenozīmē, ja piektdienas naktī iestājas aukstā fronte, kamēr jūs jau esat savā bivakā bez iespējas patverties priekštelpā.
Pirmajiem trim bivaku braucieniem izvēlies tikai stabilus augsta spiediena laikapstākļu periodus.
Piedzīvojumu apstākļus atstājiet uz brīdi pēc tam, kad uzstādījums ir precīzi noregulēts.
Uzziniet, kā jūsu konkrētais bivaks vispirms tiek galā ar vēju un vieglu lietu kontrolētos apstākļos.
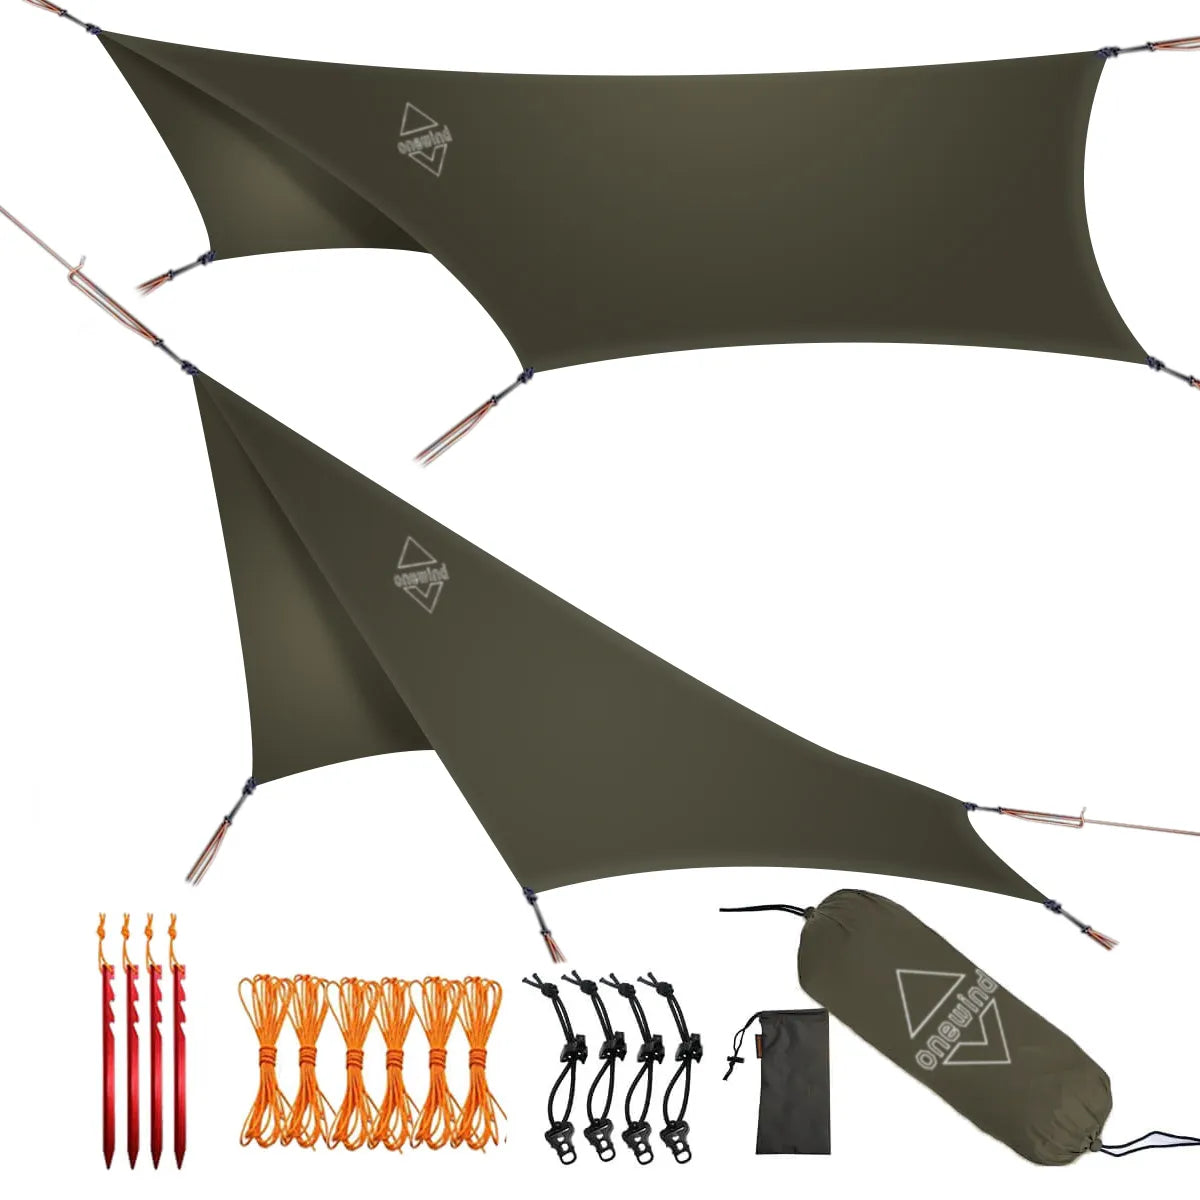
A Blackthorn īpaši viegla brezenta telts Apvienojumā ar jūsu bivaku tas nodrošina aizsardzību pret laikapstākļiem ar minimālu svaru plecu sezonas pārgājieniem, kur prognozes ir mazāk uzticamas.
Ātrās lēmumu pieņemšanas kontrolsaraksts
Pārlūkot Onewind patversmju kolekcija pēc šī kontrolsaraksta iziešanas.
Ja visas pārbaudes norāda uz “bivy”, sāciet ar bivy telti ar sietu un stabiem 80 līdz 120 ASV dolāru cenu diapazonā.
Ja kāda no pārbaudēm vien jūs diskvalificē, tā vietā ieguldiet īpaši vieglā teltī. Svara pieaugums ir neliels. Komforta ieguvums ir liels.
Sliekšņi ir skaidri: 1 mārciņas pārejas punkts, 2 nakšu komforta robeža, 15 grādu kondensācijas slieksnis.
Pieskaņojiet savu scenāriju iepriekš minētajam ietvaram un attiecīgi iegādājieties.
The SoloVent Bivy telts Piemērots lielākajai daļai iesācēju: sieta paneļi ventilācijai, stieņu konstrukcija lielākam galvas telpas augstumam un iepakojuma izmērs zem 3 litriem.
Veiciet izmēģinājumu savā pagalmā pirms pirmā pārgājiena savvaļā. Viena nakts pagalmā atklās, vai bivaka kempings atbilst jūsu miega paradumiem, bez 10 jūdžu smagas ienesamās kravas saistībām.