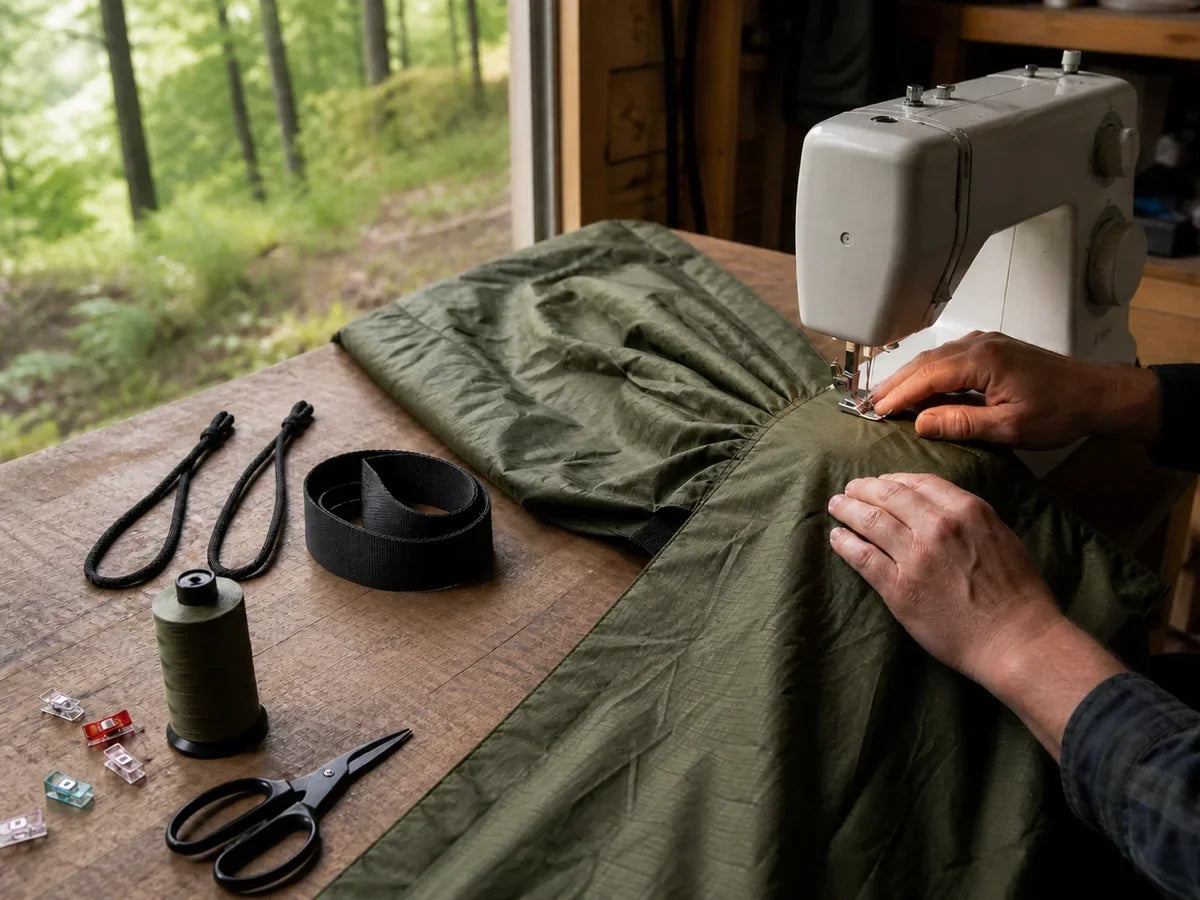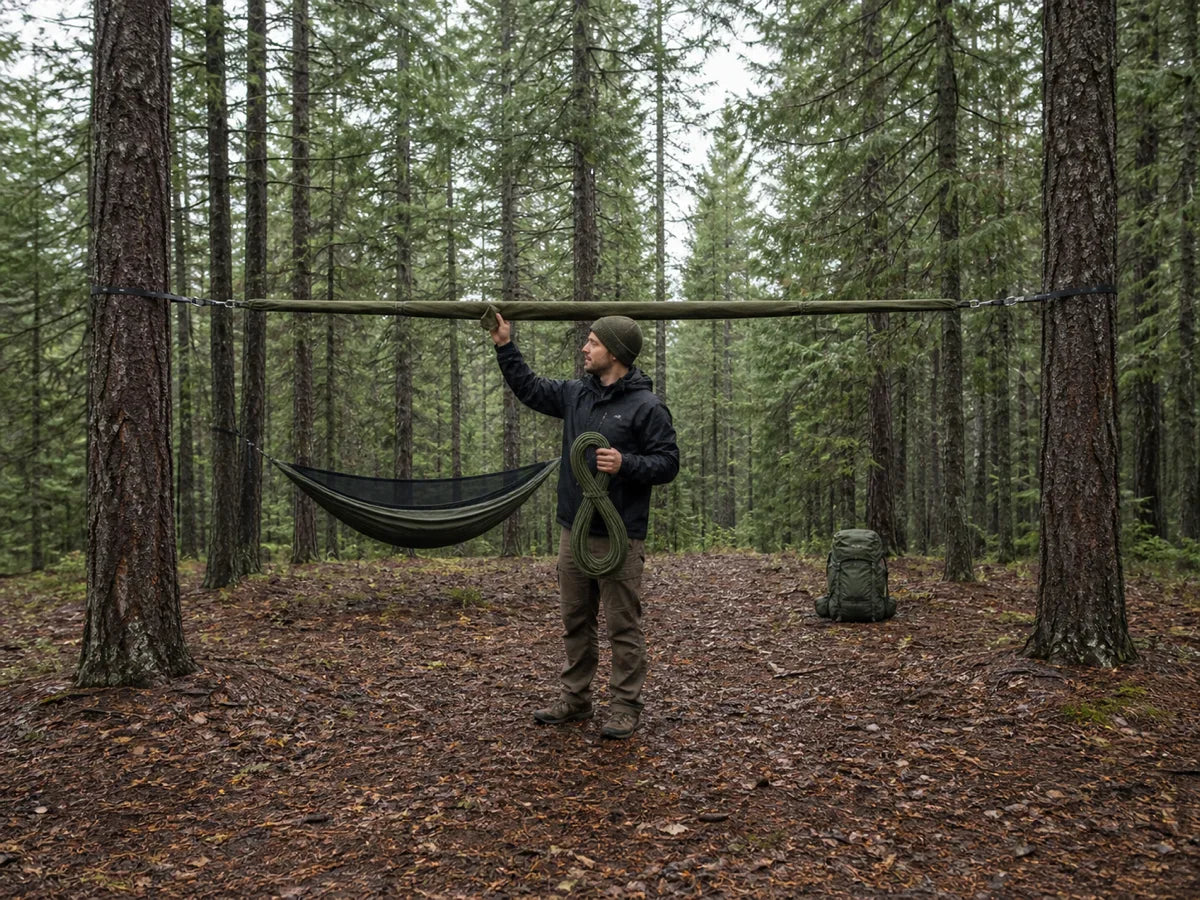

A modern camping hammock sold as one kit can become eight different care decisions before the fabric even touches water.
I compared manufacturer instructions for standard nylon beds, ultralight beds, suspension webbing, bug nets, coated tarps, and insulated quilts.
The instructions agree on one rule that most cleaning guides bury: never wash the complete hanging system as one object.
The safer sequence is strip, wash, dry, inspect, and rebuild.
Follow those five verbs and you can remove sweat, smoke, mud, and musty odor without turning a simple wash into damaged mesh, abraded webbing, or hidden suspension wear.
What You'll Learn
This guide gives you a component-by-component method rather than one universal wash recipe.
You will know when to do less than a full wash, when hand washing is the lower-risk choice, and when clean gear still needs to be retired.
Quick Answer
If the label is missing or unclear, hand wash in cold water with very little mild detergent.
If the dirt is localized, spot-clean instead of exposing the entire bed to a wash cycle.
If fabric, stitching, loops, straps, or hardware look unsafe after cleaning, replace the damaged component rather than trusting a cleaner appearance.
The Five-Step Hammock Cleaning Framework

I use these gates in order because each one can stop the process before unnecessary damage occurs.
Gate 1 prevents over-washing.
Gate 2 prevents snagging and hardware abrasion.
Gate 3 prevents a convenient machine cycle from overruling the most delicate fabric still attached.
Gate 4 prevents a clean hammock from becoming musty again inside its stuff sack.
Gate 5 catches structural damage that dirt, smoke residue, and trail grime may have concealed.
The sequence also explains why the answer to “Can I machine wash it?” cannot be a simple yes or no.
A standard removable nylon bed may be machine-safe while the zipper mesh, suspension, tarp, and underquilt sold with it are not candidates for the same cycle.
Before You Wash: Air, Spot-Clean, or Fully Wash
According to ENO's cleaning guidance, a damp hammock should air for several hours while laundering is reserved for real dirt.
Research from Kammok's care guide also warns that frequent washing can wear water-repellent finishes.
I compared those instructions with the problems campers describe after long trips, and contamination is a better trigger than a calendar.
Four weeks of sweat, smoke, food contact, and repeated chair use can justify a wash.
One clean overnight trip usually does not.
Start with the smallest intervention that works, then escalate only if the odor or soil remains.
Do not use fragrance to decide whether the fabric is clean because scented detergent can mask residue while adding more chemistry.
Use visible soil, persistent odor after airing, and the maker's label as the decision points.
Strip the System Before It Gets Wet

Photograph both end channels, the ridgeline attachment, and the suspension before removing anything.
That reference photo is faster and safer than reconstructing the routing from memory after every piece looks like loose cord.
Remove carabiners or cinch buckles, tree straps, whoopie slings, continuous loops, structural ridgeline, organizer, and stuff sack when the design permits it.
Detach the bug net if it is designed to come off.
Close zippers, secure loose zipper pulls, and isolate fixed mesh in a closed laundry bag only if the maker permits machine washing.
I compared owner discussions with manufacturer instructions, and both warn that metal and cord are not harmless just because they are durable.
The 3M webbing-cleaning report notes that metal hardware can abrade webbing and damage markings during machine washing.
Loose lines can also wrap around an agitator, zipper, or seam and pull unevenly as the drum turns.
Keep each removed component in a labeled bowl or mesh bag, and do not mix left and right hardware if orientation matters.
Read every sewn-in label before water touches the fabric because the bed, straps, tarp, and quilt may specify different temperatures and detergents.
The Onewind 20D Kit Is Eight Wash Decisions
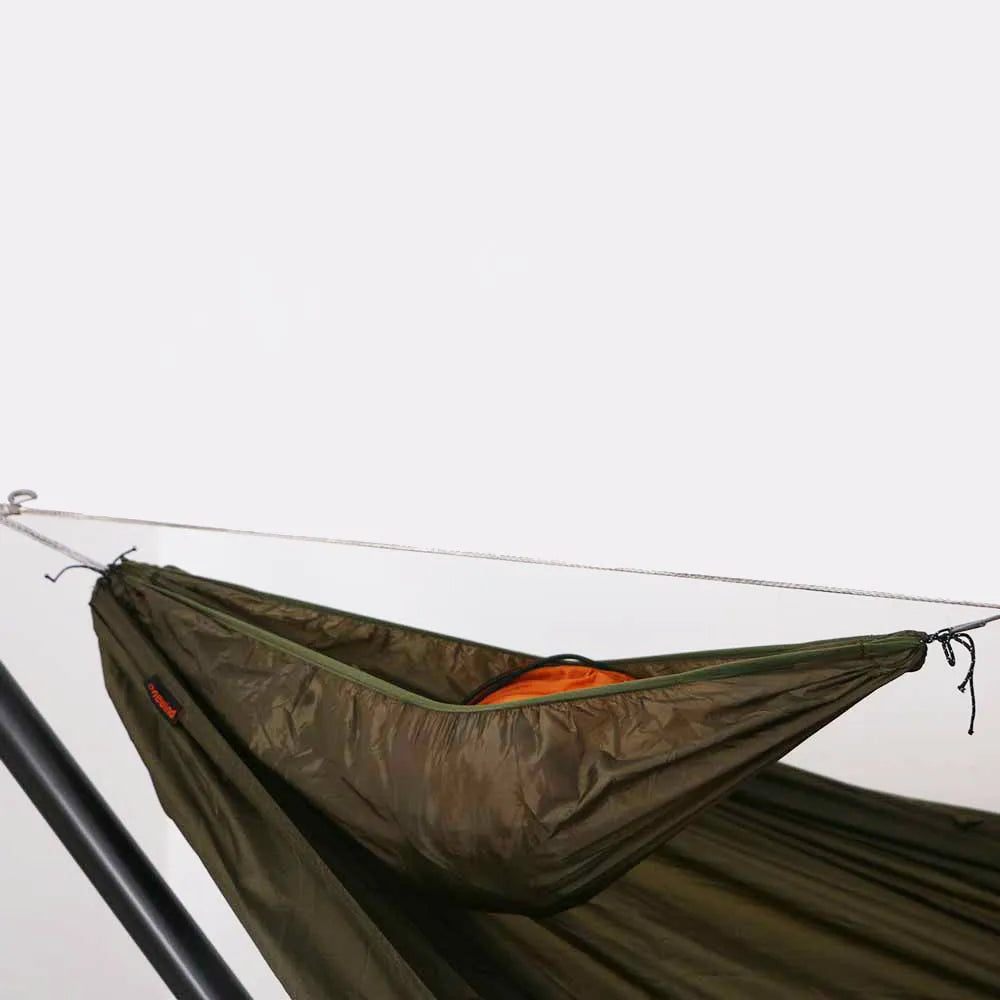
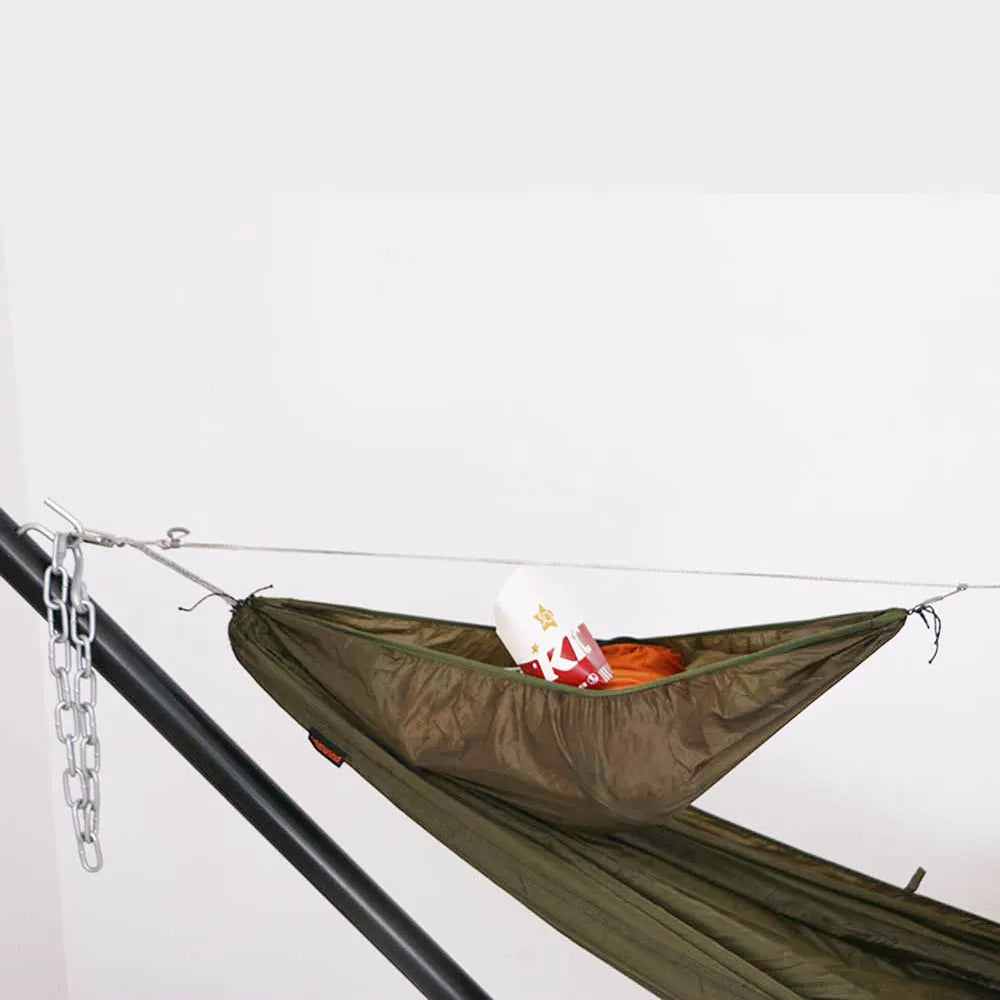
The Onewind 20D ultralight hammock kit makes the system problem easy to see.
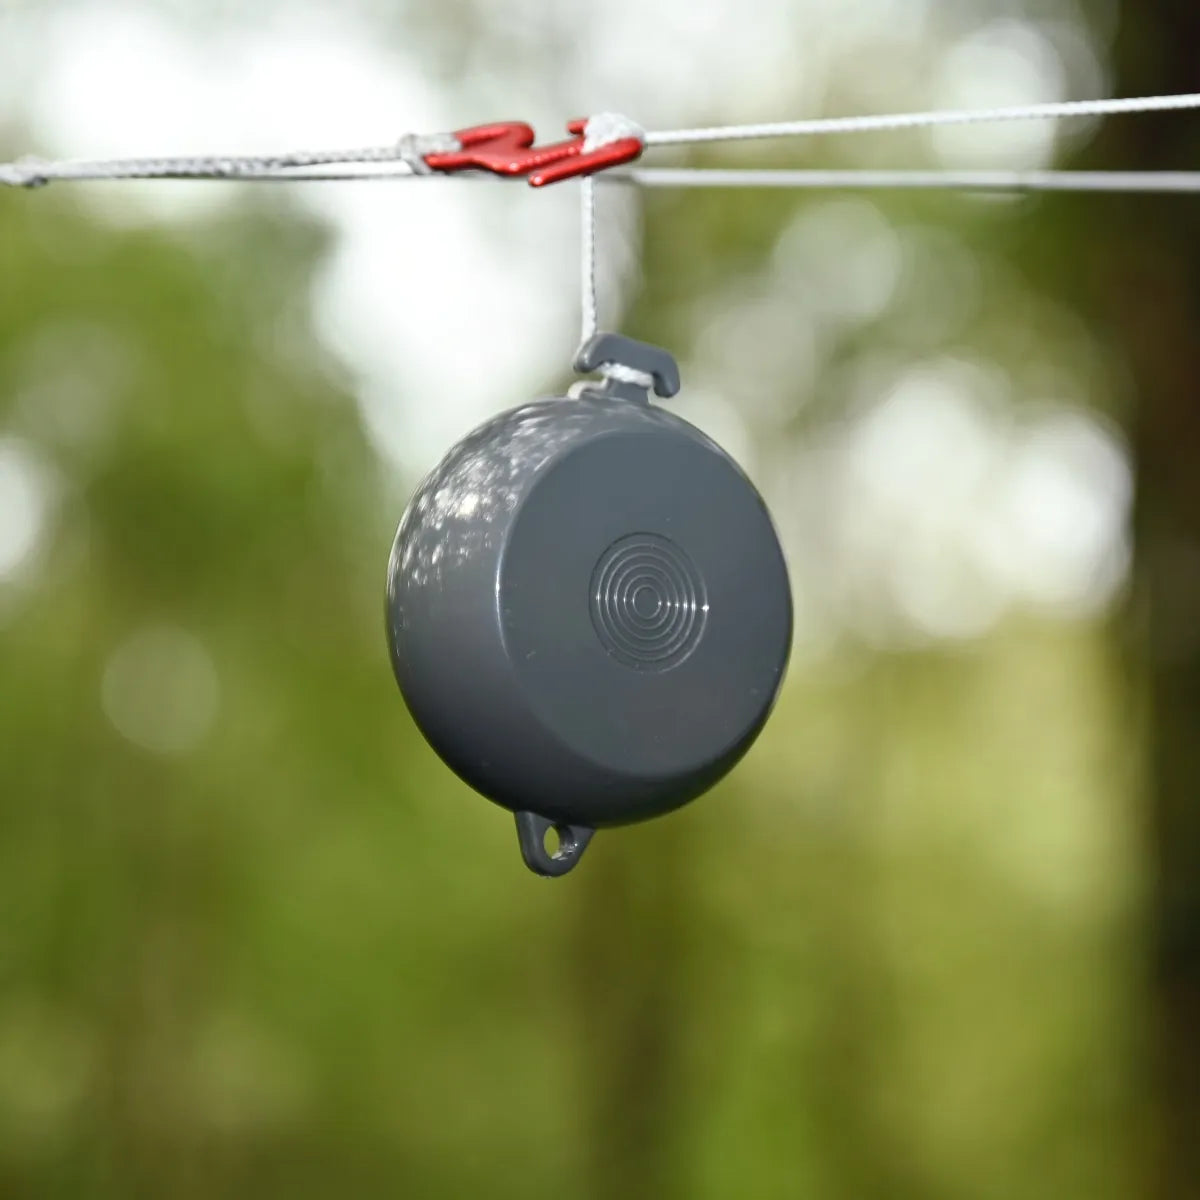
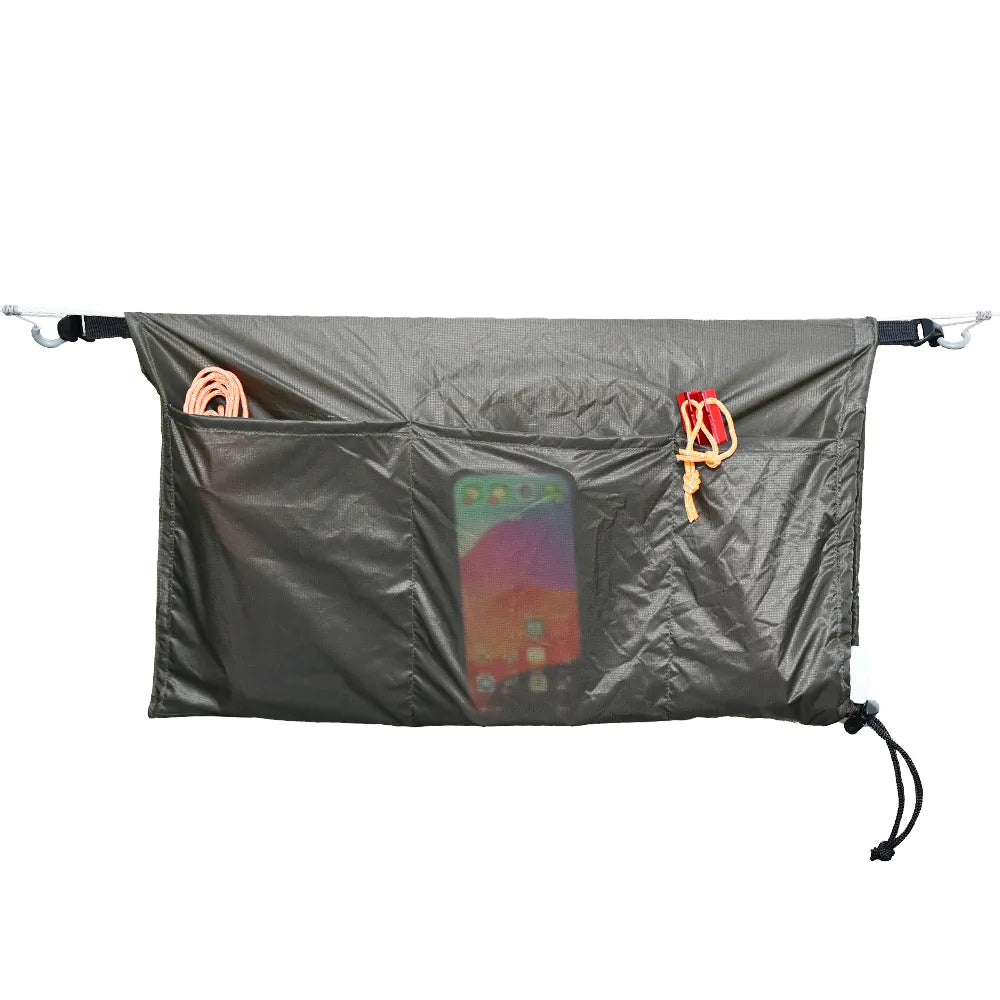
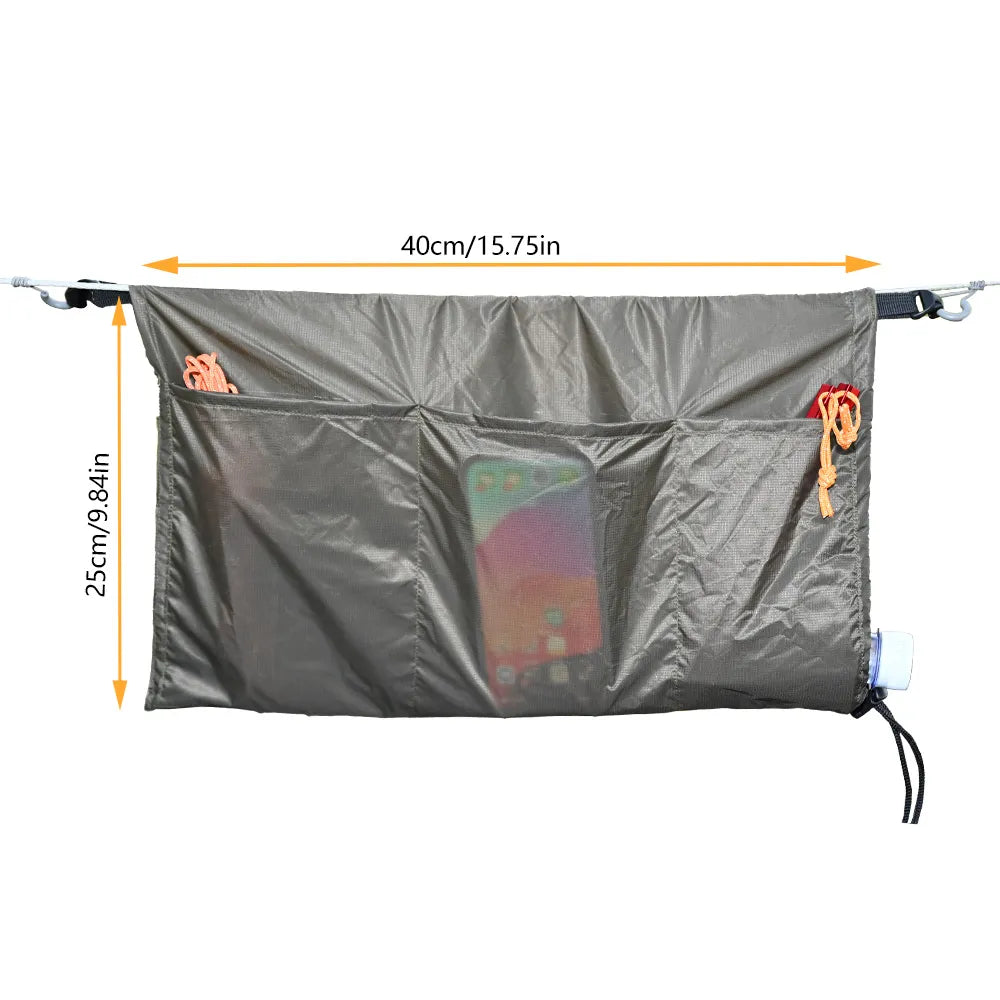
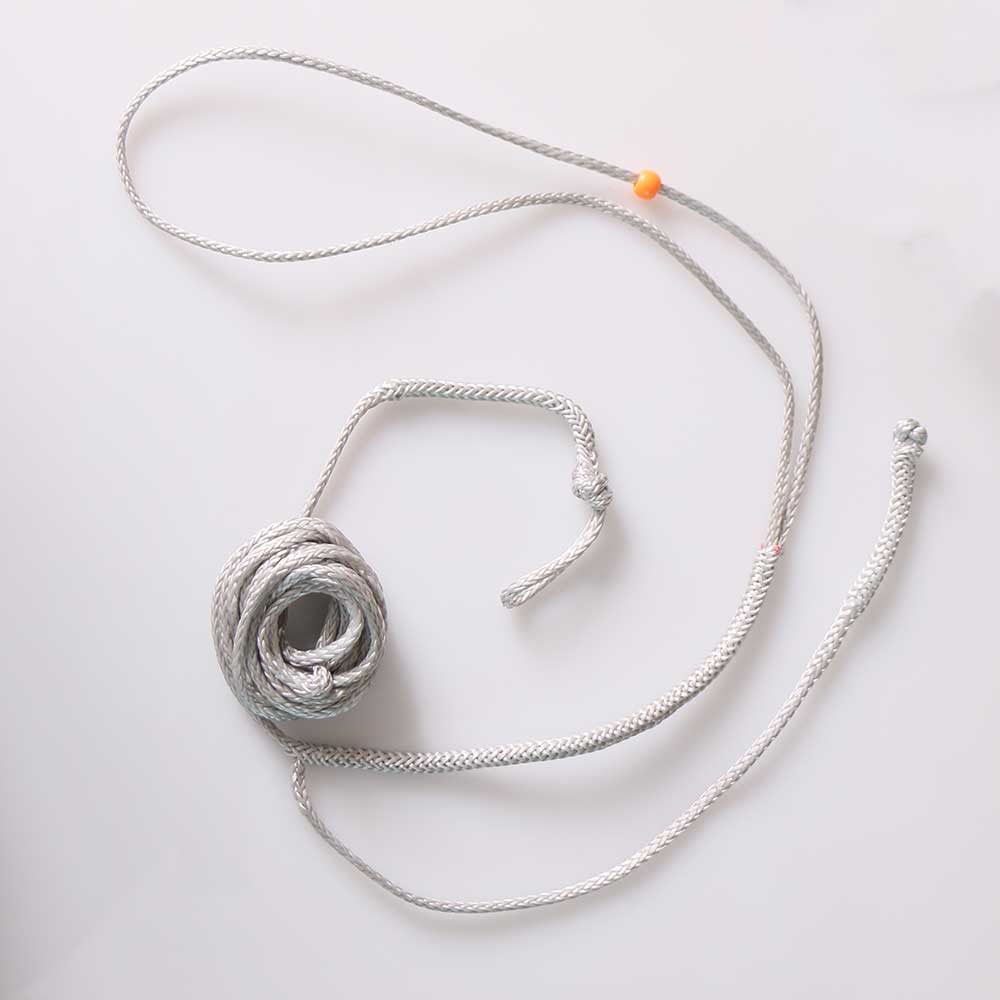
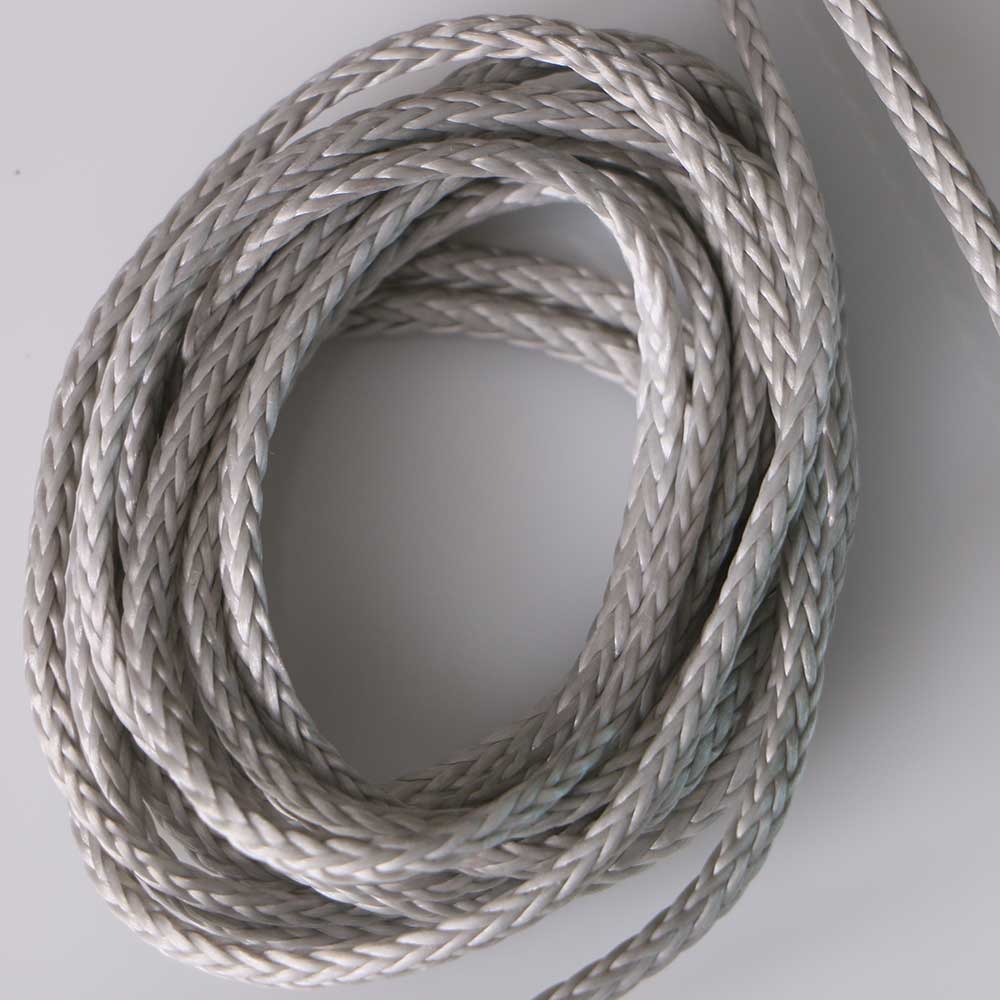
One product page lists a bed, UHMWPE ridgeline, two buckles, two continuous loops, two long straps, an organizer, and a stuff sack.
The pieces share a campsite but not one mechanical risk.
The buckles can abrade fabric.
The ridgeline and loops carry load.
The organizer has small attachment points.
The 20D bed sacrifices fabric mass for packability, so avoiding snags matters more than saving ten minutes at the washer.
I mapped every listed piece before choosing a method, and hand washing the bed while cleaning and inspecting the suspension separately is the lower-risk path.
Owners of heavier 40D or 70D beds may have a label-approved machine option, but the stripping step does not disappear.
Scenario 1: A Standard Nylon Bed Smells of Sweat and Smoke

The bed has no cuts or pulled seams, but smoke and body odor remain after several hours of airing.
Start by stripping every removable line and piece of hardware.
Hand washing remains the safest method, but a cold gentle front-loader cycle is reasonable when the sewn-in label allows machine washing.
ENO permits hand washing or a front-loading washer after carabiners are removed, followed by hang drying.
Kammok permits a cold gentle machine cycle for its standard Roo models but not for every ultralight model.
Those two examples show why fabric family alone is not permission.
Use a small amount of mild, bleach-free detergent and give the bed room to move by itself.
Do not add towels, jeans, hardware, straps, or another hammock to “balance” the load.
Keep rinsing until no suds remain and the fabric loses its slippery cleaner residue.
Air dry in ventilation away from a heater and prolonged direct sun.
Turn or reposition the bed so the gathered end channels do not remain wet after the broad panels feel dry.
Verdict: Use a label-approved cold gentle front-loader cycle only after complete disassembly, or hand wash when any instruction is unclear.
Scenario 2: A 20D Ultralight Hammock Needs Cleaning

Ultralight fabric changes the risk calculation because low mass leaves less margin for snagging, abrasion, and concentrated seam load.
Fill a clean tub with cold or lukewarm water and dissolve a very small amount of mild detergent before adding the bed.
Press the fabric through the water with open hands rather than twisting, wringing, or scrubbing it against itself.
Let contaminated areas soak briefly, then work them gently between flat fingers.
Drain the wash water and rinse repeatedly until no suds remain.
Lift the bed with both hands instead of pulling from one gathered end while the fabric is heavy with water.
Kammok makes its ultralight Roo UL hand-wash-only even though its standard Roo models can use a machine.
That product-specific difference is a useful precedent whenever a very light bed's label is missing or ambiguous.
I would trade the washer's speed for hand control because the cost of an unseen snag is larger than the inconvenience of a tub wash.
Lay the wet bed across a clean drying rack or line it loosely so clips do not pinch load-bearing end channels.
Verdict: Hand wash a 20D ultralight bed unless its exact care label explicitly approves a machine cycle.
Scenario 3: The Zipper Bug Net Cannot Be Removed

An integrated net makes the mesh and zipper the most delicate parts still attached to the bed.
Let that attached component choose the method.
Close the zipper, secure the pull, and inspect the slider for sharp edges before washing.
Hand wash the hammock in a clean tub while supporting the mesh instead of dragging it through the water by the bed.
Do not scrub netting with a brush because one tiny broken strand can spread into a hole under tension.
If the maker specifically permits machine washing, place the closed system in a large zipped mesh laundry bag and use a front loader on cold gentle.
The hammock bug net guide explains why net geometry and closure design matter in use, and those same zippers and fine meshes become the wash constraint.
Reddit owner discussions about Onewind systems repeatedly recommend removing ridgelines, loops, and buckles before isolating delicate mesh in a bag or pillowcase.
Air dry the net fully open so water cannot remain trapped in zipper tape or folded mesh.
Inspect every zipper stop and seam before reassembly.
Verdict: Hand wash when a bug net is fixed; use a closed mesh bag only when the manufacturer permits a front-loader cycle.
Scenario 4: Tree Straps Are Covered in Sap

Sap tempts people toward alcohol, citrus solvent, oil, or aggressive stain remover.
Tree straps are load-bearing webbing, so a clever stain recipe is not automatically a safe structural-care recipe.
First scrape away raised dry sap with a dull plastic edge without cutting or fuzzing the fibers.
Then use cool water and the mild cleaner approved by the strap maker, working one small area with a soft cloth.
Rinse the entire cleaned area thoroughly so detergent does not remain concentrated between fibers.
According to Petzl's rope-washing guidance, load-bearing rope should use pH-neutral soap, water no hotter than 30 C / 86 F, a complete fresh-water rinse, and ventilated drying away from UV and heat.
That temperature is a conservative ceiling for unknown load-bearing cord and webbing, not permission to ignore a lower maker limit.
After drying, bend the strap slowly under bright light and inspect both faces and both edges.
Retire webbing with cuts, melted or glossy fibers, severe abrasion, chemical discoloration, missing safety markings, or stitching damage.
The ultralight tree strap kit is a replacement option when inspection fails, not proof that stained straps must be replaced.
Verdict: Use label-approved mild cleaning and inspection, and never gamble a load-bearing strap on an unverified solvent hack.
Scenario 5: The Hammock Was Packed Damp and Now Smells Musty

Do not spray fragrance into the stuff sack and call the problem solved.
Unpack every component outdoors, separate the layers, and look for spotting, discoloration, tackiness, and brittle areas.
Air the system fully before deciding whether the odor remains deep enough to justify washing.
If mustiness persists, follow the fabric label for a complete wash and thorough rinse.
Avoid bleach and improvised mildew chemicals unless the exact manufacturer authorizes them for that exact material.
Bleach can damage fibers and coatings while a fragrance can hide odor without removing the condition that caused it.
Drying deserves more time than washing because gathered channels, zipper tape, webbing folds, and stuff-sack seams hold moisture after open panels feel dry.
I check those thick and folded zones by touch, then leave the pieces exposed to moving air longer than the broad fabric seems to require.
If the fabric has widespread staining, brittleness, sticky coating failure, or damaged stitching, contact the maker or retire it.
Never use a low-height test to justify obviously degraded fabric.
Verdict: Wash only after inspection, dry every hidden fold completely, and retire any musty component that also shows structural degradation.
Scenario 6: The Whole Hammock Sleep System Is Dirty
A dirty campsite does not create one laundry load.
Separate the bed from the hammock rain fly and from every insulated layer before choosing water, cleaner, or agitation.
Onewind's underquilt guidance calls for removing shock cords, avoiding a top-loader agitator, using a gentle front-loader cycle with extra rinse, and lifting the wet quilt from below.
Those instructions address lofted insulation and seam load, not the needs of a plain nylon bed.
Coated tarps also need their own label because aggressive detergent can attack water-repellent treatments or leave residue that changes wetting behavior.
The water-resistant versus waterproof guide explains why a surface treatment and a waterproof construction are not interchangeable claims.
Wash and dry each component independently, then reunite the system only after every piece passes its own inspection.
Verdict: Break a dirty sleep system into bed, mesh, suspension, tarp, and quilt, then follow five separate care decisions.
Common Mistakes With How to Wash a Hammock

Most hammock-washing failures begin before detergent reaches the water.
The owner treats a system as one object, assumes stronger cleaning is better, or mistakes a clean smell for structural safety.
I grouped the recurring errors by what they damage so you can interrupt them before the wash begins.
Mistake 1: Washing the Complete System As One Object
The complete-system shortcut saves only a few minutes of disassembly.
It also puts the toughest pieces in direct contact with the lightest ones while the drum supplies repeated motion.
Hardware does not become fabric-safe merely because it belongs to the hammock.
Load-bearing loops do not become ordinary laundry because they are small.
A detachable net does not benefit from sharing a cycle with buckles and straps.
Photographing the setup and sorting parts into labeled bags makes reassembly simple without accepting that risk.
Mistake 2: Using an Agitator, Hot Water, or Too Much Cleaner
More force does not make technical fabric more safely clean.
The center agitator is a snagging mechanism, not just a different washer style.
Heat accelerates drying but removes the chance to respect a low temperature limit.
Strong stain chemistry may change a load-bearing fiber or waterproof coating in a way that smell and appearance cannot reveal.
Use cold gentle action, minimal mild detergent, and extra rinsing whenever the label permits washing.
Choose hand washing when the label, component, or machine leaves doubt.
Mistake 3: Stopping When the Fabric Smells Clean
Cleaning removes grime that can hide the first signs of damage.
Use that visibility.
Run clean fingers along hardware edges and examine webbing under bright light.
Flex faded fabric gently and compare exposed areas with material that lived inside a hem or channel.
Do not assume detergent restores UV-brittle nylon or worn suspension.
When a load-bearing component is questionable, replacement is the honest care instruction.
The hammock may smell ready while the system is not ready to carry a person.
Mistake 4: Giving the Bed, Tarp, and Quilt One Wash Recipe
The fabric may all look synthetic, but construction determines care.
A waterproof tarp depends on coatings and sealed seams.
An underquilt depends on loft and evenly supported baffles.
A bed depends on broad fabric panels and load-bearing end channels.
One generic cycle cannot optimize for all three.
When you own an underquilt system, save its label separately so the correct method is available before trail grime obscures the tag.
Mistake 5: Packing the Hammock Before It Is Fully Dry
A broad nylon panel can feel dry while every folded part remains damp.
Packing those folds tightly removes airflow and recreates the conditions that caused musty odor.
Dry pieces separately, open pockets, loosen channels, and rotate webbing so both faces receive air.
Avoid a heater, dryer, or long bake in direct sun.
Before storage, press the thickest folds against the back of a dry hand and compare their temperature with the open panel.
Any cool or clammy spot needs more time.
Store the clean system in a cool, dry, dark place only after the stuff sack is dry too.
The Quick Decision Checklist
I would rather spend ten extra minutes separating a system than save time by washing the wrong materials together.
The five verbs make that decision repeatable: strip, wash, dry, inspect, rebuild.
Air normal dampness, spot-clean local dirt, and fully wash only contamination that persists.
Use hand washing as the safe default when the label or attached component leaves doubt.
Finish with a low hang over a clear surface, sit gradually, and listen and look for movement at every connection.
Clean fabric is pleasant.
Clean, dry, inspected, correctly rebuilt gear is ready to carry you.

Replace suspension that fails inspection
Shop Now →