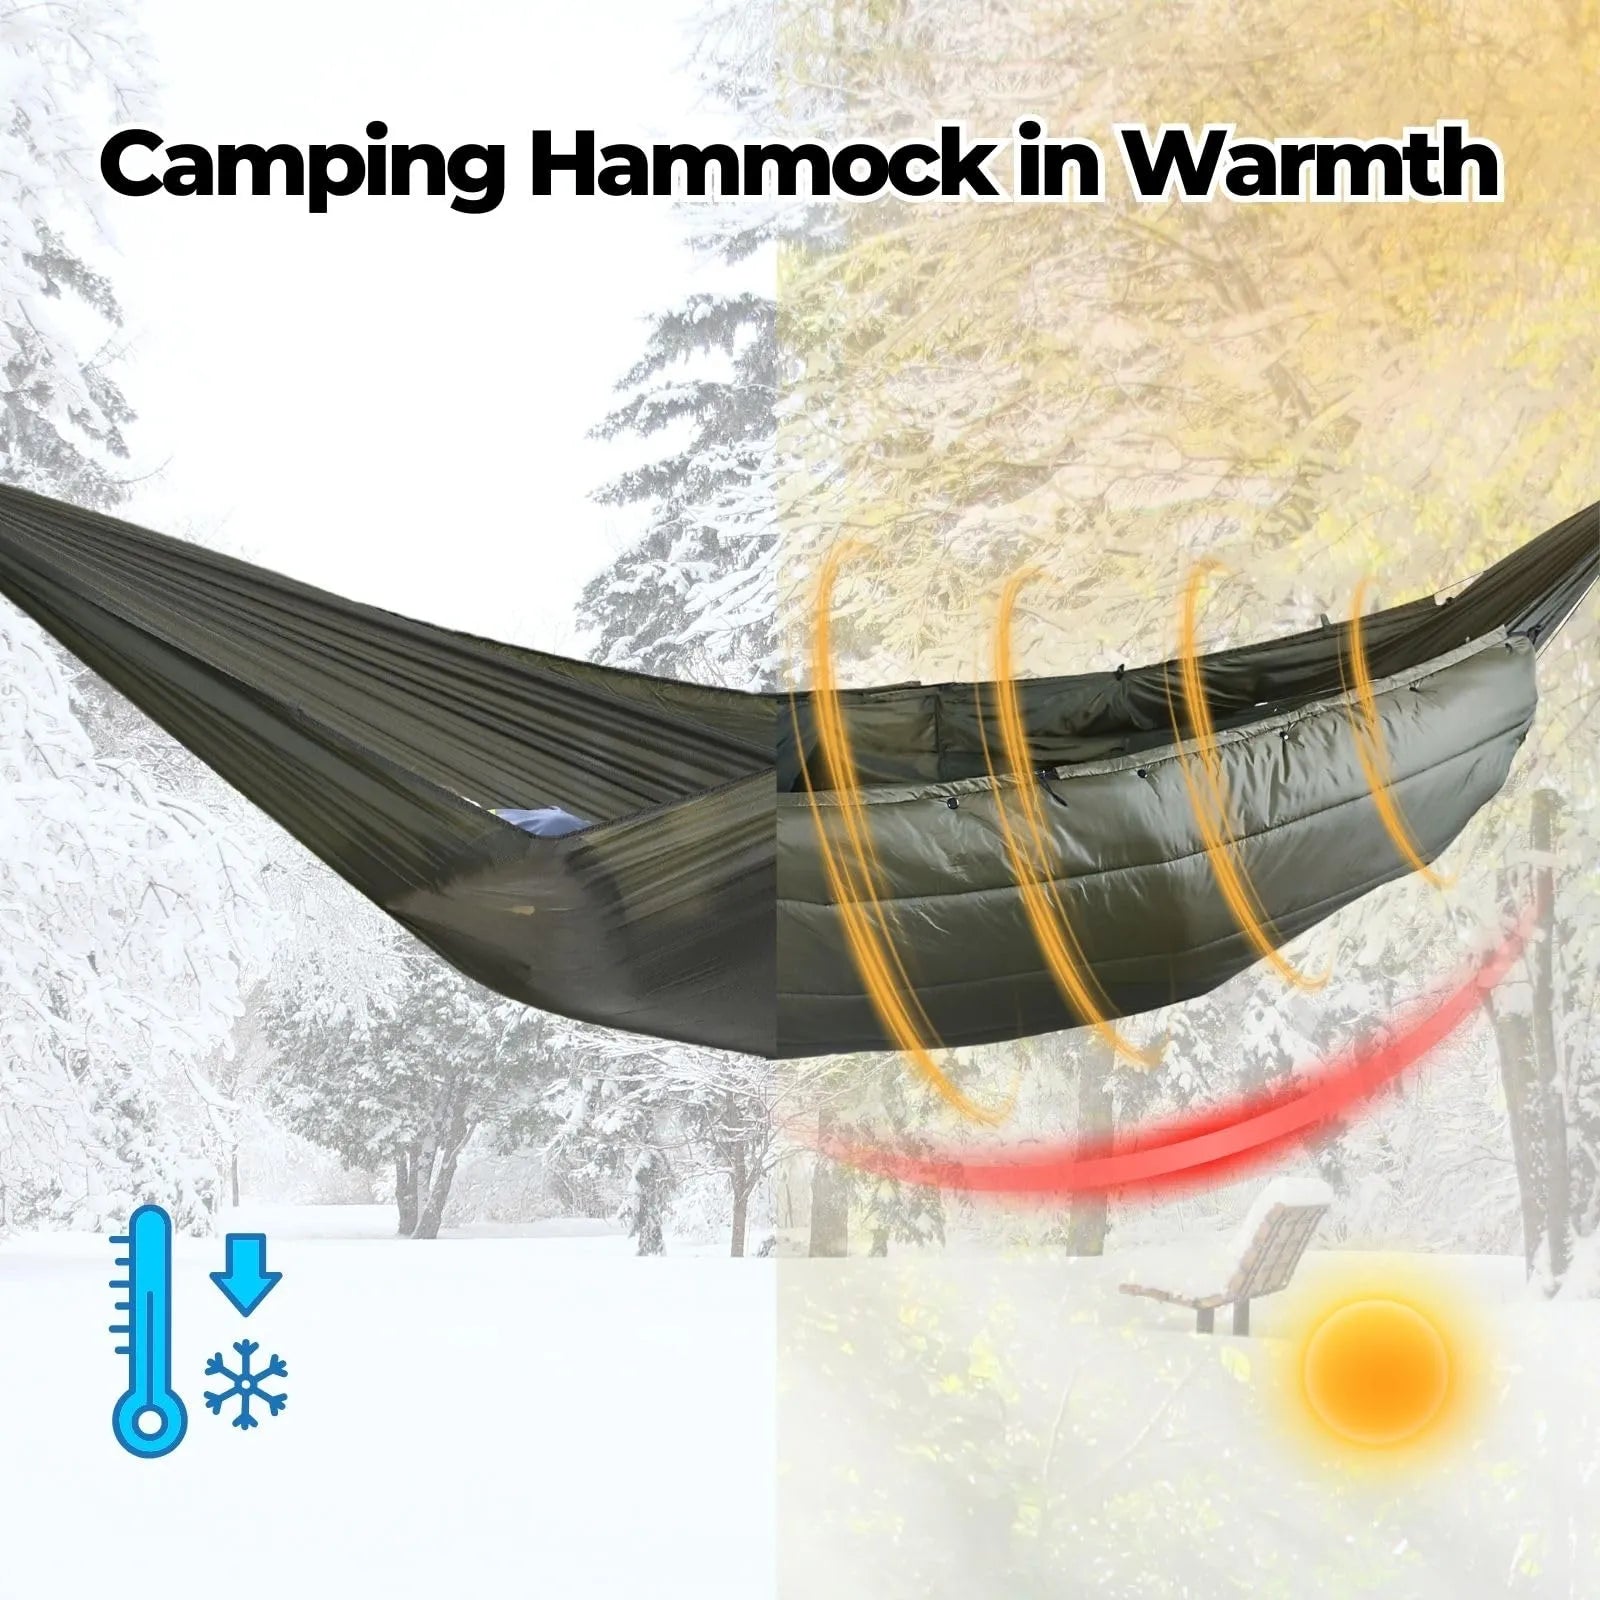

ถุงนอนอาจให้ความอบอุ่นได้อย่างพอดีในเต็นท์ แต่ยังทำให้แผ่นหลังของคุณหนาวได้เมื่อใช้งานในเปลญวน
เหตุผลนั้นง่ายมาก: ฉนวนที่อยู่ใต้ตัวคุณจะถูกกดทับระหว่างร่างกายของคุณกับผ้าของเปล จึงไม่สามารถกักเก็บอากาศอุ่นไว้ได้
ผ้าห่มฉนวนใต้เปลญวนสำหรับการตั้งแคมป์จะแก้ปัญหานั้นได้ก็ต่อเมื่อแขวนอย่างถูกต้อง โดยมีการปกคลุมที่พอดี การปิดผนึก แรงตึง และการป้องกันลมที่เหมาะสม
ฉันมองว่าการติดตั้งฉนวนเปลญวนแบบใหม่ทุกครั้งเป็นการทดสอบความพอดี ไม่ใช่การตัดสินใจซื้อสินค้า
หากผ้านวมผ่านการตรวจทั้งห้าข้อด้านล่างนี้ ฉันก็มั่นใจว่าใช้งานได้จริงตลอดทั้งคืน
หากมันไม่ผ่านการตรวจสอบข้อหนึ่งข้อใดในสวนหลังบ้าน ฉันจะซ่อมตรงนั้นก่อนที่จะโทษค่าระดับอุณหภูมิ
คุณจะได้เรียนรู้อะไรบ้าง
- ✓ คุณจะรู้ว่าทำไมถุงนอนที่ระบุอุณหภูมิ 30 องศายังทำให้หลังของคุณหนาวได้เมื่อใช้นอนในเปลญวน
- ✓ คุณจะรู้จัก 5 จุดตรวจสอบความพอดีที่สำคัญก่อนออกเดินทางค้างคืนจริง
- ✓ คุณจะรู้ว่าเมื่อใดแผ่นโฟมก็เพียงพอ และเมื่อใดผ้าห่มกันหนาวใต้เปลคือการอัปเกรดที่ดีกว่าและเรียบร้อยกว่า
- ✓ คุณจะรู้วิธีจับคู่เปลญวนสำหรับตั้งแคมป์ ผ้าห่มกันหนาวด้านล่าง ผ้าห่มชั้นบน ผ้าใบกันฝน และผ้าคลุมป้องกัน โดยไม่ต้องซื้อผิดลำดับ
- ✓ คุณจะรู้ว่าอาการจุดเย็นบ่งชี้ถึงความผิดพลาดในการติดตั้งแบบใด
คู่มือนี้ไม่ใช่รายการผ้ารองใต้เปลที่ดีที่สุดอีกชุดหนึ่ง
คุณก็ทราบอยู่แล้วว่าผ้าห่มควิลต์ที่อุ่นกว่าย่อมให้อุณหภูมิที่อุ่นกว่า
คำถามที่ยากกว่าคือผ้านวมกำลังใช้งานได้จริงใต้เปลญวนของคุณหรือไม่
นั่นคือจุดที่เกิดคืนที่หนาวเย็นที่สุดส่วนใหญ่
ฉันเคยเห็นนักตั้งแคมป์เพิ่มถุงนอนที่หนากว่า ถุงเท้าที่หนากว่า และหมวกที่อุ่นกว่า ทั้งที่ช่องโหว่ที่แท้จริงคือช่องเปิดขนาดสองนิ้วใกล้กับหัวไหล่ข้างหนึ่ง
การทดสอบห้าจุดจะตรวจพบสิ่งนั้นก่อนออกเดินทาง
คำตอบด่วน
เลือกผ้าห่มใต้เปลเมื่อเปลญวนกำลังกลายเป็นระบบการนอนจริงจัง ไม่ใช่การลองใช้เพียงคืนเดียว
ใช้แผ่นรองเมื่อต้องการทดสอบการกางเปลนอนในสภาพอากาศไม่รุนแรง และคุณสามารถยอมรับการลื่นไถล แรงกดทับบริเวณไหล่ หรือการนอนเฉียงที่ไม่สบายเท่าได้
เก็บถุงนอนของคุณไว้ หากมันปกคลุมเพียงส่วนบนของร่างกายคุณเท่านั้น
อย่าคาดหวังว่าถุงนอนใบเดิมจะช่วยแก้ปัญหาด้านล่างได้
คำสั่งเริ่มต้นคือฉนวนด้านล่างเป็นอันดับแรก ฉนวนด้านบนเป็นอันดับสอง และการควบคุมลมเป็นอันดับที่สาม
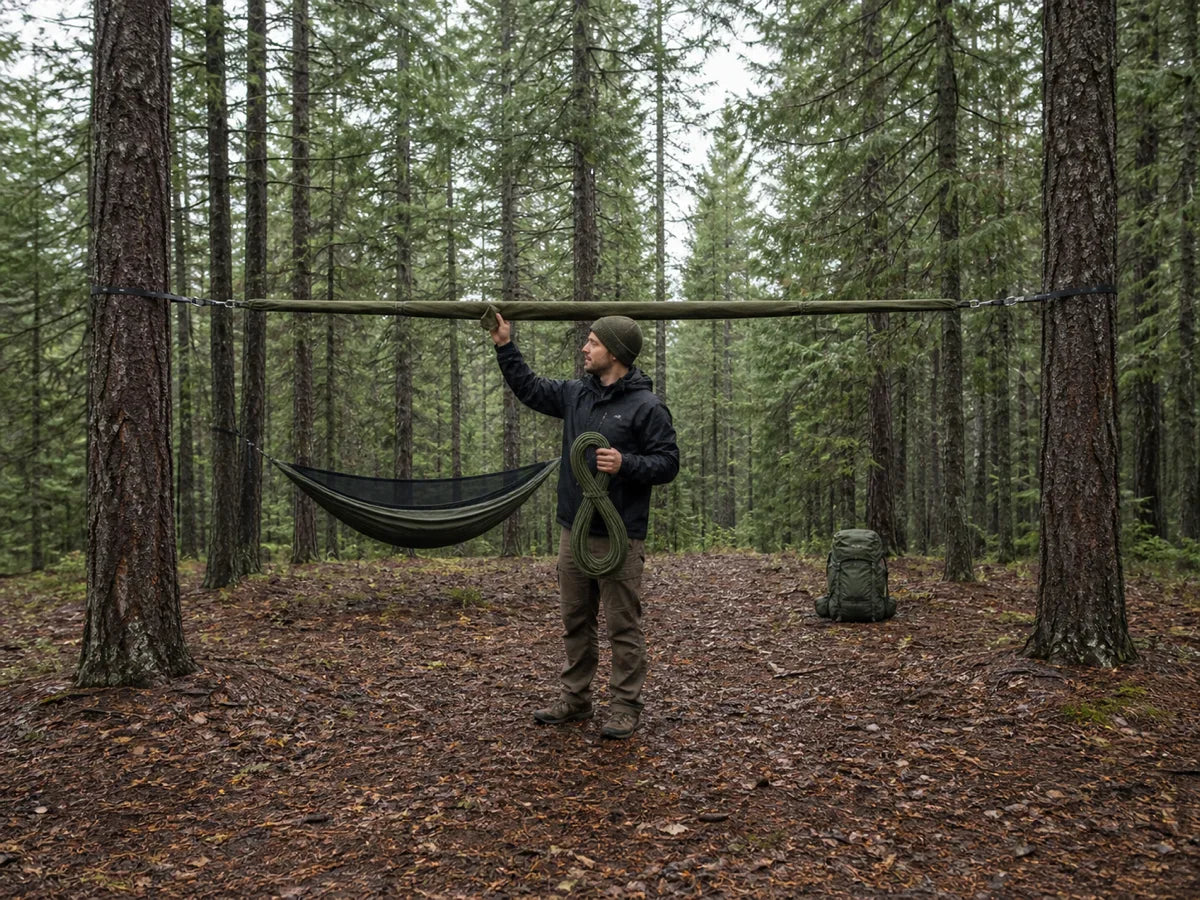
หากคุณมีเปลญวนสำหรับตั้งแคมป์อยู่แล้ว วิธีที่เร็วที่สุดในการตัดสินใจคือ แขวนเปลญวนไว้ที่บ้าน ติดตั้งผ้าห่มใต้เปลญวนเข้าไป ไต่ขึ้นไปนอน แล้วตรวจสอบ 5 ข้อต่อไปนี้
ตามแหล่งข้อมูลพื้นฐานเกี่ยวกับการตั้งแคมป์เปลญวนที่ใช้สำหรับคู่มือนี้ ปัญหาอาการหนาวที่หลังเริ่มจากฉนวนกันความร้อนด้านล่างที่ถูกกดทับและการไหลเวียนของอากาศที่สัมผัสโดยตรง
งานวิจัยจากแบรนด์ผ้าห่มเปลชี้ไปยังคำตอบเชิงปฏิบัติเดียวกัน: จัดการส่วนด้านล่างให้เรียบร้อยก่อนที่คุณจะใช้เงินเพิ่มไปกับชั้นด้านบน
รายงานภาคสนามจากชุมชนเปลญวนแสดงให้เห็นว่าผู้ใช้จำนวนมากรู้สึกหนาวเพราะผ้านวมวางตำแหน่งไม่ถูกต้อง ไม่ใช่เพราะค่าระดับอุณหภูมิทุกแบบผิดทั้งหมด
ผ้าห่มใต้เปลญวน vs แผ่นรองนอน vs ถุงนอน
This is the underquilt vs pad vs sleeping bag decision in one table.
The sleeping bag is not useless.
It is just doing the wrong job if you expect it to insulate below you.
The 5-Point Fit Test
Hammock Underquilt Installation
The test works because every cold underquilt problem has a location.
Cold between your shoulder blades usually means the quilt is hanging too low or off-center.
Cold at the calves often means the foot end is not sealed or the quilt is too short for your sleep position.
A cold strip along one side usually means your diagonal lay moved the hammock body away from the quilt edge.
I do this test after the hammock is loaded with my body weight.
An empty hammock can make the underquilt look perfect.
The loaded hammock tells the truth.
Why a Sleeping Bag Alone Fails Under You
A sleeping bag is built to trap warm air in lofted insulation.
That works above you because the bag can puff up.
It fails below you because your body weight flattens the insulation against the hammock fabric.
The hammock also leaves the underside exposed to moving air.
That is why a camper can feel cold in a 50 degree night even with a sleeping bag that felt fine on the ground.
The temperature rating on the bag assumes a ground pad or mattress is handling bottom insulation.
In a hammock, that bottom layer is missing unless you add it.
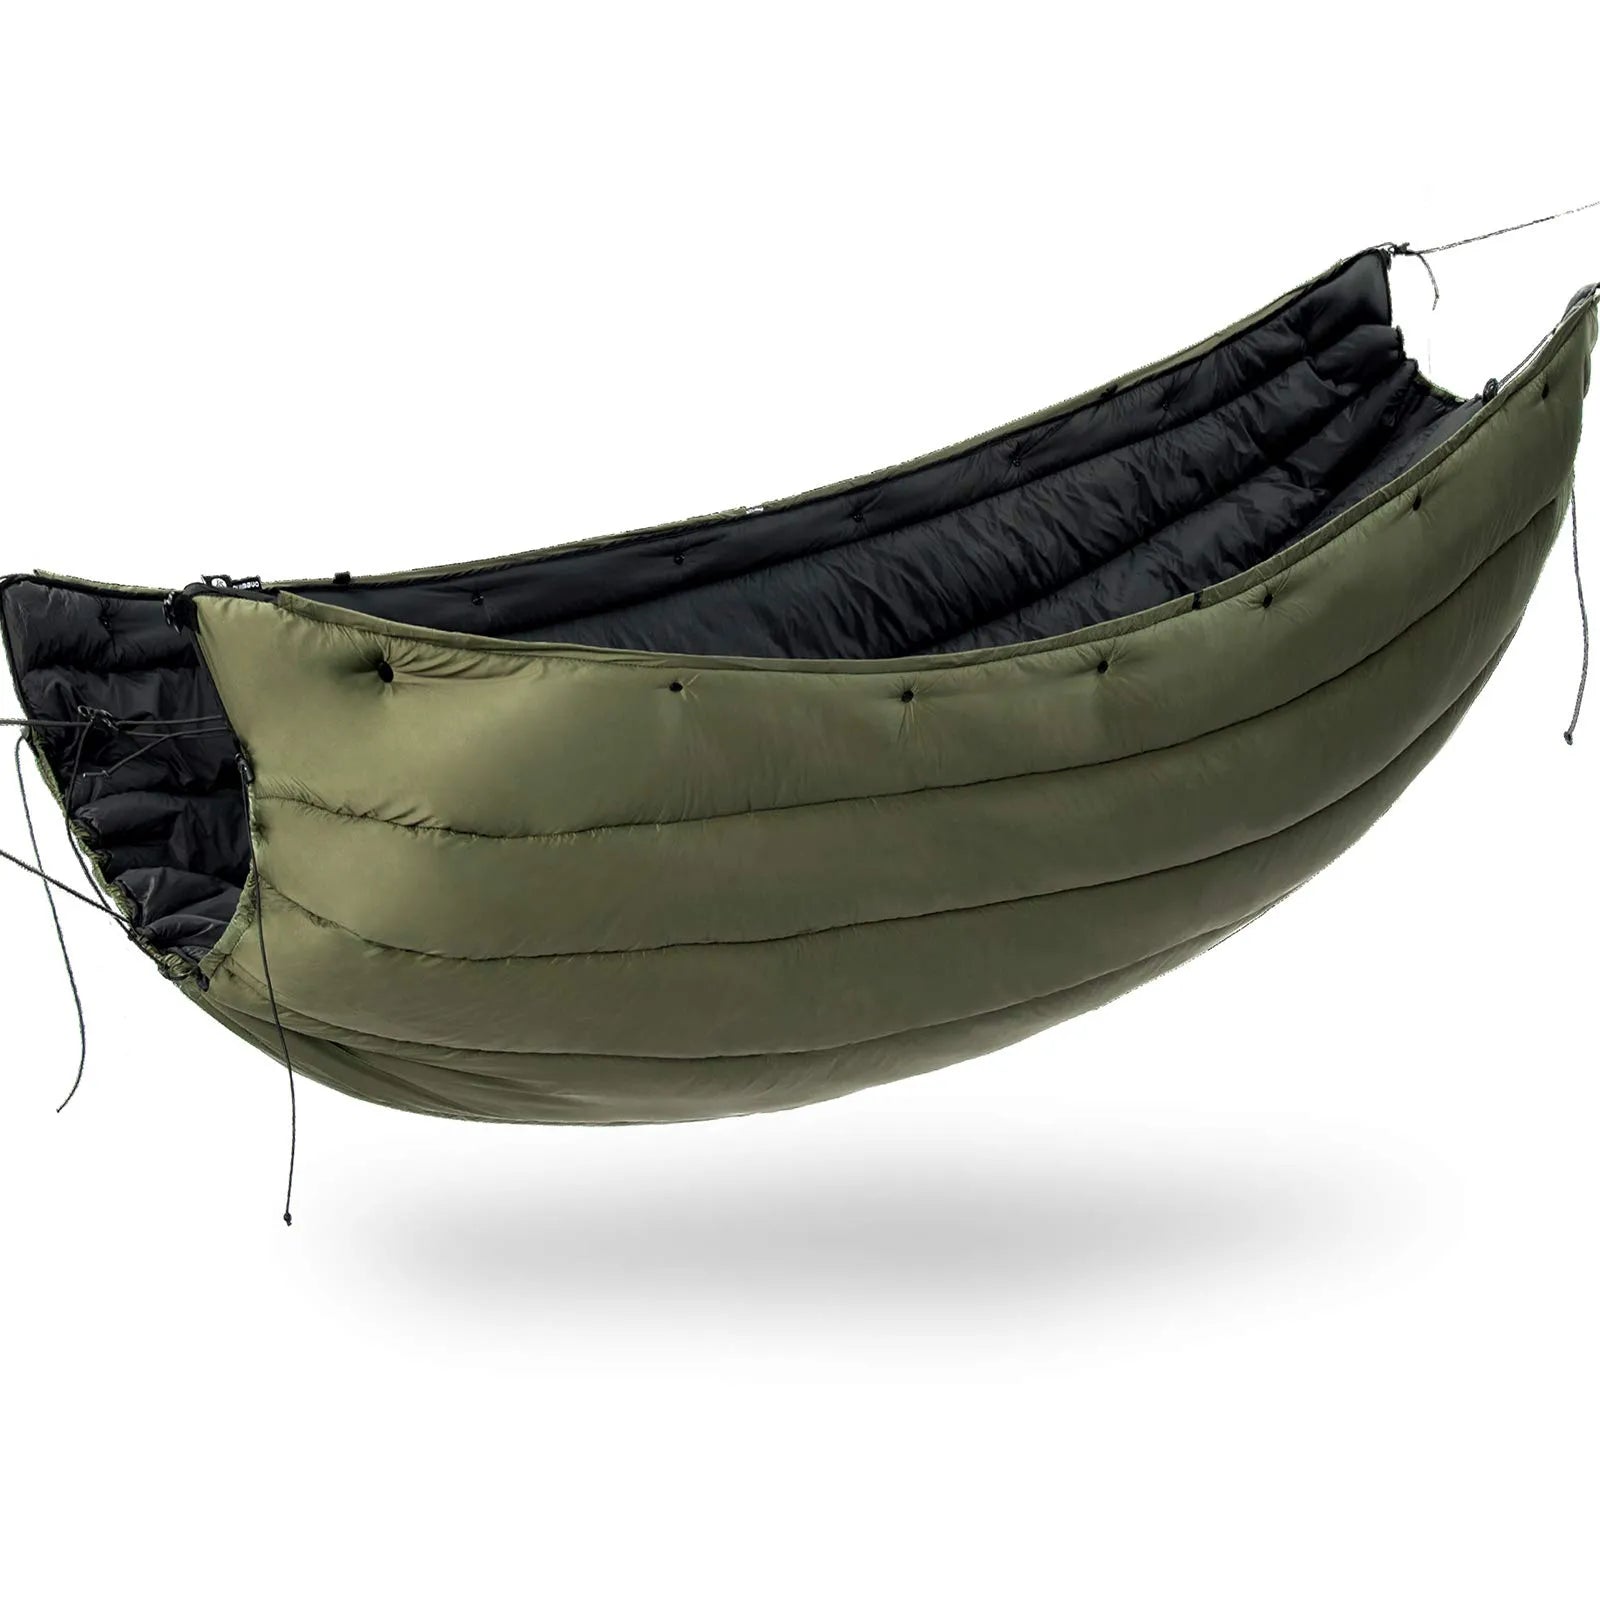
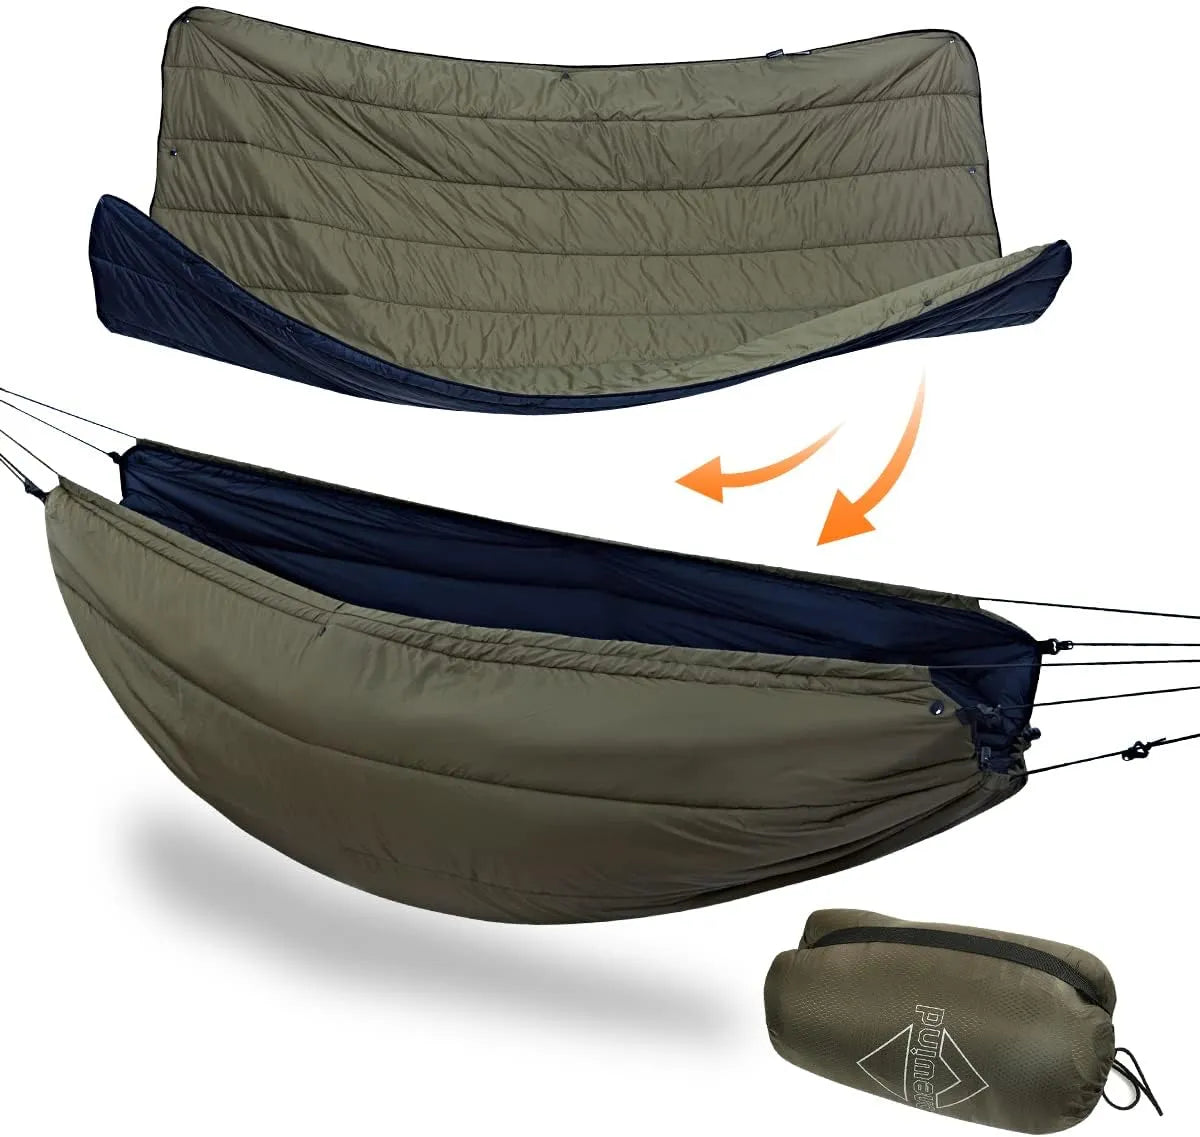
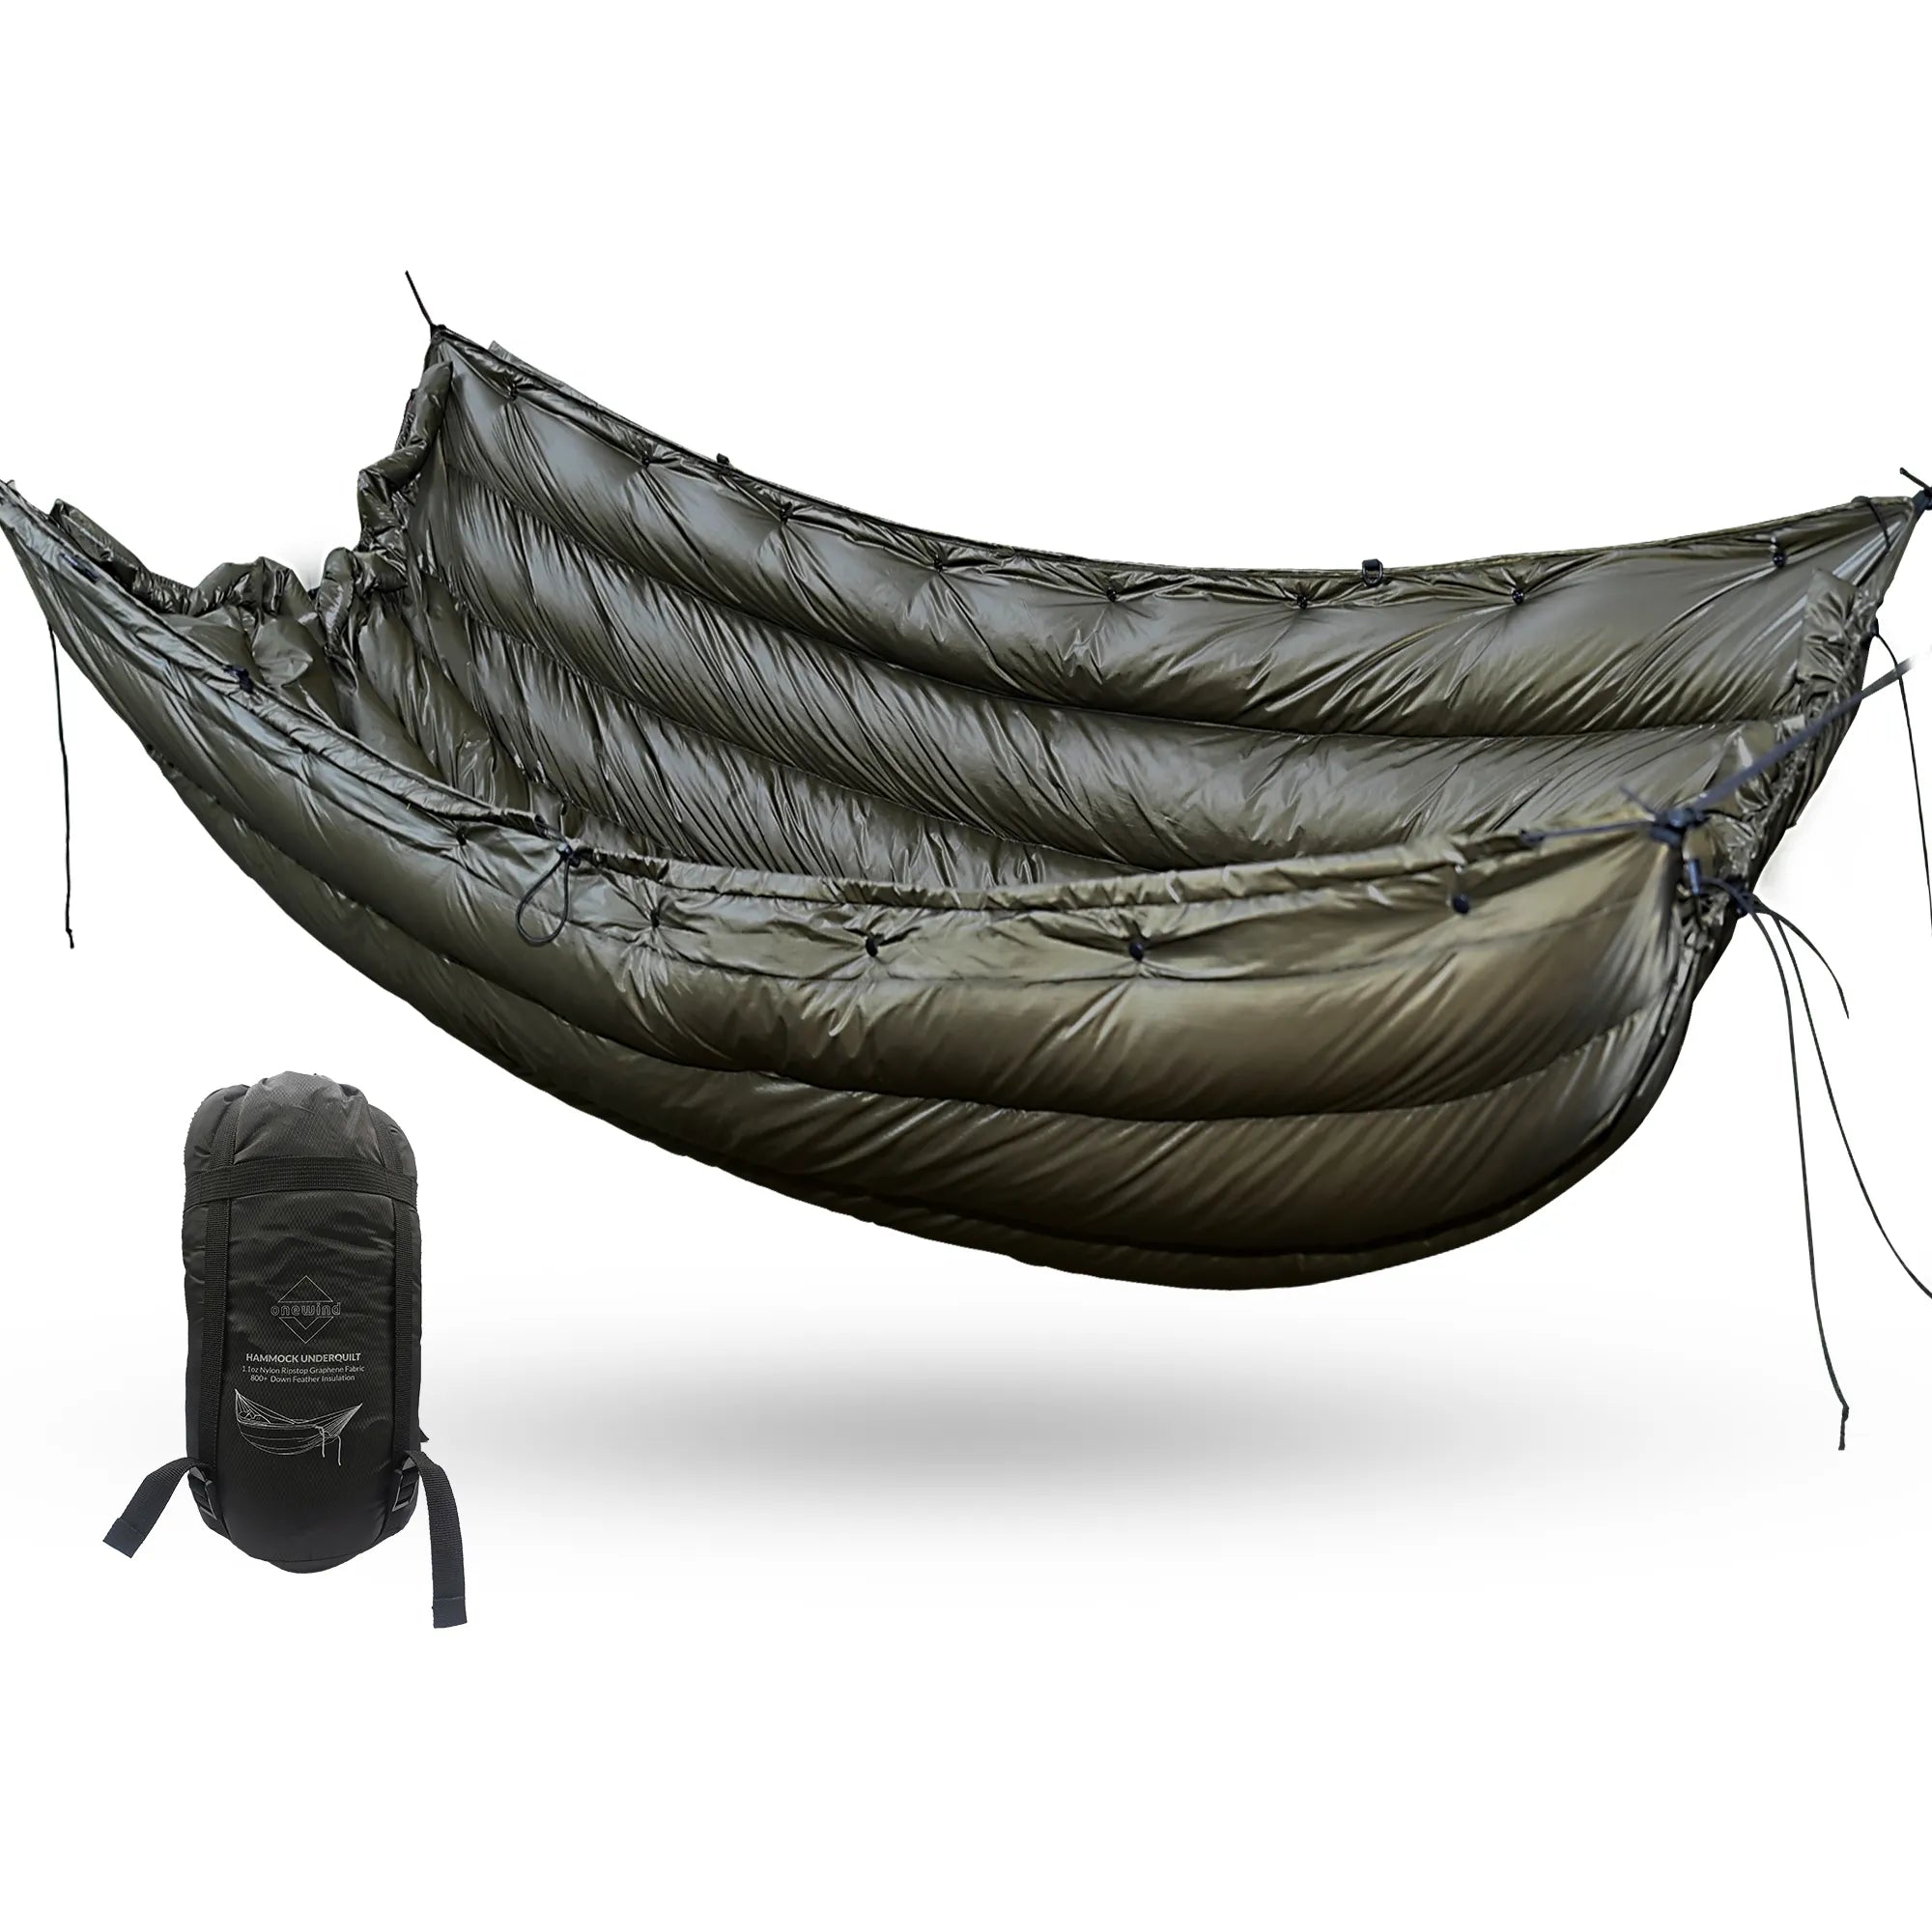
An underquilt hangs outside the hammock.
Your weight does not crush it.
That one difference is the reason underquilts exist.
I still use a sleeping bag as a top layer on some trips.
That is a valid budget move.
But I do not count the underside of that bag as bottom insulation.
If the forecast is warm and the trip is low-risk, a pad can bridge the gap.
If the forecast is cool, windy, or damp, I want the underquilt outside the hammock where it can keep loft.
The Hammock Insulation Order
This order prevents wasted upgrades.
Buying a warmer top quilt before solving the underside is like wearing a heavier jacket with bare feet in the snow.
The warmest top layer cannot insulate the air moving below the hammock.
A better tarp also cannot fix an underquilt hanging six inches too low.
Start at the hammock.
Then solve the bottom.
Then tune the top.
Then protect the whole system from wind.
That order is why the Onewind 11ft Camping Hammock belongs in the same conversation as the underquilt.
The hammock is not just the thing you lie in.
It is the frame that decides where the underquilt has to sit.
Fit Test 1: Length Coverage
How to use an underquilt with your hammock! Set up a new Outdoor Vitals Underquilt
Length coverage is the first check because the body does not lose heat evenly.
Shoulders, hips, and calves are the usual complaint zones.
A short underquilt can work if it covers your torso and you add a small pad under your legs.
That is a deliberate ultralight strategy.
It is not the same as accidentally leaving your calves outside the insulated zone.
Get into your normal diagonal lay.
Do not lie straight for the test if you never sleep straight at camp.
Reach down and feel where the quilt begins and ends.
Your shoulder area should not be outside the head end.
Your hips should sit inside the warmest part of the quilt.
Your calves should either be covered or intentionally handled by a small pad or spare clothing.
If you use an 11ft camping hammock, test the quilt on that hammock instead of assuming a product label will translate perfectly.
Different hammock bodies sag and wrap differently.
The loaded shape matters more than the flat length printed online.
Fit Test 2: Side Wrap
Side wrap is what keeps warm air from escaping when the hammock changes shape under you.
A hammock is not a flat bed.
It curves, stretches, and rises along the sides.
When you lie diagonally, one shoulder and the opposite knee can push the fabric in different directions.
That movement can open a side gap.
The underquilt should come up around the hammock body without folding under the sleeper.
If it barely touches the center but leaves the sides open, it will feel cold in wind.
If it wraps so aggressively that it bunches and compresses, it can lose loft.
I check this by shifting from back to side and back again.
If the side edge falls away every time I move, I adjust the secondary suspension or quilt position.
If the quilt rolls under the hammock and gets trapped, I loosen it and recenter it.
This is one reason a real backyard movement test beats a quick photo of an empty setup.
Fit Test 3: End Seal
End gaps are small but brutal.
A one-inch opening at the head or foot end can create a cold tunnel that feels much bigger once air starts moving.
The end channels should close around the hammock without strangling the quilt.
Too loose creates drafts.
Too tight can pucker the insulation and pull it away from the body.
The goal is a soft seal, not a rope-like knot.
After clipping the quilt, climb in and ask someone to check the head and foot ends.
If you are alone, run your hand along the channel after you settle into the hammock.
You are feeling for open air, not just looking for symmetry.
Cold at the neck often comes from a head-end seal that looks closed while empty but opens after the hammock is loaded.
Cold feet can come from the same problem at the foot end.
The fix is usually a small adjustment, not a new quilt.
Fit Test 4: Suspension Tension
Suspension tension is the most confusing part for beginners because both extremes feel logical.
If the quilt hangs too low, cold air sits between the hammock and the insulation.
If the quilt is pulled too tight, the insulation can flatten and lose loft.
The right tension lifts the quilt to the hammock without crushing it.
I use the hand test.
Slide a hand between the hammock and the underquilt while someone is lying inside.
You should feel the quilt touching or nearly touching the hammock.
You should not feel a big empty pocket of air.
You should also not feel the insulation stretched flat like a tight drum.
Adjust in small steps.
One inch of suspension change can matter more than a ten-degree change on the product label.
That is why I do not judge an underquilt until I have loaded the hammock and slept or rested in it for at least 20 minutes.
Fit Test 5: Wind Protection
An underquilt can fit correctly and still feel cold if wind reaches it.
Lofted insulation works by holding still air.
Wind steals that still air.
The first wind fix is site choice.
Hang behind natural cover when you can.
The second fix is tarp pitch.
Lower the tarp edges when the forecast turns windy.
The third fix is an underquilt protector when splash, mist, wind, or dirty camp conditions threaten the quilt.
That is where the Onewind Underquilt Protector belongs in the system.
It is not a replacement for insulation.
It is a shield for insulation that already fits.
If the underquilt is sagging, fix tension first.
If the underquilt fits but wind cuts through the setup, then add protection.
Scenario 1: You Have a Sleeping Bag and a Cold Back
This is the classic first cold hammock night.
You bring the same sleeping bag that worked in a tent.
You climb into the hammock.
The top of your body feels fine.
Your back gets cold before midnight.
The fix is not automatically a warmer sleeping bag.
The fix is bottom insulation.
For a mild backyard test, a foam pad can prove the concept.
It is cheap, simple, and useful as emergency backup.
But pads can slide, wrinkle, narrow the diagonal lay, and create shoulder pressure.
If you plan to keep hammock camping, a dedicated underquilt is the cleaner solution.
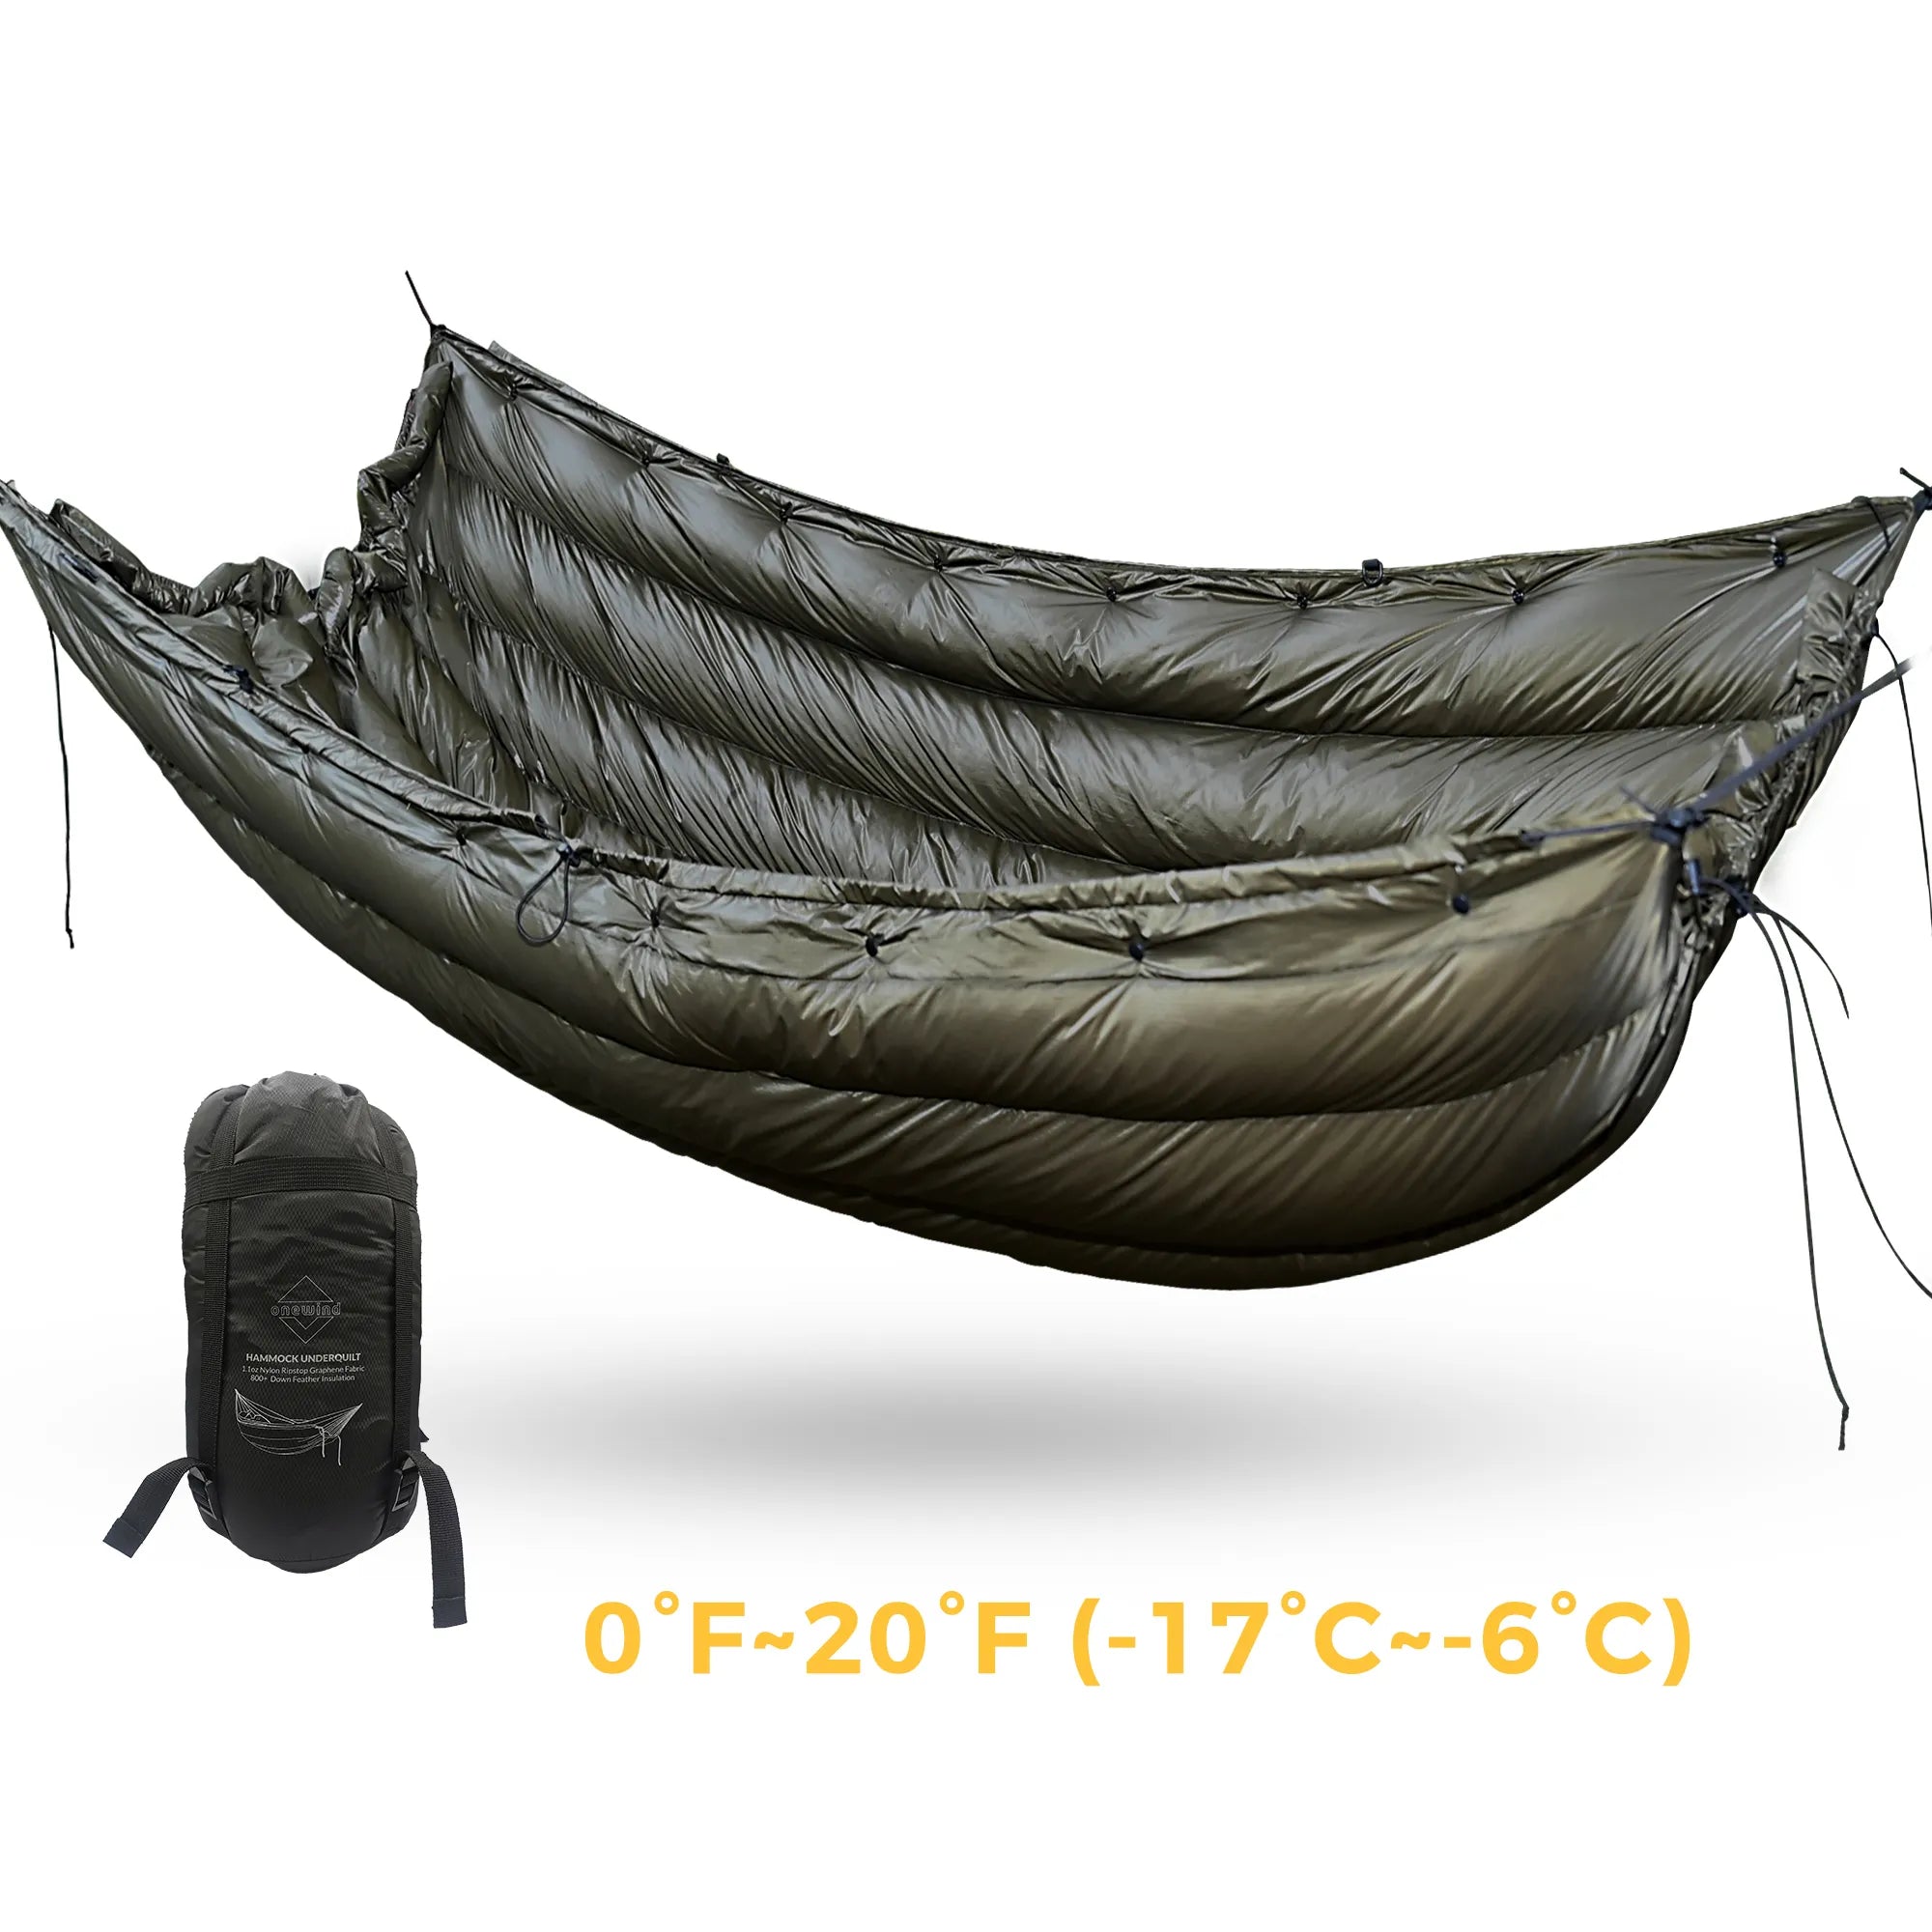
The Hammock Underquilt OD Green is the natural product path to inspect after you understand the fit test.
Do not buy it only because the night was cold.
Buy it because you need lofted bottom insulation that follows the hammock body.
Verdict: Keep the sleeping bag for top warmth, but add bottom insulation before you spend money on a warmer bag.
Scenario 2: You Are Pairing an 11ft Camping Hammock With a First Underquilt
This is the best moment to get the system right.
You have the hammock.
You know you want to sleep in it for more than one warm summer night.
Now the underquilt has to match your actual sleeping shape.
Hang the hammock first.
Set the sag and strap height the way you would at camp.
Then add the underquilt.
Do not tune the quilt on an empty hammock and call it done.
Climb in.
Lie diagonally.
Move once or twice.
Then check length, side wrap, end seal, tension, and wind.
If you are using the Onewind 11ft Camping Hammock, keep the underquilt centered under your loaded sleep position rather than centered under the fabric when empty.
If you prefer a bug-net entry, use the same loaded-fit check with the Onewind 11ft Zipper Camping Hammock before you trust the setup overnight.
Those are not always the same place.
Verdict: Pair the underquilt to the loaded hammock shape, not to the product names on the screen.
Scenario 3: You Own an Underquilt but Still Feel Shoulder or Calf Drafts
Cold sleepers often assume they need a warmer underquilt.
Sometimes they do.
But drafts at the shoulder or calf usually point to fit before rating.
Start by identifying the cold location.
Cold shoulder means the quilt may be shifted too far toward the feet, too loose at the side, or leaking at the head end.
Cold calves mean the quilt may be too short for your diagonal position, loose at the foot end, or sliding during the night.
Cold along one side means the side wrap is failing when you move.
Do not change three things at once.
Recenter the quilt first.
Then adjust end seals.
Then adjust tension.
Then consider extra leg insulation or a warmer underquilt.
I like a 20-minute loaded test because many gaps appear only after the suspension settles.
Verdict: Fix location-specific gaps before replacing the underquilt.
Scenario 4: You Are Choosing Between Pad, Synthetic, Down, and Protector
The right answer depends on how often you hammock camp and how cold the trip can get.
For a one-night mild test, a foam pad is the cheapest proof.
For regular three-season trips, a synthetic underquilt is forgiving and simple to manage.
For backpacking where packed size and weight matter, a down underquilt becomes more attractive.
For wet, windy, dirty, or shoulder-season sites, a protector can help preserve warmth after the underquilt fit is already correct.
Do not treat these as equal upgrades.
They solve different problems.
A pad solves budget.
A synthetic underquilt solves easy bottom warmth.
A down underquilt solves warmth-to-weight and packability.
A protector solves exposure around the quilt.
The Single Layer Underquilt belongs in the simple bottom-warmth lane.
The Underquilts collection is the better place to compare the full range.
Verdict: Choose by failure mode: budget, regular comfort, pack weight, or wind and splash.
Scenario 5: The Forecast Is Windy
Wind changes the real rating of a hammock sleep system.
The air temperature may say 45 degrees.
Your body may feel something colder if wind is moving under the quilt all night.
Before buying a warmer underquilt, check your shelter geometry.
Pitch the tarp lower.
Close the windward side.
Choose a more sheltered hang.
Keep the underquilt from hanging below the tarp coverage.
If the site is exposed, add protection around the quilt.
This is not about sealing yourself into a plastic bag.
It is about protecting lofted insulation from moving air and splash.
A correctly fitted underquilt with wind protection often beats a warmer underquilt left exposed.
Verdict: In wind, protect the quilt before you assume the quilt is too cold.
Common Mistakes With an Underquilt for Hammock
Most underquilt mistakes come from trusting the static setup.
The hammock looks good while empty.
The quilt looks centered.
The tarp looks high and comfortable.
Then the camper climbs in and the whole system changes shape.
That is why every mistake below is really a loaded-fit mistake.
Mistake 1: Forgetting the Underquilt Has to Stay Centered
An underquilt centered on the empty hammock may not be centered on your body.
Your diagonal lay shifts the pressure points.
Your shoulder and hip can move the real warm zone several inches.
After you climb in, the quilt should still sit under your torso.
If it slides toward the feet, your shoulders get cold.
If it slides toward the head, your legs get cold.
Marking the suspension position after a successful backyard test can save time at camp.
I do not need the setup to look symmetrical.
I need the insulation to sit where my body actually sleeps.
Mistake 2: Pulling the Quilt Too Tight
Tight feels secure, but insulation needs loft.
If you pull the underquilt flat against the hammock, you can reduce the air space that makes it warm.
That does not mean the quilt should sag.
It means the lift should be soft.
Think contact, not compression.
The best check is a loaded hand check.
Feel for a big air gap.
Then feel for crushed insulation.
The correct setting is between those failures.
Small suspension adjustments matter.
Do not make the mistake of solving every draft by tightening more.
Mistake 3: Ignoring the End Channels
End channels are easy to overlook because they are not visible from inside the hammock.
They also change when the hammock is loaded.
A head-end gap can make your neck and shoulders cold.
A foot-end gap can chill your feet even when the top layer is warm.
Snug the channels enough to close the opening.
Do not cinch them into a hard knot that distorts the quilt.
If the quilt has draft collars or gathered ends, let them do their work.
The goal is a soft seal around the hammock body.
I check the ends last because tension and centering changes can reopen them.
Mistake 4: Skipping the Backyard Movement Test
Standing beside a hammock is not a sleep test.
Sitting in it for 30 seconds is not a sleep test.
You need movement.
Climb in.
Lie diagonally.
Roll slightly.
Reach for a water bottle.
Sit up and lie down again.
If the quilt shifts during those normal movements, it will shift more at 2 a.m.
A 20-minute backyard test can prevent a miserable night.
For a new setup, I would rather find the failure at home than learn it three miles from the trailhead.
Mistake 5: Buying Top Warmth Before Bottom Warmth
This mistake is expensive.
A camper wakes cold and buys a warmer sleeping bag.
The next trip is still cold.
Then they buy a thicker top quilt.
The next trip is still cold.
The problem was underneath the whole time.
Top insulation warms the top.
Bottom insulation warms the underside.
The jobs are different.
If you are cold below you, solve below you.
The correct upgrade may be an underquilt, a pad, better end seal, or wind protection.
It is rarely a warmer bag as the first move.
Final Checklist Before You Pack
If every row passes, the underquilt is ready for a real trip.
If one row fails, fix that row first.
That is the advantage of thinking in systems.
You stop guessing.
You stop buying warmth in the wrong place.
You make the camping hammock, underquilt, top insulation, and tarp work together.
For most campers, that is the difference between trying hammock camping and actually sleeping well in a hammock.

Shop hammock underquilt options
Shop Now →