
REI's backpacking-tent guide recommends one door per sleeper when practical, a useful clue that access can matter more than a single vestibule-area number.
A vestibule earns its space only when your real pack, boots, wet layers, and occupants can share it without blocking the tent door.
I compare vestibules as weather-exposed traffic lanes rather than bonus floor area, because published square footage cannot show door swing, fly slope, or the path you need at 2 a.m.
A layout gets the green light when it shelters the gear that may stay outside, preserves a direct exit, keeps vents open, and still works after you turn the tent away from wind-driven rain.
A layout gets the red light when one pack traps a sleeper, critical gear relies on a floorless space to stay dry, or anyone plans to use a stove beneath the fly.
Pass those tests before comparing weight, packed size, and price.
What You'll Learn
You will also get a five-minute loaded-gear exit test that works better than a universal square-foot rule.
The test uses the shelter, gear, and occupants you already expect to bring, so it exposes a bad fit before the first wet night.
I start with doors because an impressive storage number means little when the only exit opens into a pack.
Then I check the protected footprint, traffic path, weather orientation, and hard safety boundaries in that order.
The result is a specific yes-or-no decision, not a vague instruction to buy a larger tent.
Quick Answer
If the vestibule protects the expected gear and leaves a direct exit from every sleeping position, then the layout is large enough for that trip.
If an item sits in the door swing, touches the inner tent, presses against the fly, or occupies the only kneeling space, then listed area is overstating usable capacity.
For most solo trips, one well-shaped vestibule can beat a larger but sharply sloped porch.
For two sleepers, independent doors and storage zones often reduce nighttime conflict more reliably than one large number on a specification sheet.
The safety answer is absolute: never use a fuel-burning stove, heater, or lantern in the vestibule, even with a flap open.
What a Tent Vestibule Is, and What It Is Not
Sierra Designs - Why You Should Ditch Your Vestibule
A tent vestibule is the covered area between an outer fly door and the enclosed inner tent.
It acts like a small mudroom for boots, a pack, and wet layers that you do not want beside your sleep system.
REI describes vestibules as rainfly extensions for sheltered gear storage, while also noting that more vestibule area adds material, weight, and cost.
The inner tent protects your sleeping space from insects and direct contact with wet gear, but it does not turn the adjoining vestibule into a sealed room.
An awning may hold a panel higher for shade or airflow, while a zipped vestibule pulls panels lower for weather protection.
Your tent footprint belongs beneath the tent floor and should stay smaller than that floor so runoff cannot collect on top of it.
I keep these five labels separate because each changes what can get wet, what can block an exit, and what setup choices remain available in wind.
Some shelter designers replace a closed vestibule with an awning or more open entry, which should face the same loaded-gear, rain, and exit tests rather than being treated as an automatic upgrade.
The Five-Part Vestibule Decision Framework

Work through the checks in order because a later advantage cannot repair an earlier failure.
A second vestibule does not help if the tent still has one practical exit, and a large protected shape does not help if runoff crosses the gear zone.
I draw the expected gear footprint first, then trace a person-sized route from each sleeping position to open ground.
The route must work with the door both closed and folded back, since the panel itself may occupy storage space when opened.
Next, turn the imagined wind 90 degrees and ask which panel becomes the windward side, where rain sheds, and which entrance you would actually use.
Finish with the non-negotiables: vents remain open, nobody sleeps behind a gear barricade, and combustion stays fully outside and away from openings.
This framework favors usable geometry over nominal area, so two tents with equal vestibule figures can receive different verdicts.
The Five-Minute Loaded-Gear Exit Test

Run this test at home with the same categories of gear you expect on the trip, not empty stuff sacks arranged to make the porch look generous.
Put rigid or bulky pieces in their least convenient form, including trekking poles, a full pack frame, wide boots, and a dog's sleeping pad.
I place the pack where it would sit during rain, open the fly completely, and watch whether the folded panel steals the same patch of ground.
Then I repeat the exit while pretending the leeward door is the only one I can use.
A pass does not require the outside of every item to remain bone dry, but insulation, spare clothing, electronics, and other critical contents need independent waterproof protection.
A fail is useful evidence because it tells you whether to change packing, vestibule shape, door count, or shelter size before spending another night with the problem.
Do not solve a failed exit by stacking gear higher against the inner tent or fly, where pressure can transfer moisture and reduce ventilation.
How Much Vestibule Space Do You Need?
There is no defensible universal answer in square feet because occupant size, pack shape, fly slope, door swing, and stake geometry vary.
Use a published area figure to shortlist tents, then use the loaded test to decide whether that area is usable.
A long triangular vestibule may advertise more area while offering only a narrow strip tall enough for a framed pack.
A smaller side vestibule can feel more useful when the door rolls away from the gear zone and leaves a direct lateral exit.
Solo campers should upsize only when the real kit fails, sleep space is also too tight, or the added door solves a weather problem.
Two campers should count separate access as part of capacity, since two packs that technically fit may still create one shared bottleneck.
I would reject any layout that needs daily gear Tetris just to unzip the door, even if every item fits once arranged perfectly.
Front, Side, and Two-Vestibule Layouts

Front vestibules often create a pointed storage zone centered on the door, so a pack may fit only where your knees and feet need to travel.
Side vestibules can place gear beside the entry path, but their broad panel and drip line deserve close attention in crosswind.
Two vestibules offer separate storage and a backup entrance when rain makes one side unpleasant, yet they do not guarantee independent exits unless the inner tent also has two doors.
An extended porch may help with a dog or bulky kit, but its larger stake pattern can become a poor fit on small tent pads.
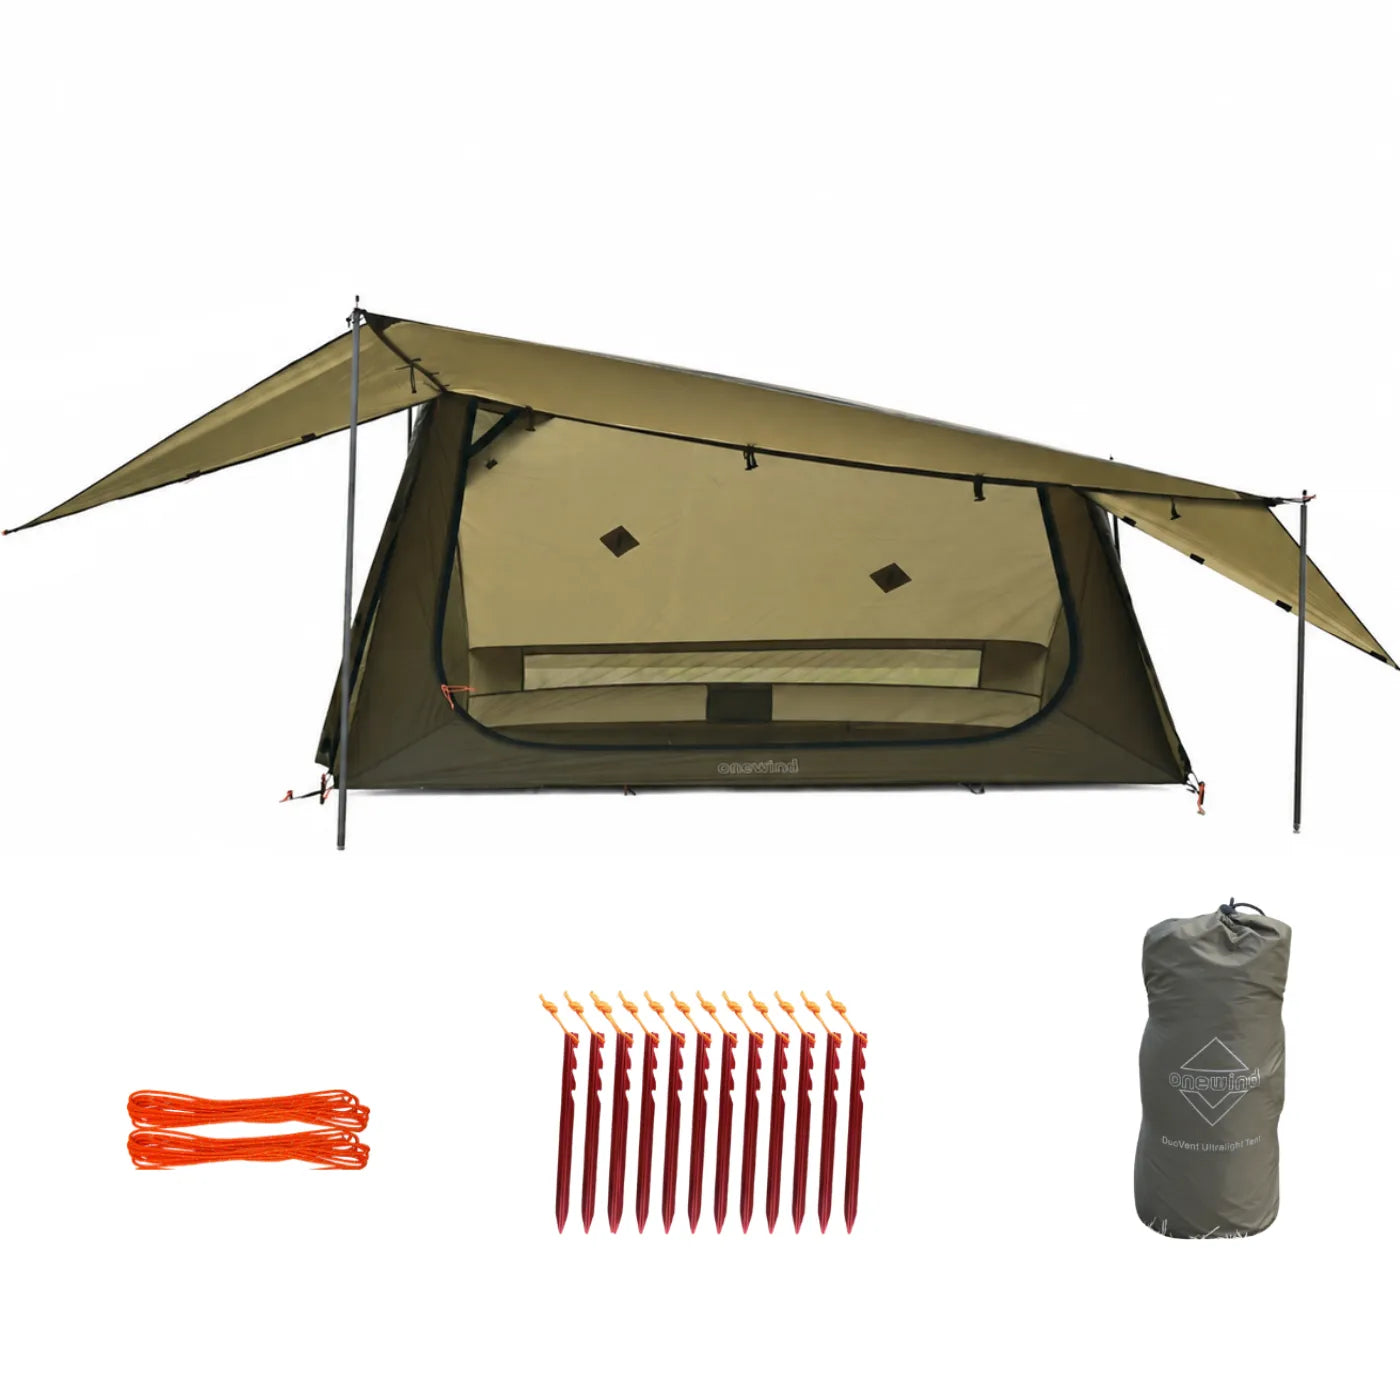
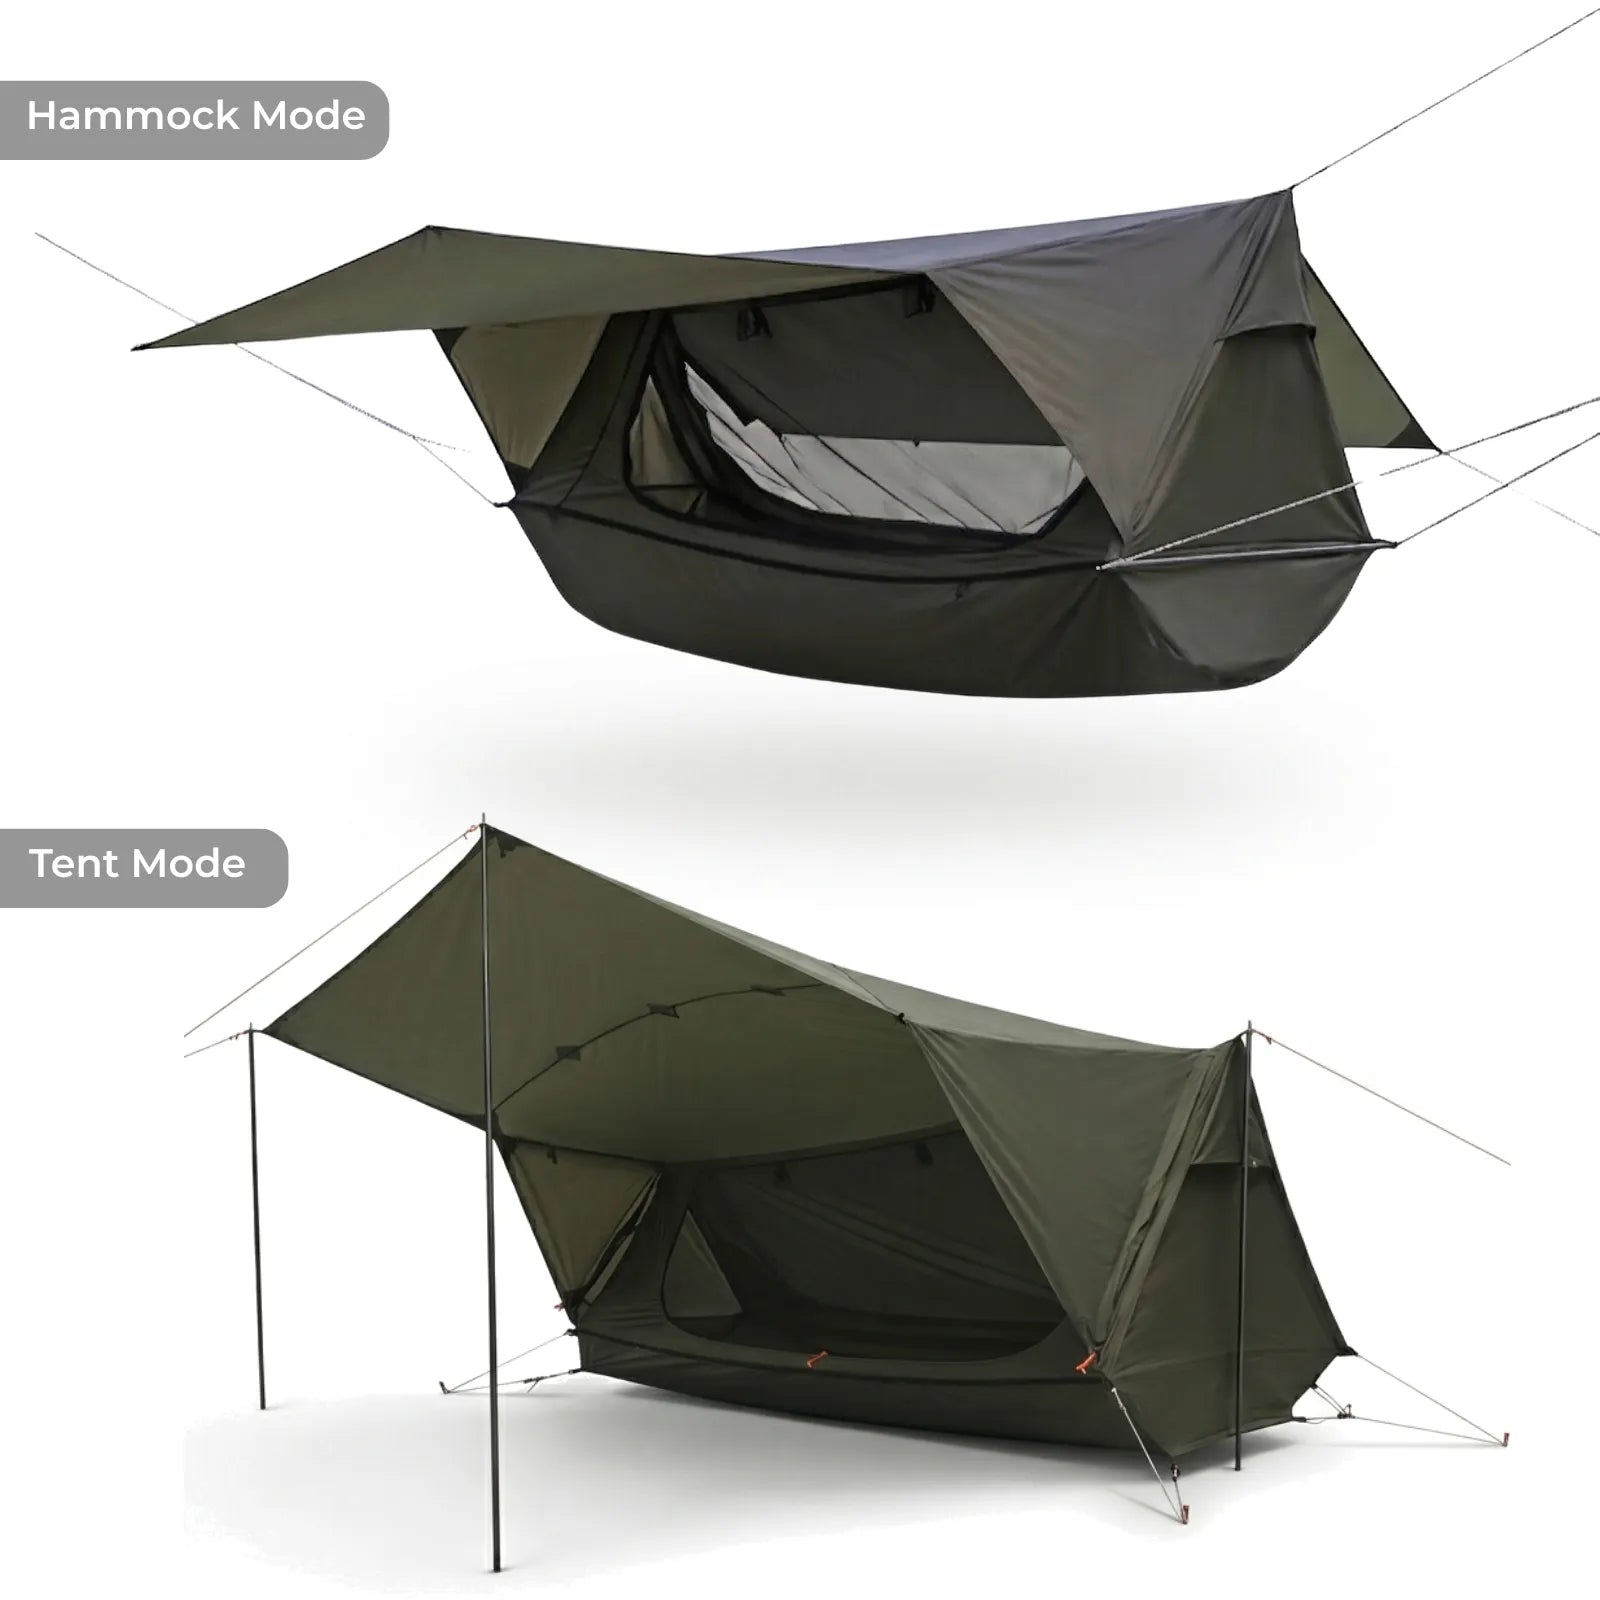
The current Onewind DuoVent Ultralight Tent lists front and rear double-zipper doors plus an adjustable-height front vestibule, but it does not publish vestibule area.
Treat that published layout as a reason to perform the same loaded test, not as proof that your two packs, pet, or winter kit will fit.
Choose layout by movement and weather options first, then compare weight and packed size between the designs that pass.
Scenario 1: Solo Backpacker Choosing Between a One-Person and Two-Person Tent
A solo backpacker often faces the wrong question: whether a two-person tent is automatically more comfortable.
The useful question is whether the one-person shelter protects the expected outside load while preserving the sleeping compartment and exit.
Reddit users discussing this choice describe several workable patterns, including storing a pack inside, leaving it under a vestibule, or upsizing for body dimensions and gear concerns.
Those reports are anecdotes rather than capacity standards, but they confirm that personal kit and movement decide the result.
Start with boots, pack, and wet shell under the fly, then enter while wearing the clothing and headlamp you would use during a storm.
If the pack must move but the inner floor has safe spare room, bringing it inside may cost less weight than carrying a larger shelter.
If neither inside nor outside storage leaves a clean route, a different door shape may solve the problem before a full size increase.
Verdict: Keep the one-person tent when the complete solo load passes the exit and rain-orientation tests; choose a different layout or upsize only when the actual kit proves the smaller shelter cannot work.
Scenario 2: Two Sleepers Sharing One Front Vestibule
Two packs can fit under one front vestibule on paper while leaving no working entrance.
The conflict grows at night because the first person out needs room for knees, hands, boots, and the door panel before taking a step.
REI's recommendation of one door per sleeper captures that access cost, even though a well-shaped single door can still work for a disciplined pair.
Load both packs at full volume and assign a permanent place to each pair of boots rather than assuming you will reorganize in the rain.
One sleeper should repeat the exit while the other remains in the normal sleeping position, then the pair should switch roles.
If the tent has two fly doors but only one inner door, count the second fly opening as ventilation or storage access rather than an independent exit.
A pair that accepts one shared vestibule should keep the center line empty and protect each pack's critical contents with a liner or dry bag.
Verdict: Choose one front vestibule only when both loaded packs stay outside a direct shared exit; otherwise prioritize two true doors, separate storage zones, or a less congested shape.
Scenario 3: Wind-Driven Rain Changes the Usable Door
A calm-weather storage plan can disappear when wind-driven rain makes the broad or windward door unusable.
According to REI's setup guidance, doors should face away from wind-driven rain while the strongest pole structure faces the wind.
That orientation may rotate a favorite vestibule toward a puddle, a bush, or the edge of a tent pad, so evaluate the site as well as the shelter.
I sketch two wind directions during the fit test and identify which door remains practical in each one.
Open that door partway, watch the panel's drip line, and make sure water cannot fall onto the pack opening or inner floor.
Keep vents operating unless the manufacturer instructs otherwise, since sealing every opening can trade splash protection for more condensation inside.
A two-door tent earns its extra fabric here only when the alternate entrance stays reachable after the gear is loaded.
Verdict: Prefer a layout with one protected, unobstructed leeward entrance after realistic reorientation; reject a design whose only workable door must face the expected storm.
Scenario 4: A Dog or Bulky Wet Gear Uses the Transition Space
A dog can turn, stretch, or shift the storage plan selected at bedtime.
Count the animal's sleeping pad, turning radius, leash position, and wet coat as active traffic inside the vestibule.
Bulky wet gear behaves differently but creates the same problem when sleeves, straps, or rigid pieces migrate into the inner doorway.
Set the full load in place, dim the room or wait until dusk, and repeat the exit without first tidying the vestibule.
If the dog must sleep inside the inner tent, confirm that claws, moisture, and reduced human floor area still fit the shelter's intended use.
If wet clothing hangs under an awning, ensure wind cannot slap it against the inner mesh or close a vent.
A larger vestibule can help, but a side storage zone with a protected lane may solve more than extra area directly in front of the door.
Verdict: Treat a dog or bulky wet kit as a moving occupant; choose a layout only when that load can shift without blocking the exit, vents, zipper, or fabric clearance.
Scenario 5: Bear-Country Food Rules Remove Scented Gear From the Equation
A vestibule can hold a pack physically while remaining the wrong place for food, cookware, and scented items.
The National Park Service advises campers to use designated food-preparation areas or prepare food 100 yards from the tent and water when no designated area exists.
Specific parks may require lockers, hard-sided canisters, vehicle storage, food hangs, or other methods, so the local rule controls.
Size your vestibule after removing every item that must live in the regulated food-storage system.
Do not use the empty space as a reason to move cooking closer to the sleeping area during rain.
I separate the sleep-zone inventory from the food-zone inventory before comparing shelters, which prevents an illegal storage assumption from influencing tent size.
The same boundary also reduces the temptation to leave a fuel canister or stove beside the inner door.
Verdict: In bear country, size the vestibule for permitted shelter gear only; store food, cookware, and scented items exactly as the land manager requires away from the sleeping area.
Sheltered Does Not Mean Waterproof
A floorless vestibule exposes gear to ground moisture, splash, wind-blown rain, and water that travels across the site.
Community research on Reddit shows users separating a damp pack exterior from dry critical contents by relying on liners, bags, and independent waterproof storage.
Treat those comments as field options, not a guarantee that every liner, pack, or vestibule performs the same way.
Keep sleeping insulation, spare clothing, electronics, and emergency items inside a dependable waterproof layer even when the pack stays under the fly.
Place gear where it does not touch the inner tent or press the fly inward, since contact can transfer moisture and shrink ventilation space.
Check the ground again after the tent is pitched because a protected overhead shape can still sit directly over a runoff channel.
A vestibule passes the weather test when it supports a layered dry plan, not when it becomes the only layer.
Pitch, Runoff, and Ventilation
How to Set Up a Tent
Pitch quality can change the vestibule you bought because loose panels, poor stake geometry, or a twisted zipper reduce its protected shape.
Stake the shelter according to its instructions before judging capacity, since an under-tensioned fly can make an acceptable design look smaller or wetter.
Keep the footprint edge beneath the tent floor rather than extending it into the vestibule where it can catch rain and carry water underneath.
If your setup needs a separate ground layer, compare the Onewind Footprint for Tent & Tarp Camping with the tent-floor dimensions and keep every edge tucked beneath the floor.
Orient doors away from wind-driven rain when the site permits, but preserve the tent maker's intended structural orientation toward wind.
Keep the gear zone clear of vents and maintain separation between the fly and inner tent.
Keep the staking material in this article scoped to vestibule shape and zipper alignment; use the linked guide for soil and anchor methods.
I check zipper operation after the final stake adjustment because a few inches of panel movement can shift both the door swing and drip line.
If the site cannot accept the required stake pattern, treat that as a shelter-fit failure rather than improvising a blocked or half-pitched exit.
A Tent Vestibule Is Not a Kitchen
The U.S. Consumer Product Safety Commission safety alert reports that campers should never use fuel-burning heaters, lanterns, or stoves in tents, campers, vehicles, or other enclosed areas.
CPSC also warns campers not to rely on flaps, doors, windows, or vents to prevent carbon-monoxide buildup.
A vestibule shares fabric and openings with the sleeping compartment, so an open panel does not turn it into a safe cooking room.
Fuel spills, flare-ups, hot cookware, and melting synthetic fabric add direct fire and burn hazards beside the only exit.
Rain does not relax the rule: move cooking to a fully open location at the distance and in the area required by the land manager.
Keep operating equipment away from tent openings so fumes do not travel into the sleeping space.
No capacity benefit, weather inconvenience, or product claim should override this boundary.
Common Tent Vestibule Mistakes
The mistakes share one pattern: trusting a product label or campsite shortcut instead of checking the real system.
Capacity is not a storage promise, a rainfly is not a waterproof locker, and ventilation is not a cooking permit.
A carefully pitched small vestibule can work well when the load has assigned zones and every person retains an exit.
A larger porch can fail when gear sits in the door, runoff crosses the floorless area, or one wind direction removes the only practical opening.
The loaded test catches those failures while they are still cheap to fix.
The Quick Decision Checklist
Complete the checklist with the shelter loaded, since an empty display pitch hides the collisions that matter.
If one row fails, identify the smallest correction before buying more space: move an item inside, change pack organization, select a different door geometry, or choose another shelter.
If several rows fail for the same reason, such as one crowded front entrance, a second true door or side-storage layout deserves priority.
For current shelter options, compare the Onewind tent collection only after the checklist defines the layout your trip needs.
I would take a lighter tent that passes every row over a roomier model whose nominal vestibule cannot preserve a safe exit.
Final Verdict: Choose Usable Shape, Not Just Area
The right tent vestibule is the smallest protected shape that holds permitted outside gear without stealing the entrance, vents, or weather options.
Door count and usable geometry outrank a single square-foot figure because camp movement happens through shapes, not specification totals.
Sheltered gear still needs a waterproof dry core, and a floorless area still needs sound drainage and pitch.
Food storage follows local wildlife rules, while fuel-burning stoves, heaters, and lanterns stay fully outside and away from sleeping-space openings.
Run the five-minute loaded test before the trip, reject any layout that needs gear moved for an exit, and buy more vestibule only when the complete system proves you need it.
That decision produces less regret than choosing the largest porch first and trying to make every trip justify it.

See the DuoVent tent layout
Shop Now →