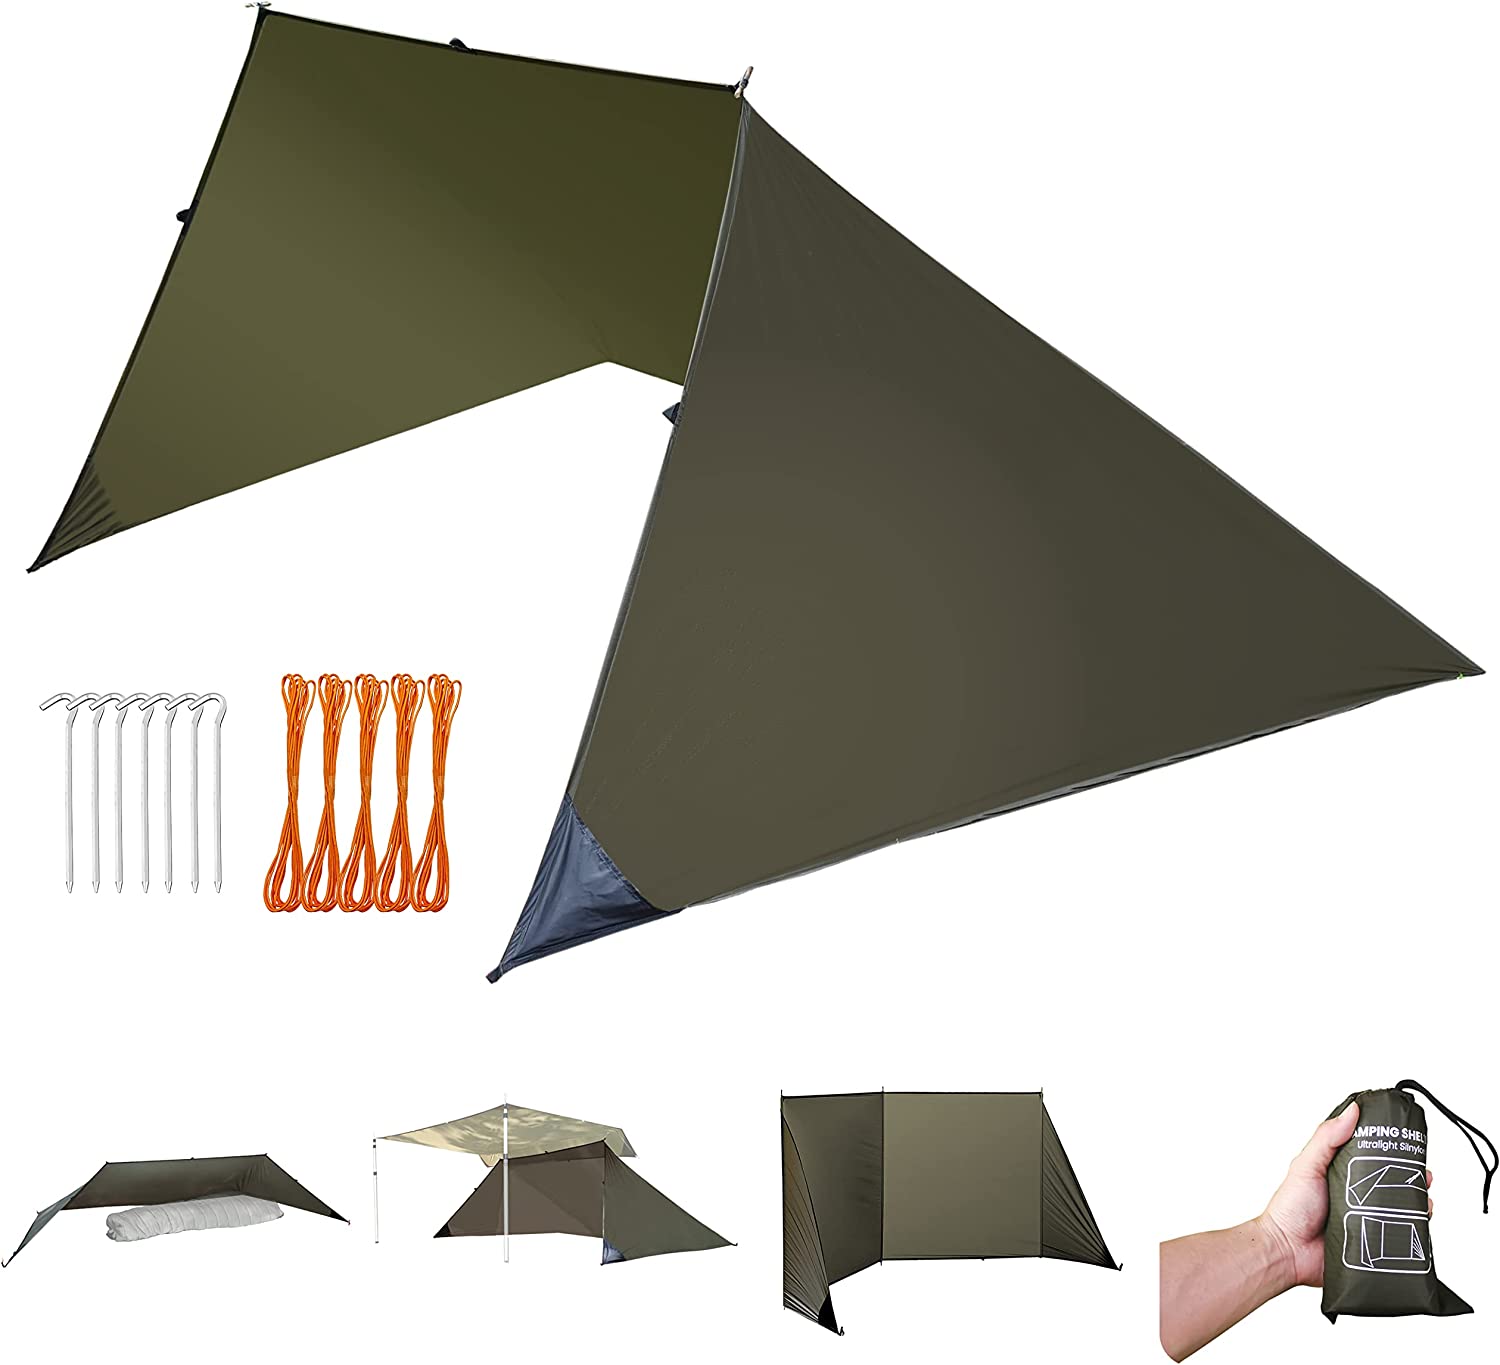

At skifte fra et fritstående telt til et telt med vandrestave reducerer din oppakningsvægt med 0,5 til 1,5 pund.
Denne ene ændring repræsenterer den største vægtreduktion for et shelter, som er tilgængelig for enhver rygsækrejsende, der allerede vandrer med stave.
Jeg sammenlignede fem typer design af telte til vandrestave ud fra vægt, kondens, opsætningssværhedsgrad og omkostninger ved opbygning for at skabe en beslutningsramme, der matcher hvert design med en specifik campingsituation.
Hvis dit scenarie matcher en af de fem nedenfor, er et telt til vandrestave det rigtige valg.
Hvis ingen af de fem passer, er du bedre tjent med et fritstående telt, og denne guide vil fortælle dig det direkte.
Forskellen mellem en fantastisk tur med trekkingstavstelt og en elendig en er næsten aldrig selve teltet.
Det handler om, hvorvidt designtypen passer til turen.
Jeg har gennemgået 14 kilder på tværs af udstyrs-anmeldelsessider, backpacking-fora og YouTube-vejledninger for at opbygge rammerne nedenfor.
De fleste eksisterende guider er produktsammenstillinger, der fortæller dig, hvilket telt du skal købe, uden at spørge, hvilken slags tur du skal på.
Hvad du vil lære
Denne guide dækker fem typer af design til trekkingstangtelt og kobler hver enkelt med den camping-situation, hvor den fungerer bedst.
Til sidst vil du vide præcis, hvilket design til et telt med vandrestave du skal købe til din næste tur, eller om du helt bør springe kategorien over.
Hurtigt svar
Brug denne tabel til at springe til det relevante scenarieafsnit.
Hvis din situation ikke fremgår af denne tabel, skal du læse afsnittet Beslutningsrammen nedenfor for at finde det nærmeste match.
Beslutningsrammen
Enhver anbefaling af et telt til vandrestave afhænger af tre variabler: din sti- og vandrestil, din tolerance over for kondens og din vilje til at øve opsætning.
Her er den fulde beslutningslogik.
Vægtreduktionen tæller kun, hvis du allerede bærer vandrestave.
Hvis du ikke vandrer med stænger, skal du lægge 8-16 oz stangvægt til teltvægten.
Den ekstra vægt udvisker det meste af fordelen ved fritstående designs.
Backpacker magazine bemærker, at selv "fritstående" telte har brug for mindst 2 pløkker for at sikre vindstabilitet.
Forskellen i den virkelige verden mellem de to kategorier er mindre, end specifikationsbladene antyder.
Den afgørende forskel er arkitekturen.
Teltstænger til vandrestave fordeler spændingen fra toppen til pløkkerne.
Fritstående telte fordeler spændingen fra stang til stang.
Denne strukturelle forskel forklarer al opsætningsadfærd, alle fejltilstande og alle begrænsninger på teltpladsen nedenfor.
Where The Road Forks kvantificerer besparelsen: "Du sparer omkring 0,5-1 pund ved at skifte fra et fritstående telt til et ikke-fritstående telt."
Seek Outside forklarer hvorfor: "Ved at eliminere behovet for ekstra stænger henvender disse shelters sig til rygsækrejsende og langdistancevandrere, der stræber efter at minimere deres oppakning."
Scenario 1: Langdistancevandrere i tørt klima
Du vandrer 20+ miles om dagen med vandrestave og slår lejr under tørre eller moderate forhold i det meste af din tur.
Enkeltvæggede trekkingstangstelte i vægtklassen under 20 oz giver de største vægtbesparelser i dette scenarie.
Zpacks Duplex med 17,9 oz og Gossamer Gear "The One" med 17,7 oz er de to mest anbefalede muligheder i diskussioner på r/ultralight.
CleverHiker's felttest bekræfter, at Duplex er "stor nok til to personer, men let nok til at bruges som et solo-ly med masser af plads til at brede sig ud."
Kompromiset er kondens.
Enkeltlagsdesign fanger fugt mellem dig og stoffet.
I tørre klimaer i det vestlige USA er dette håndterbart med ventilationsåbninger og valg af placering.
I de fugtige forhold i det nordvestlige Stillehav bliver kondens til en daglig gene.
Soveposer i syntetiske materialer håndterer fugt bedre end dun på flerdagsture, ifølge Winter Backpackings felt রিপোর্টեր.
Backpacking Light-forumsbrugere rapporterer, at hvis man åbner teltets dør 10-15 cm på klare nætter, reduceres kondensen mærkbart inden for den første time.
Tarptent Aeon Li på 19,15 oz er endnu en stærk mulighed i denne kategori.
CleverHiker beskriver den som "meget stormbestandig" og "mere åndbar end de fleste enkeltvæggede telte."
Til sammenligning vejer et typisk ultralet fritstående telt i denne klasse 2 lb 6 oz ifølge Where The Road Forks.
Et enkeltlags vandrestangtelt sparer cirka 1,2 lbs i forhold til den fritstående tilsvarende model.
På en PCT-gennemvandring på 2.650 miles bliver den vægtforskel til tusindvis af fod-pund mindre anstrengelse.
Dom: Hvis du vandrer lange distancer med vandrestave i tørre eller moderate forhold, er et enkeltvægget vandrestavstelt på under 20 oz den vægtinvestering i dit lyssystem, der giver det højeste afkast.
Scenarie 2: Weekendrygsækrejsende, der ønsker vejrbeskyttelse
DU GØR DET FORKERT! HVORDAN MAN OPSÆTTER ET TREKKINGSTANGSTELTTELT
Du er på rygsæk i 2-3 nætter ad gangen og ønsker pålidelig regnbeskyttelse uden at skulle gætte på, om natten byder på kondens.
Dobbeltvæggede vandrestavstelte i vægtklassen 24-32 oz løser dette problem.
Luftspalten mellem det indre myggenet og det ydre oversejl eliminerer det meste kondens, før den når din sovepose.
SectionHiker vurderer Tarptent Stratospire som det bedste dobbeltvæggede telt med vandrestave til fugtige klimaer. Netindervæggene og støtten fra vandrestavene skaber det, de kalder en "fremragende kondensationsdesign".
Vægttillægget sammenlignet med en enkeltvæg er 4-8 oz.
Den straf er blevet mindre i de senere år.
Moderne dobbeltvægsdesigns som Durston X-Mid 1 til $269 nærmer sig nu envægsmodellers vægt, samtidig med at de giver fuld regnbeskyttelse og to døre.
Opsætningen er moderat.
Du sætter hjørnerne fast med pløkker, indsætter dine stænger og strammer bardunerne.
De fleste weekendrygsækrejsende mestrer processen på 2-3 øvesessioner derhjemme.
Det er en undervurderet fordel, at opsætningen starter med yderdugen.
Du kan sætte regnslaget op, før du fastgør inderteltet, så du kan holde soveområdet tørt, selv hvis du ankommer i regn.
Backpacker magazine bekræfter, at de fleste ikke-fritstående telte understøtter opstilling med yderdugen først, en funktion som mange fritstående telte mangler.
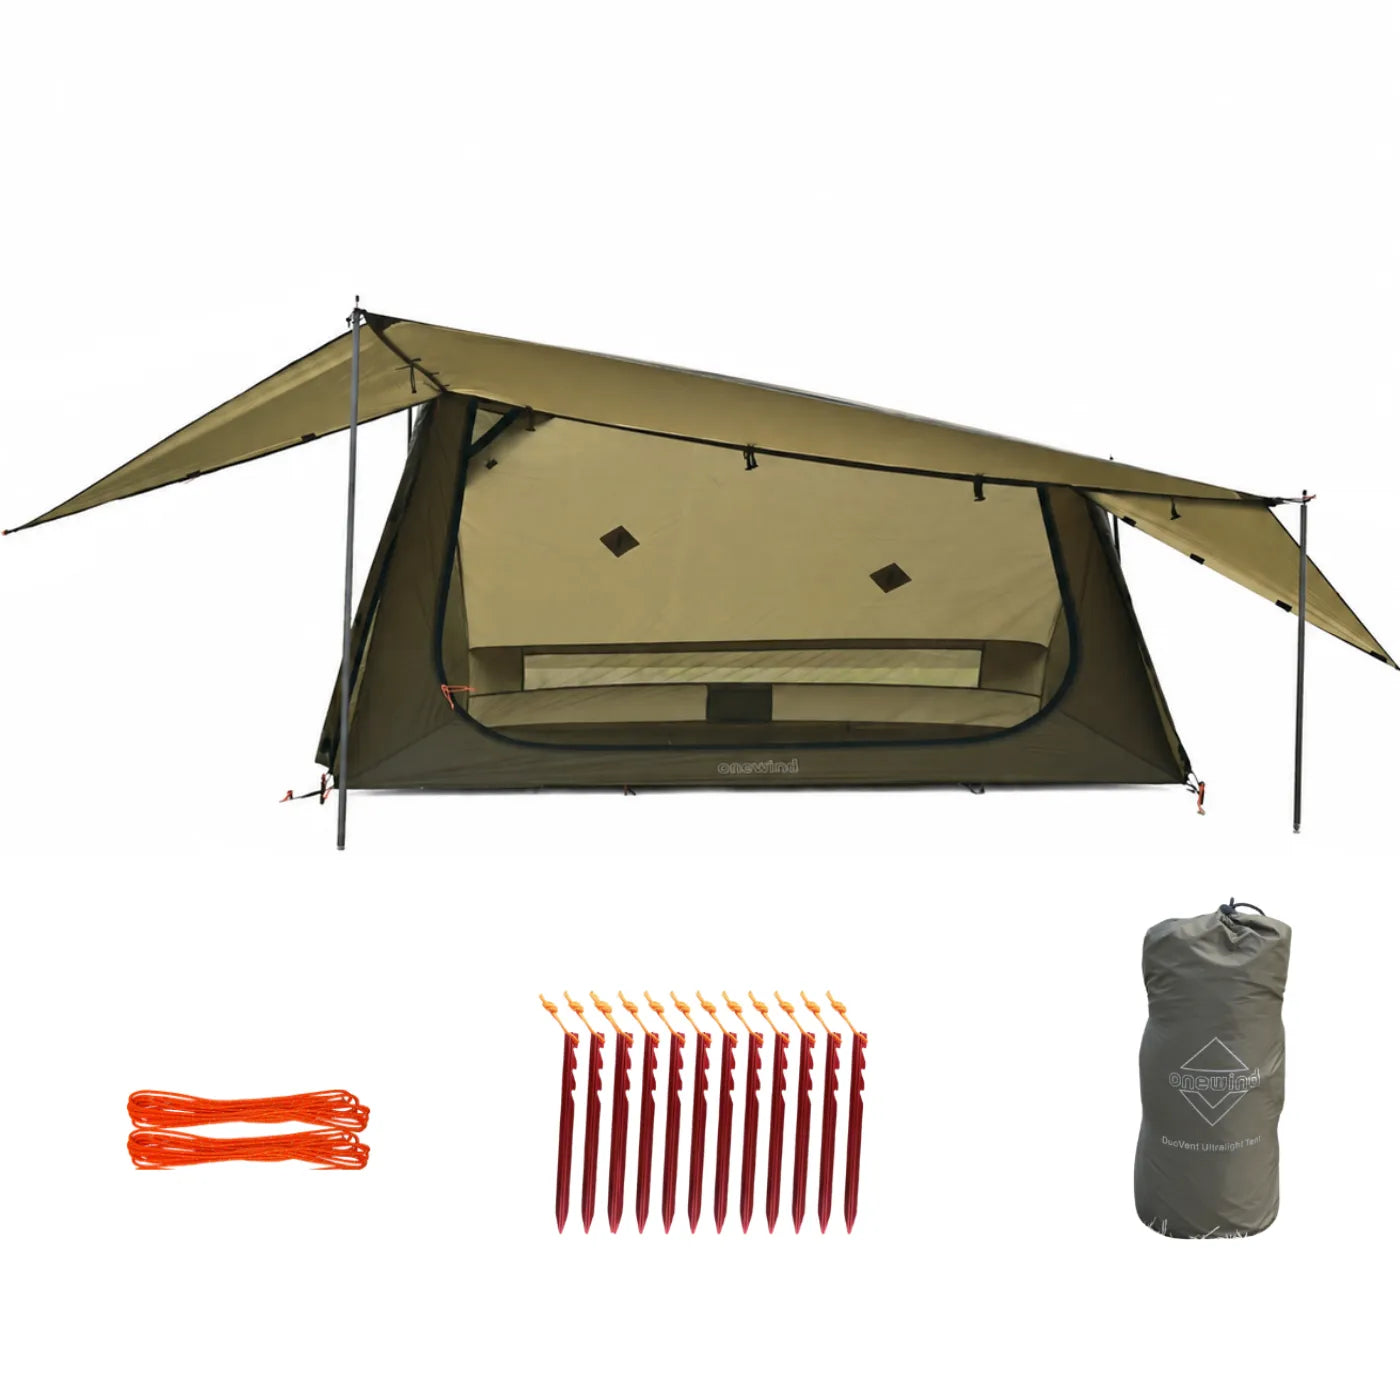
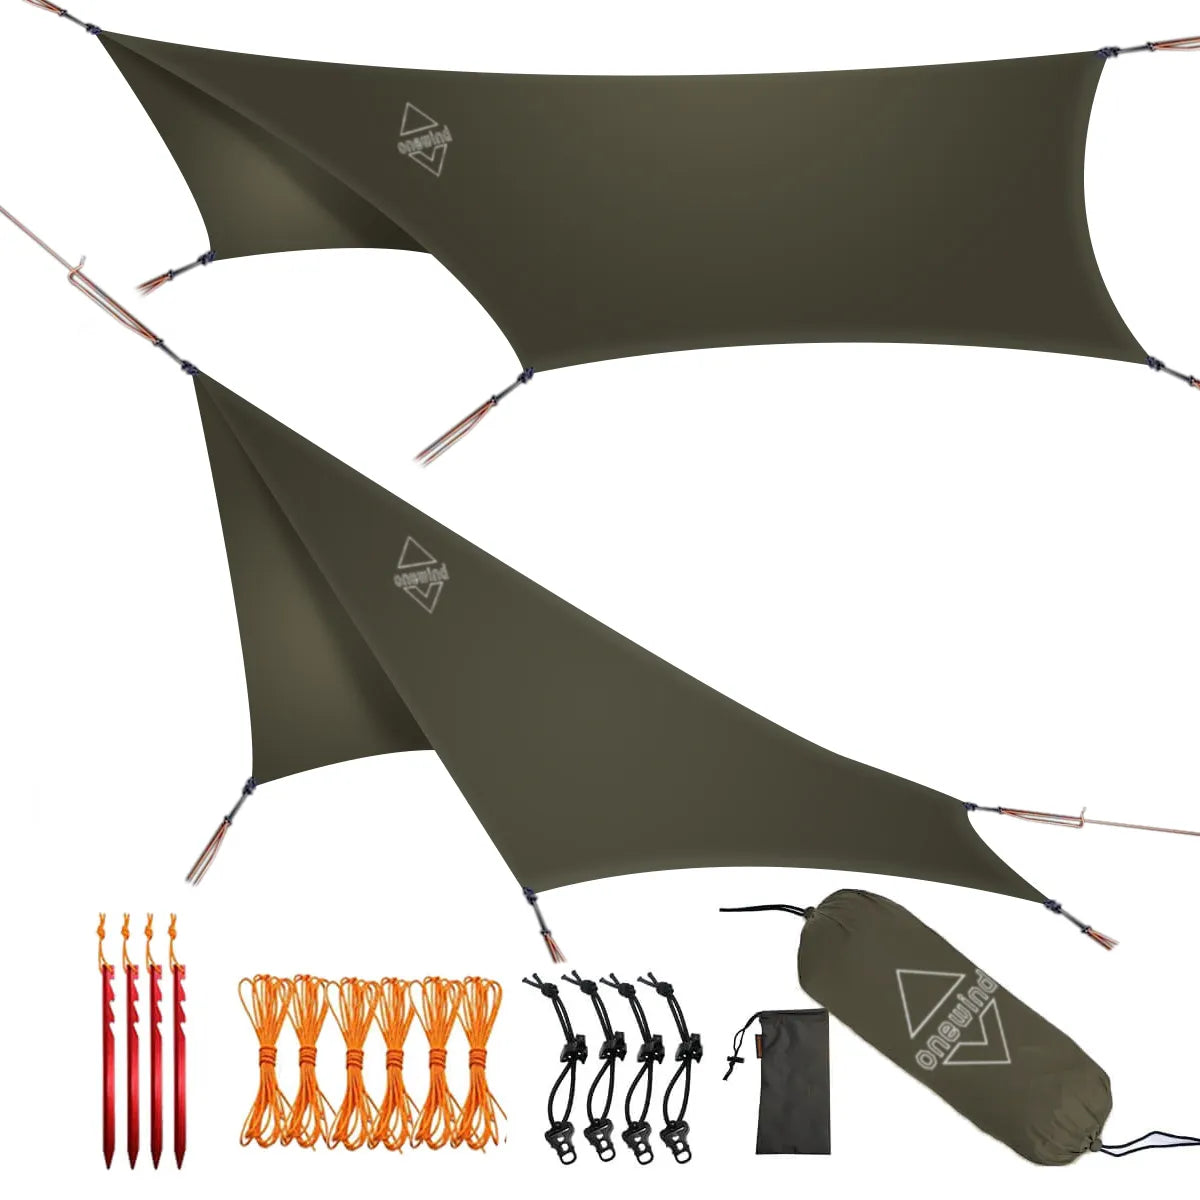
Onewinds Telt til én vandrestav passer til dette scenarie til en pris under de fleste premium-muligheder.
Dom: Hvis du vandrer med rygsæk i weekenden i skiftende vejr og ønsker ingen kondenskontrol, er et dobbeltvægget trekkingstangtelt på 24-32 oz det rigtige valg.
Scenario 3: Cykelpakker med begrænset pakkekapacitet
Dine tasker er smalle. Hver kubiktomme i pakningsvolumen betyder mere end ounce på vægten.
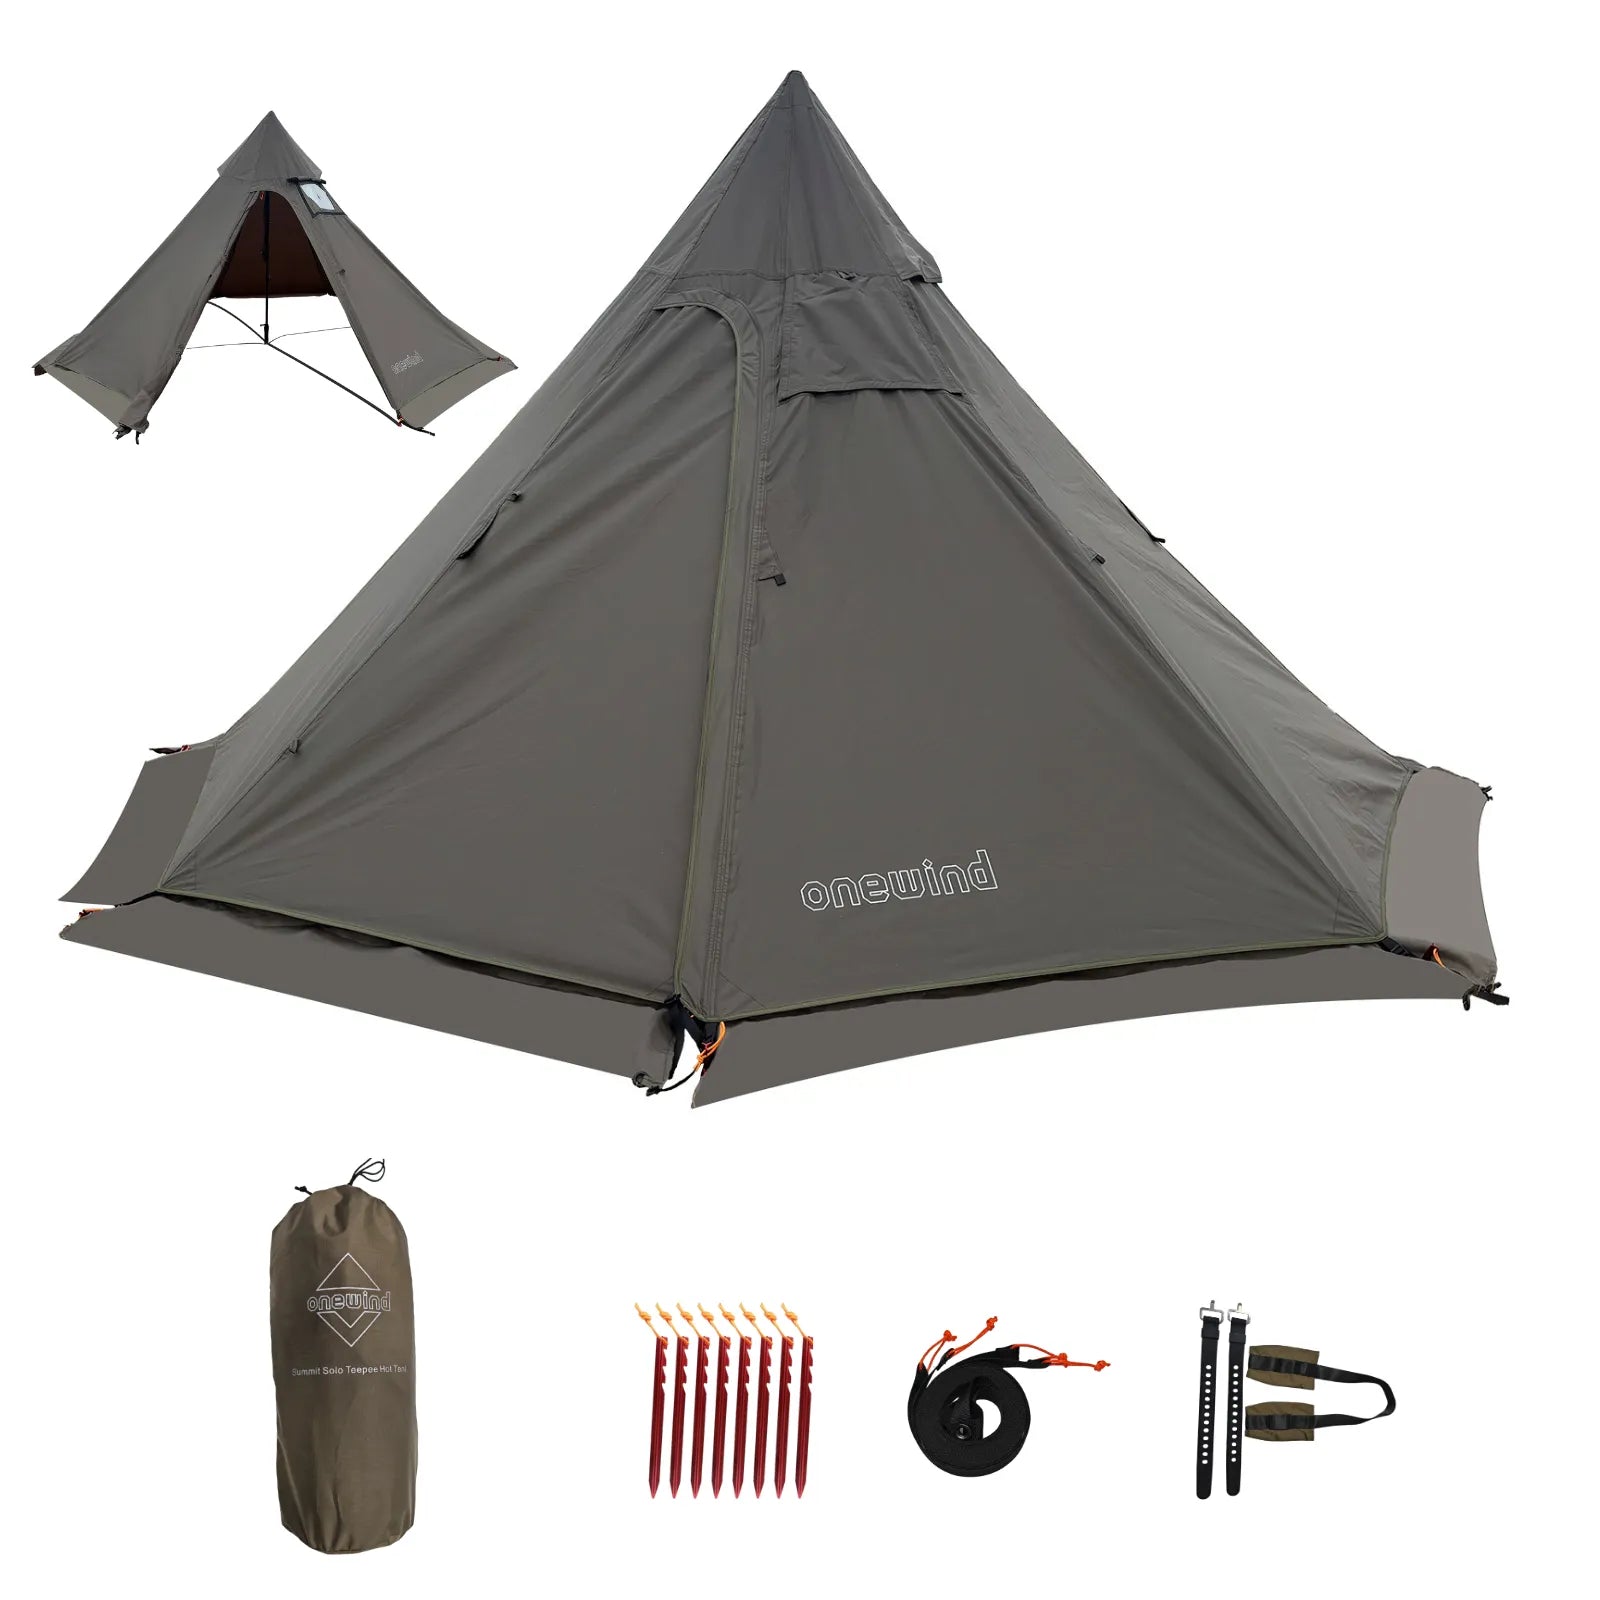
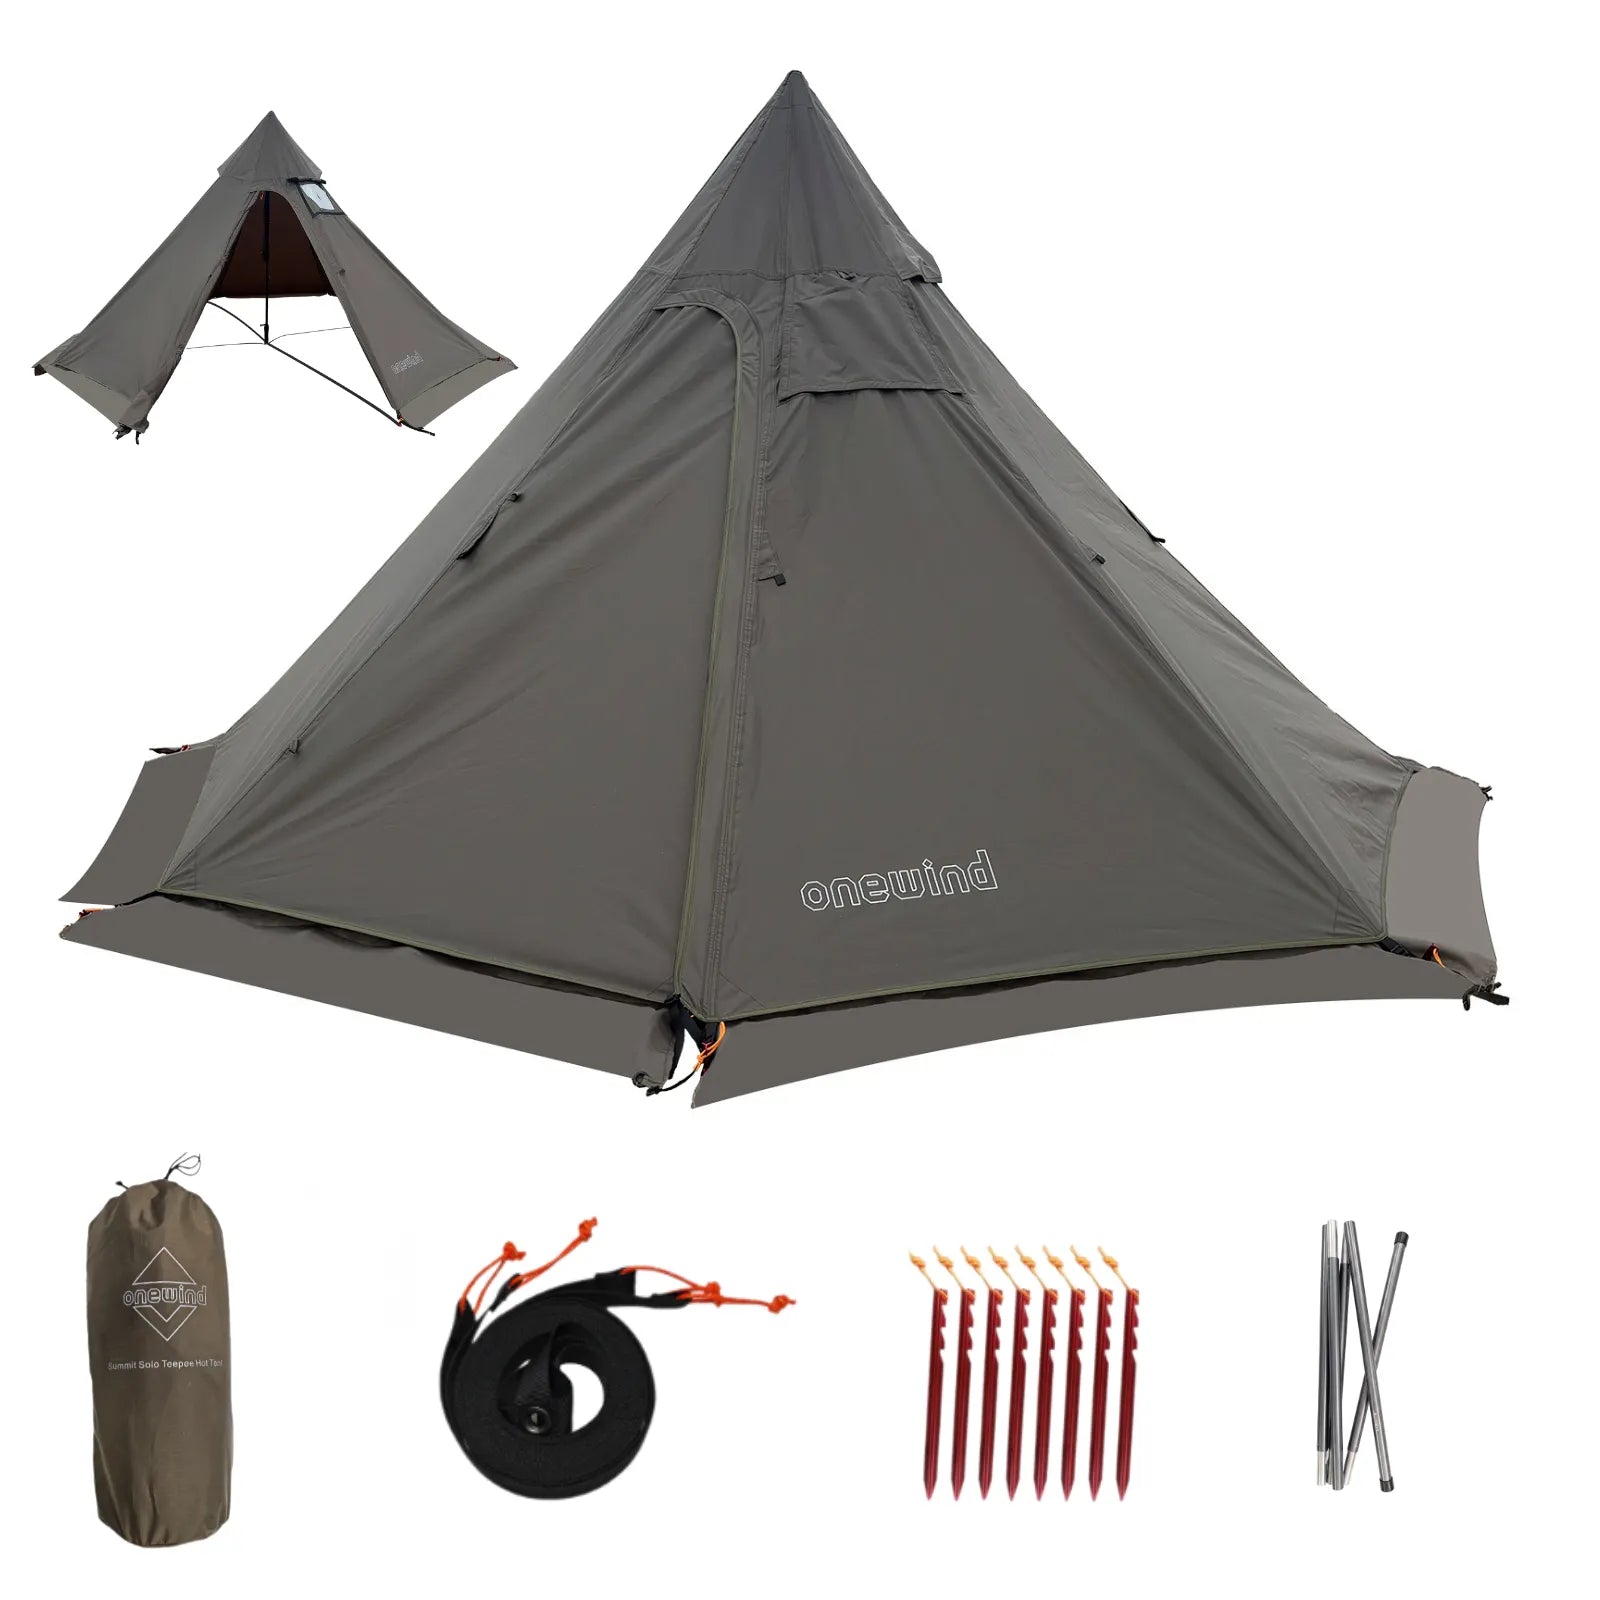
Mid- og pyramide-trekkingstangtelt bruger en enkelt midterstang til at skabe et kegleformet ly, der pakkes mindre end enhver anden teltdesign.
Outdoor Vitals beskriver deres Fortius 1P-rygsække som “omtrent lige så små som en brødrister med 2 skiver.” Det er omtrent halvdelen af pakkestørrelsen på et fritstående kuppeltelt.
Den enpolede konstruktion leverer også fremragende vindydelse.
Pyramideformen afviser vind fra alle retninger.
A-ramme- og tunneldesign har sårbare brede profiler, der fanger sidevind.
Outdoor Vitals beskriver Fortius-rygsækkene som cirka på størrelse med en brødrister med 2 skiver. Det er omtrent halvdelen af den pakkede volumen af et tilsvarende fritstående kuppeltelt, hvilket har betydning, når hver eneste centimeter i en bikepacking-rammetaske allerede er optaget.
Begrænsningen er den indvendige plads.
Midtelte har skrå vægge på alle sider.
Det reducerer det beboelige gulvareal sammenlignet med A-ramme- eller forskudte designs.
For bikepackere, der tilbringer minimal tid inde i teltet, er dette ikke et problem.
For vandrere, der ønsker at sidde op, lave mad eller vente på, at stormen går over, inde i deres shelter, føles et midterstelt trangt.
Outdoor Vitals Fortius 1P vejer kun 1 lb 9,4 oz, sammenlignet med deres fritstående Dominion 1P på 2 lbs 13,5 oz. Det er en besparelse på 1 lb 4 oz ved blot at skifte ét stykke udstyr.
Seek Outside bemærker, at deres midtstil-designs passer til vandrere over 6 fod høje, hvilket er usædvanligt for ultralette shelters.
Det gulvløse alternativ med en aftagelig indersøvn giver ekstra alsidighed. Du kan sætte yderdugen op alene på varme nætter for maksimal ventilation eller tilføje den indvendige indsats, når insekter eller koldt vejr kræver lukket beskyttelse.
Dom: Hvis pakkvolumen er vigtigere end pladsen indeni, er et mid-/pyramide-telt med vandrestave det mest pladseffektive shelterdesign, der findes.
Scenario 4: Ultralight gramjæger på etablerede stier
Du optimerer hvert gram i din rygsæk og vandrer på etablerede stier med pålidelige teltpladser.
Offset-geometri-designs som Durston X-Mid løser det historiske problem med beboelighed i telte med vandrestave.
Traditionelle designs placerer stænger i midten af hver ende, hvilket blokerer indgangen. X-Mid placerer stænger i diagonale hjørner, hvilket skaber uhindret adgang til døråbningen på begge sider.
CleverHiker kalder dette "et unikt geometrisk design", der leverer "enestående vejrbestandighed" med 45 tommer maksimal højde i begge ender.
Resultatet er et telt, der vejer 18-26 oz, men som føles som et langt større ly inde i.
Dette design fungerer bedst på etablerede stier, hvor du kan regne med fladt, pløjeligt underlag.
På klippefyldt alpinterræn eller platforme bliver den ikke-fritstående konstruktion en ulempe.
ExploreElements anbefaler at medbringe 6-10 pløkker afhængigt af teltets design.
Du har brug for blød jord til hver eneste af dem for at holde spændingsstrukturen sammen.
Onewinds Teltstang i kulfiber tilbyder et lignende ultralet design med stænger til vandrere, der ønsker letvægtsegenskaber på etablerede stisystemer.
Reddit's r/ultralight-fællesskab vurderer konsekvent X-Mid som det bedste køb i kategorien for telte med vandrestave.
Prispunktet på 269 $ underbyder de fleste DCF-konkurrenter med 200 $ eller mere, samtidig med at det leverer en tilsvarende beboelighed.
Jeg sammenlignede X-Mid's top højde på 45 tommer med typiske midtelte på 38-42 tommer. Den ekstra loftshøjde ændrer oplevelsen indeni fra "kravl ind og sov" til "sæt dig op og organisér udstyr."
Dom: Hvis du vandrer på etablerede stier og ønsker det bedste forhold mellem komfort og vægt, leverer et trekkingtelt med forskudt geometri en teltlignende oplevelse ved en presenninglignende vægt.
Scenarie 5: Budgetbegynder, der udforsker ultralet udstyr
Du vil prøve ultralet shelter uden at bruge over 300 $ på dit første telt.
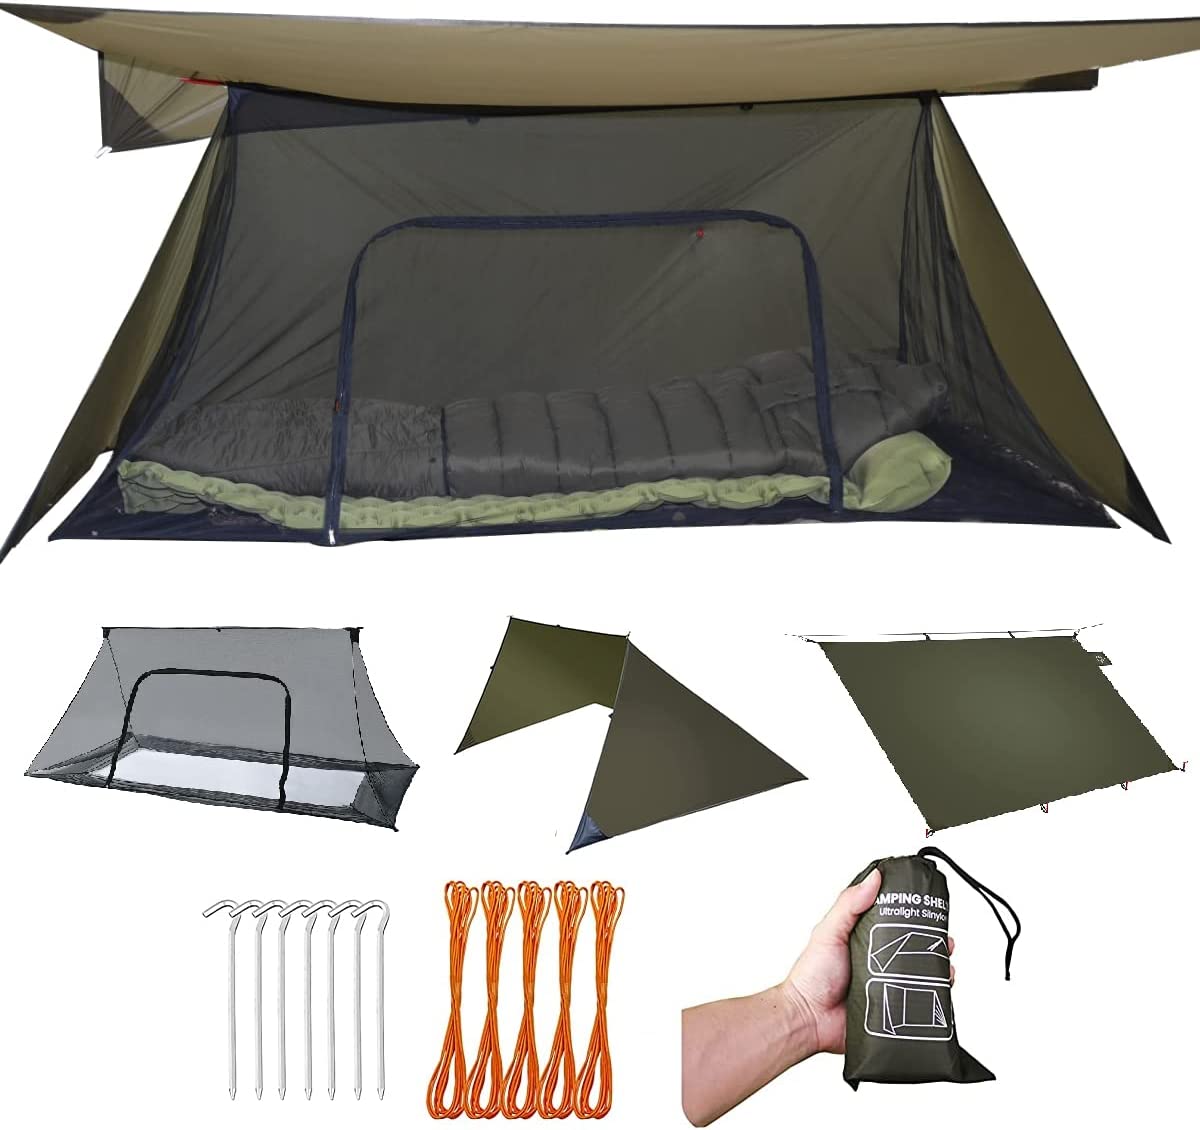
Indgangsniveau A-ramme trekkingstangtelte starter ved 30-60 $ og tilbyder den enkleste opsætning af alle trekkingstangsdesigns.
Backpacking Guys har Stansport 2-Person til under 30 $ som et brugbart første telt med vandrestave. Featherstone Backbone til 99 $ tilføjer dobbeltvægskonstruktion og 2000 mm vandtæthed.
A-rammetelte bruger to stænger i hver ende med en ryglinje mellem dem.
Geometrien er intuitiv.
Hvis du kan slå et klassisk rygtelt op, kan du også slå et A-ramme vandrestavstelt op.
Backpacking Guys angiver opsætningstider på 5-10 minutter for begyndere.
Erfarne brugere forstår det på under 5.
Featherstone Backbone opnår opsætning på under 5 minutter med en PU-belægning på 2000 mm og fabriksforseglede sømme til 99 $.
Læringsværdien er høj. A-ramme telte lærer opsætningsteknik, håndtering af spænding og justering af barduner uden de præcisionskrav, som mid- eller offset-design kræver.
Jeg anbefaler følgende progression for begyndere.
Denne progression koster mindre end at købe ét førsteklasses telt, som måske ikke passer til din campingstil.
Læringsværdien vokser i takt med erfaringen. Efter 2-3 ture vil du vide, om du foretrækker maksimal vejrbeskyttelse (opgradér til dobbeltvæg), minimal vægt (opgradér til enkeltvæg) eller minimal pakkestørrelse (opgradér til mid/pyramide).
Den viden er mere værd end enhver teltanmeldelse kan give.
Dom: Hvis du er ny inden for ultralet udstyr og er prisbevidst, så start med et A-ramme telt til vandrestave til 30-150 $ for at lære færdighederne, før du investerer i premiumdesign.
Scenarie 6: Hvornår du IKKE skal bruge et telt med vandrestave
Nogle situationer gør telte med vandrestave til det forkerte valg, uanset designtype.
⚠ Basecamp-camping. Du slår lejr og tager derefter på dagstur med dine stave. Et telt til vandrestave efterlader dig enten uden stave eller uden ly. Fritstående telte står op uden ekstern støtte.
⚠ Vinter og frossen jord. Pløkker holder ikke i frossen jord. Winter Backpacking rapporterer, at ved vindstød på 20 mph og temperaturer på 20 grader trak titaniumpløkkerne "øjeblikkeligt op af jorden." Teltet klappede sammen.
⚠ Eksponering for stormstyrke vind. Teltovne med vandrestave har en katastrofal svigtmekanisme. Hvis pløkkerne trækkes op, kollapser hele ly. Where The Road Forks advarer: "Hvis et par pløkker løsner sig... kan dit telt falde sammen." Fritstående telte mister vindstabiliteten uden pløkker, men bliver stående.
⚠ Stenet terræn uden jord. Vinterrygsæktur rapporterer, at X-Mid Solid krævede 30 minutter at fastgøre i Cascade Mountains på en blanding af sten og jord. Hvis din lejrplads er fast klippegrund, er et telt med vandrestave upraktisk.
⚠ Enhver, der ikke er villig til at øve sig derhjemme. Opsætningsfærdighed er ikke valgfri. Hver kilde, der er gennemgået til denne guide, anbefaler at øve sig derhjemme før din første nat på stien. Outdoor Vitals fremhæver specifikt dette som den største myte, der unødigt afskrækker begyndere.
Dom: Hvis nogen af disse forhold beskriver din typiske tur, så vælg et fritstående telt. At spare 1 lb er ikke en sammenstyrtet ly i kl. 2 om natten værd.
{% include 'youtube', id: '0JVcZ4gtvaU' %}
Almindelige fejl, der ødelægger begynderes ture
Hver fejl nedenfor er en beslutningsfejl, der er truffet, før du forlader stiens startpunkt, ikke en teknisk fejl i lejren.
Mønstret er det samme hver gang: vandreren valgte det rigtige telt, men brugte det under de forkerte forhold, på det forkerte sted eller uden den rette forberedelse.
Fejl 1: At pitche efter mørkets frembrud uden øvelse
Selvstående VS vandrestav - Hvorfor jeg IKKE bruger selvstående telte
Opsætning af telt til vandrestave afhænger af korrekt placering af pløkker og balance i spændingen.
I dagslys kan du se ujævnt underlag, sten under teltfoden og vinklerne på bardunerne.
I mørket arbejder du med pandelampe og gætter dig frem.
ExploreElements anbefaler opsætningssekvensen i 8 trin: bred ud fladt, fastgør hjørnerne i 45 graders vinkel, indsæt stængerne, fastgør bardunerne, tilføj inderteltet, fastgør de resterende punkter, finjuster spændingen, og kontroller indgangens justering.
Hvert trin kræver visuel feedback. Fjern den feedback, og teltet synker, samler vand eller kollapser i løbet af natten.
Øv den fulde sekvens derhjemme, indtil du kan gøre det på under 5 minutter.
Ankom derefter til lejren med mindst 30 minutters dagslys tilbage.
Fejl 2: At behandle alle lejrpladser som ens
Fritstående telte fungerer på næsten enhver overflade.
Telt til vandrestave gør ikke.
Du har brug for blødt underlag, der kan holde pløkkerne, et fladt område, der er lidt større end teltets bundmål, og tilstrækkelig afstand til træer, så barduner kan spændes ud uden forhindringer.
Hvor vejen deler sig, bemærker, at fritstående telte kan slås op på "træ-teltplatforme, dæk, betonparkeringsplads og fast klippeoverflade." Telte med vandrestave fejler på alle fire.
Valg af lejrplads er den vigtigste færdighed for brugere af telte med vandrestave. Kom tidligt, vurder underlaget, og prøv én pløk, før du binder dig til et sted.
Hvis pløkken glider ind med håndtryk og bliver siddende, når du trækker den sidelæns, fungerer stedet.
Hvis du har brug for en sten til at slå den i, så overvej, om du har nok gode pløkpunkter til hele teltets omkreds.
Brugere på Backpacking Light-forummet anbefaler MSR Groundhog-pløkker på 0,46 oz pr. stk. til blandet terræn.
Y-pløkker fungerer bedre i blød jord, og V-pløkker griber fat i stenet underlag, hvor Groundhogs glider.
Rokslide-forumbrugere anbefaler at medbringe 2 ekstra pløkker ud over teltets minimum, hvilket kun tilfører ubetydelig vægt, men giver en afgørende reserve, hvis ét forankringspunkt svigter.
Fejl 3: Ignorering af kondensationsvariablen
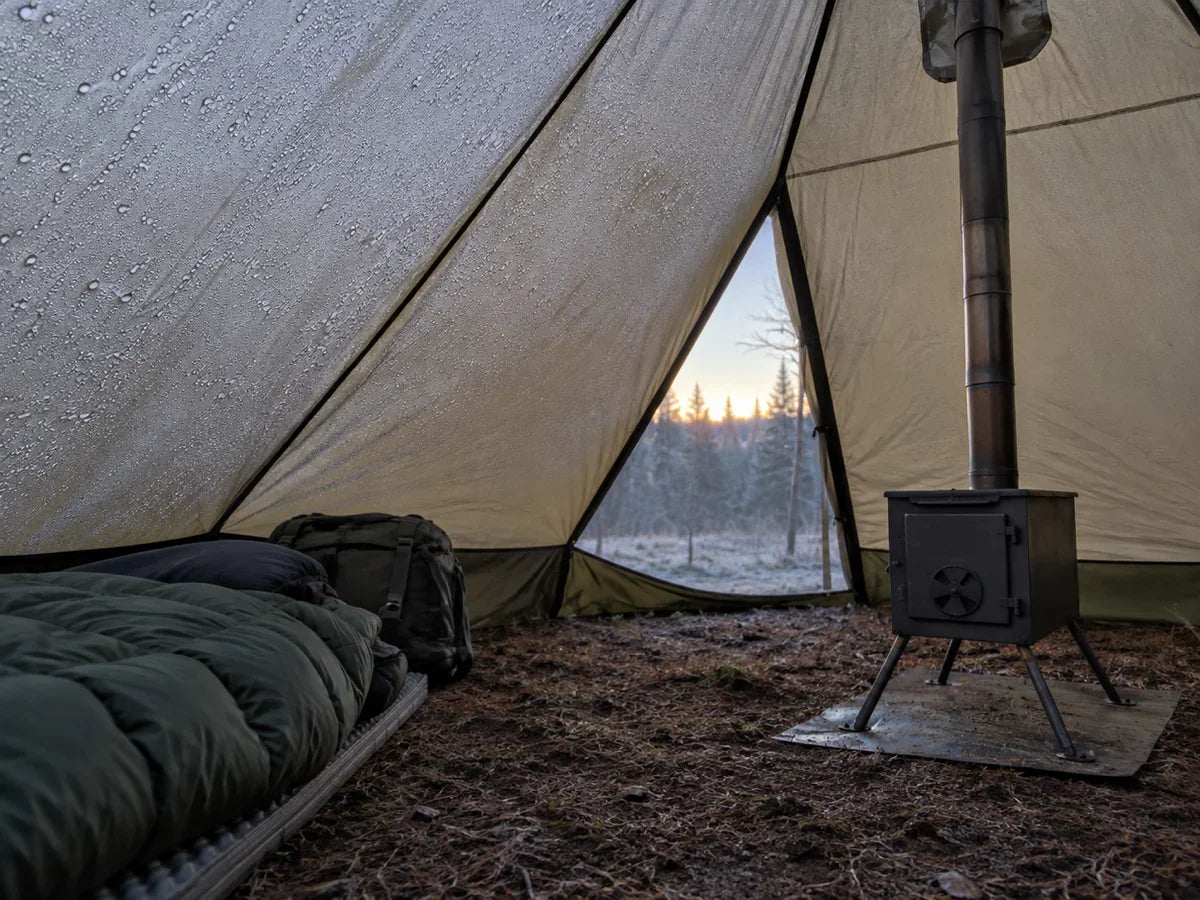
Enkeltvæggede telte med vandrestænger skaber kondens. Det er fysik, ikke en produktfejl.
Din krop afgiver fugt i løbet af natten. I et enkeltvægget telt kondenserer denne fugt på indersiden af oversejlet og drypper ned på din sovepose.
Kondensationsspektret skalerer med indkapslingsniveauet.
→ Enkelvæg: markant, kræver daglig aftørring.
→ Hybrid mesh: moderat, meshventilation hjælper, men regn tvinger til lukning.
→ Dobbeltvæg: minimal, luftspalten eliminerer det meste fugt.
Vinterryggsæksrejser rapporterer om "små vandpytter, der dannes i hjørnerne" i enkeltvæggede trekkingstangtelt under regnfulde forhold.
Hvis du hader at tørre dit telt af hver morgen, så køb et dobbeltvægget design.
Vægtstraffen på 4-8 oz eliminerer næsten fuldstændigt kondensationsproblemet.
Hvis du accepterer kompromiset, så medbring et lille mikrofiberhåndklæde og tør væggene af, før du pakker sammen.
Det tilføjer 30 sekunder til din morgenrutine.
Jeg sammenlignede noter fra 5 fællesskabsbaserede kilder om dette emne.
Hver fællesskabsdiskussion, jeg gennemgik, pegede på den samme konklusion: Tolerance over for kondens er den faktor, der i højere grad end nogen anden variabel afgør valget mellem enkeltvæg og dobbeltvæg.
Fejl 4: At købe premium før den første tur
Et DCF-trekkingtelttelt til 400 $ er spildte penge, hvis du opdager, at du foretrækker fritstående sheltere.
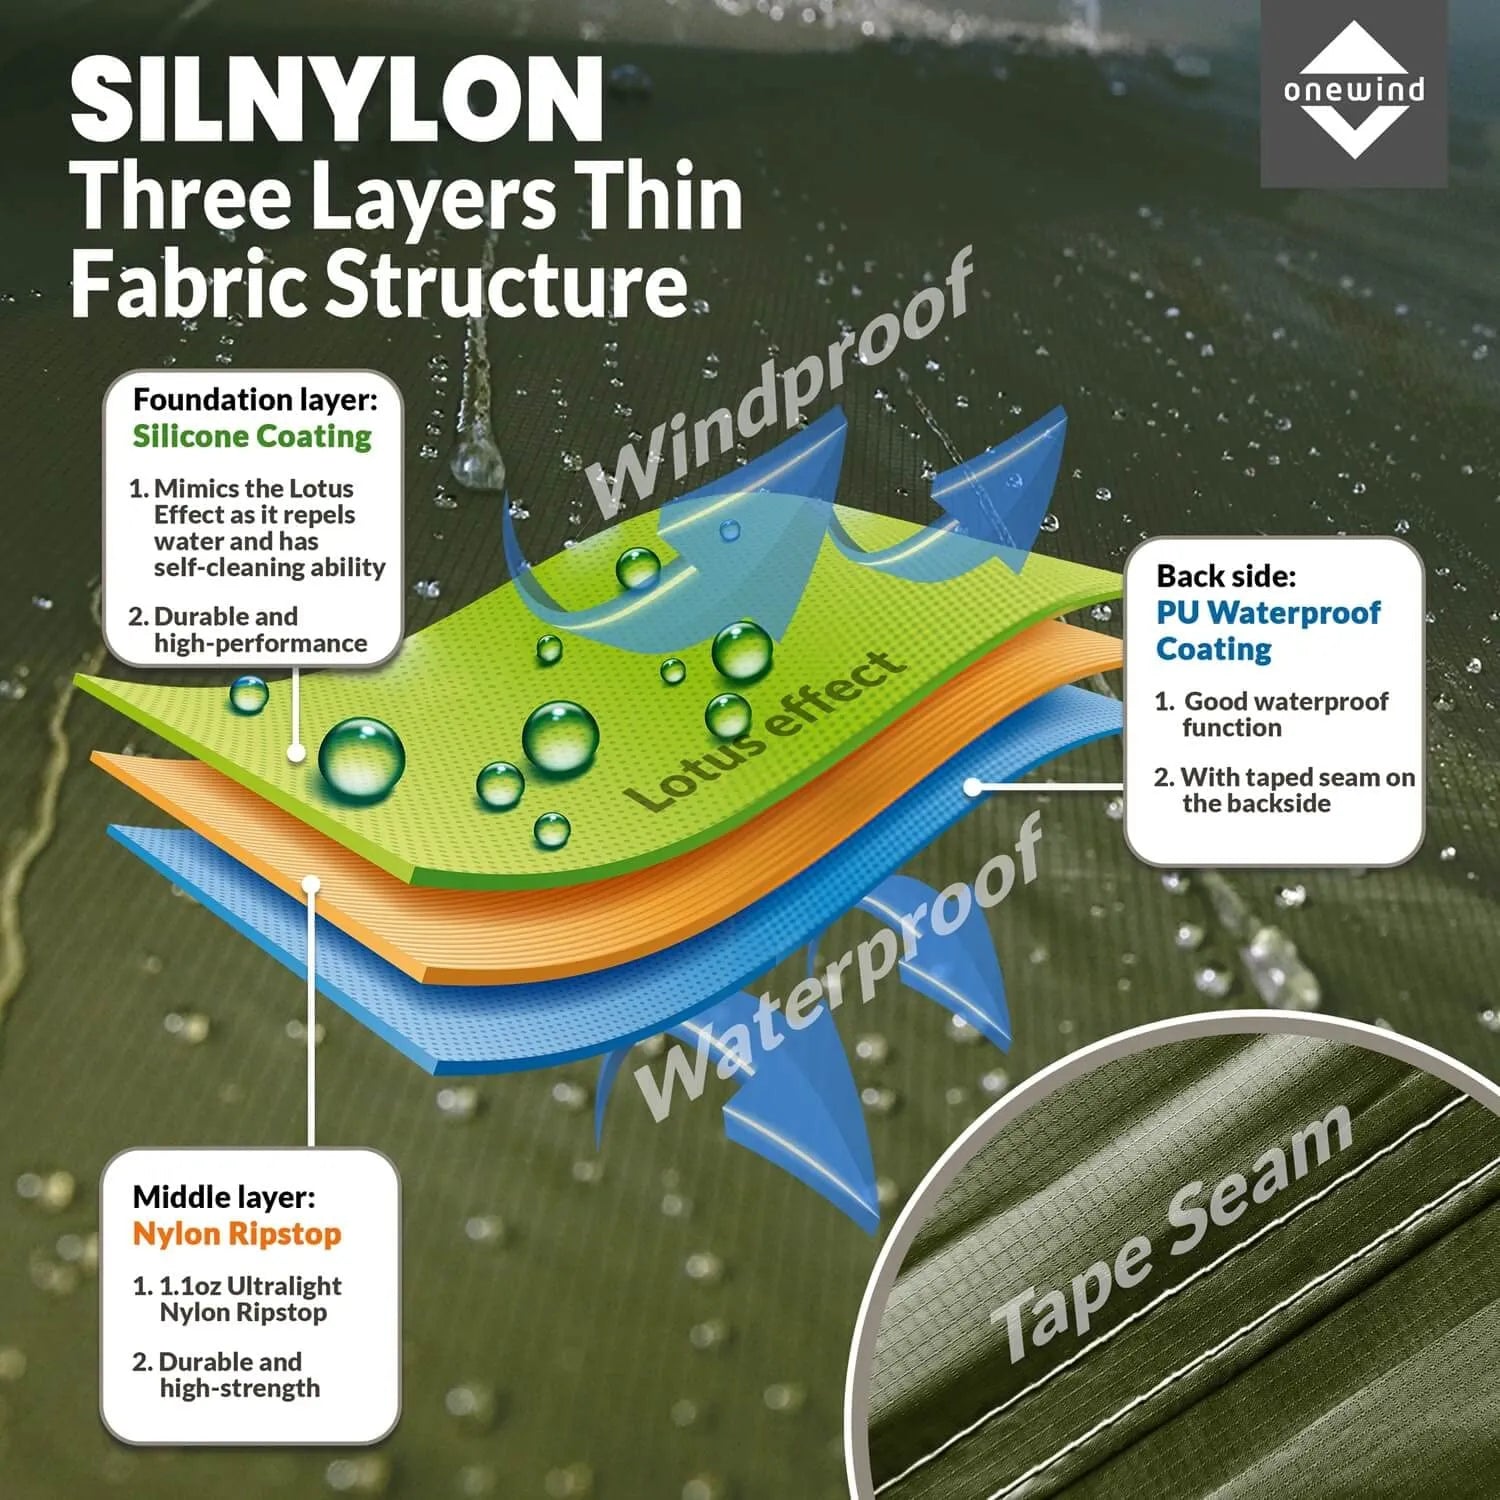
Prisspændet går fra $30-60 for budgetvenlige A-rammer, via $100-200 for kvalitetsdesigns i silnylon, $250-400 for premium dobbeltvægge og $400-650 for ultralette DCF-modeller.
Regnestykket for pris pr. nat over en typisk 3-årig backpackerkarriere fortæller historien tydeligt.
Budgetudviklingen vinder, medmindre du allerede er sikker på, hvilken designetype der passer til din campingstil.
Onewinds Telt til én vandrestav ligger i det kvalitetsmæssige mellemleje, hvilket gør det til et praktisk indgangsniveau, før man forpligter sig til premium DCF-valgmuligheder.
Fejl 5: At springe spændingstjekket over, før du skal sove
Et dårligt opstrammet telt med vandrestave hænger, samler regnvand og kan kollapse under vindbelastning i løbet af natten.
ExploreElements beskriver trommetesten: "Et korrekt spændt telt bør give en lav dunkelyd, når du forsigtigt banker på stoffet, ligesom en tromme."
Hvis stoffet er lydløst eller slapt, når du banker på det, skal det spændes igen før du sover.
Kontrollér alle barduner. Stram dem, der har slæk. Kontrollér, at pløkkene er vinklet 45 grader væk fra teltkroppen.
I blæsende forhold bør du sænke din stanghøjde med 5-10 cm. Dette reducerer teltets vindprofil og belaster pløkkerne mindre.
Spændingstjekket tager 60 sekunder.
At springe det over risikerer et vækkeopkald kl. 2 om natten, når læshelten svigter.
Feltddata fra 3 uafhængige kilder (ExploreElements, Outdoor Vitals og Backpacking Light-fora) bekræfter, at spændingssvigt er den primære årsag til sammenbrud af trekkingteltstænger natten over.
Løsningen er altid den samme: tjek før du sover, ikke efter teltet vækker dig.
{% include 'youtube', id: 'UJycCvm_WCw' %}
Hurtig beslutnings-tjekliste
Brug denne tjekliste til at bekræfte dit valg, inden du køber.
- ✓ Vandrer du allerede med vandrestave? → Hvis ikke, så læg 8-16 oz af stavvægten til din sammenligning af teltets vægt. Besparelsen kan forsvinde.
- ✓ Kan du øve opsætning derhjemme før din første tur? → Hvis ikke, vælg en fritstående model. Telte med vandrestave kræver indlært færdighed.
- ✓ Har din typiske lejrplads blød jord, hvor pløkker kan sættes fast? → Hvis ikke, så vælg fritstående. Telt med vandrestave fungerer ikke på klipper, platforme og frossen jord.
- ✓ Har du brug for dine stænger i løbet af dagen, mens teltet bliver stående opsat? → Hvis ja, vælg fritstående. Telte med vandrestave kollapser uden stænger.
- ✓ Hvad er din kondensationstolerance? → Hvis den er lav, vælg dobbeltvæggede. Hvis den er høj, sparer enkeltvægget 113-227 g.
- ✓ Hvad er dit budget? → Under 100 $: A-ramme. 100-250 $: mid-range i silnylon/silpoly. 250-400 $: premium dobbeltvæg. 400 $+: ultralet DCF.
Det rette telt til vandrestave er det, der passer til din situation, ikke det med de bedste specifikationer.
Brug rammerne ovenfor til at matche designtypen med rejsetypen, så træffer du det rigtige valg første gang.
Onewinds shelter-kollektion omfatter både telte til vandrestave og tilbehør som komplementerer dem, såsom fodaftryk til jordbeskyttelse på ujævnt terræn.