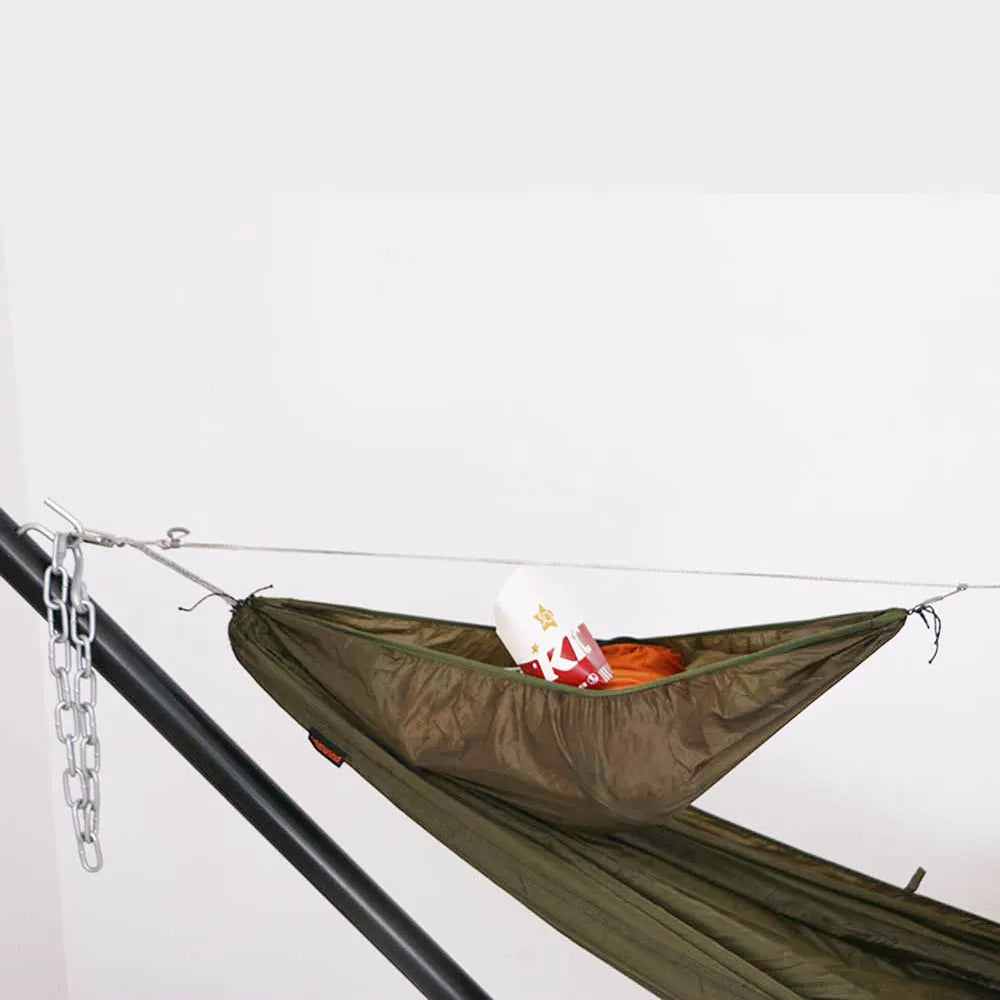

Ripstop by the Roll's gathered-end hammock fabric chart lists rough single-layer comfort estimates from 180 lb for 0.7 oz MONOLITE to 400 lb for 1.7 MTN Hybrid or 2.2 Hex70, and the same chart warns that construction, hang angle, and suspension can change the result.
I reviewed supplier charts, sewing guidance, MYOG build reports, and beginner hammock setup guidance to separate fabric guidance from finished-hammock confidence.
The green-light first build is an 11 ft netless gathered-end hammock made from named breathable hammock fabric, sewn with a tuned machine, connected through a known end method, and proof-tested low before field use.
The lower-regret red light is any plan that says "fold the end, add rope, and see if it holds."
What You'll Learn
- ✓ The baseline beginner specification for an 11 ft netless gathered-end hammock.
- ✓ How to choose fabric by named supplier guidance without turning that number into a homemade capacity rating.
- ✓ How to tune thread, needle, stitch balance, and scrap layers before sewing the long blank.
- ✓ How to keep a whipped gathered end separate from a true suspension-bearing sewn channel.
- ✓ How to connect the sewn body to rated loops, wide straps, and a complete camping system.
- ✓ How to run a low, staged proof test before trusting the hammock for sleep.
- ✓ How to decide whether DIY still makes sense after counting the full camping system.
Quick Answer
For most first-time builders, sew an 11 ft netless gathered-end hammock from breathable hammock-rated ripstop or nylon, use the full suitable fabric width, double-fold the long side hems, choose one coherent end method, and connect the finished body to rated continuous loops and wide tree-friendly straps.
Choose DIY if you want custom width, color, fabric feel, learning value, and control over the body shape.
Choose a ready-made system if you need a declared capacity, known component compatibility, and a hammock you can use this weekend.
Still unsure?
Choose the ready-made system for field reliability, or choose DIY only after you accept that confidence comes from inspection and proof testing.
The Five-Link Load Path

A camping hammock is a simple rectangle only before anyone lies in it.
After loading, your weight spreads through the fabric field, compresses into each gathered end or end channel, transfers into a continuous loop, runs through the suspension, and lands on wide straps around the tree.
I compared common beginner tutorials with The Ultimate Hang's continuous-loop explanations and REI's hammock camping system guidance, and both sources point to the same missing distinction.
Some stitches control fraying, some folds control shape, and only some parts carry the suspension load.
The long side hems mostly protect raw edges and help the blank keep its shape.
The end treatment decides whether the suspension bears on gathered fabric, a sewn channel, or a confused hybrid.
The continuous loop gives the hammock a compact repeatable connection point, but it cannot make weak end construction stronger.
The suspension and tree strap finish the load path, so unknown cord, tiny hardware, or narrow tree contact can become the limiting link even when the sewing looks neat.
Treat every step as one of three jobs: fray control, shape control, or load transfer.
Step 1: Set the Finished Size Before You Cut

Start with a finished length of about 132-inch, with width following the usable roll width and sleeper needs.
An 11 ft body gives most adults enough length to lie diagonally.
Width should follow the usable fabric width and the sleeper's shoulder room rather than a fake universal number.
Many hammock fabrics finish somewhere around 57 to 72 in wide depending on the roll width and side hems.
I checked current DIY kit geometry from Ripstop by the Roll, and the common netless build target is 132-inch finished length with fabric-dependent finished width.
Add allowance for both end treatments before cutting, because a whipped end and a sewn channel do not consume fabric in exactly the same way.
For a first build, cut a little long, mark the centerline, mark both ends, and keep the edges square enough that the side hems do not spiral.
Do not chase furniture-grade perfection on the long edges if the end method, fabric choice, and proof test are still unresolved.
Step 2: Choose Fabric by Named Supplier Guidance

Fabric ounce weight is not a finished hammock rating.
Supplier guidance is still useful, but only when the exact fabric, layer count, end construction, hang angle, and suspension assumptions stay attached to the number.
Data from Ripstop by the Roll gives rough single-layer comfort estimates for gathered-end hammocks, with examples that range from very light fabrics around 180 lb to stronger options around 400 lb.
I reviewed that chart as component guidance, not as permission to label a homemade hammock with the same number.
A 160 lb backpacker can be inside a 180 lb rough comfort estimate on paper and still have little margin for dynamic entry, clothing, small gear, imperfect stitching, and a steeper or flatter hang.
A heavier or stretch-sensitive sleeper usually accepts more fabric weight because lower stretch and more margin matter more than shaving a few ounces from the body.
Reddit MYOG reports also show that builders compare stretch, hand feel, breathability, pack weight, and insulation interaction rather than choosing by denier alone.
For a first camping hammock, avoid coated fabric because the body should breathe and conform rather than trap moisture like a tarp.
Buy enough extra fabric for test seams.
Step 3: Tune the Machine on a Same-Layer Scrap

Do not start the hammock blank until the machine has already passed on scraps of the same fabric and the same folded layer count.
Sewing & Craft Alliance seam guidance calls for a test seam on project fabric and inspection from both sides for balanced upper and bobbin tension.
I checked thread and needle guidance from Ripstop by the Roll, and the useful pattern is matching the system rather than buying the thickest thread.
For example, Mara 100 is a Tex 30 polyester thread often paired with small needles for sub-1 oz ultralight fabrics, while Mara 70 with an 80/12 needle can suit many lightweight hammock fabrics when hole size matters.
A needle that is too large can punch visible holes in thin nylon.
A thread that is too heavy can pucker the seam or fight the fabric instead of forming an even lock.
Make a folded scrap stack that copies your side hem and another stack that copies your end channel if you plan to sew one.
Stitch several inches, inspect the top and bottom, then pull the scrap by hand and look for skipped stitches, thread loops, puckering, or holes that elongate.
Adjust one variable at a time, starting with tension, needle condition, thread path, and stitch length.
Step 4: Cut, Mark, and Sew the Long Side Hems

Clear the floor or a long table before cutting because slippery hammock fabric can drift while you are measuring.
Mark the long edges with clips, fine chalk, or another fabric-safe method that does not leave hard holes.
Fold each long raw edge once, fold it again to bury the raw edge, and stitch slowly enough that the fabric feeds without stretching ahead of the presser foot.
A quarter-inch double fold appears in many simple tutorials, but your actual fold width should match the fabric stability, needle control, and edge fray behavior you saw on scraps.
The side hem does not usually carry the suspension load in a gathered-end hammock.
Its job is to keep the blank from fraying, give the edge a cleaner hand feel, and stop small threads from becoming larger damage.
I compared the common rectangle tutorials against the load-path model, and the long hems are the least dramatic part of the build when the fabric is not damaged.
Secure thread ends without creating a hard knot cluster.
After both sides are sewn, look for missed folds, skipped stitches, needle cuts, or stretched waves.
Step 5: Choose One End Method
How to Make A Hammock in 3 Minutes

The end method is the part of this project where neat-looking instructions can become unsafe.
Choose either a whipped gathered end or a proven suspension-bearing sewn channel, then follow that path without blending shortcuts.
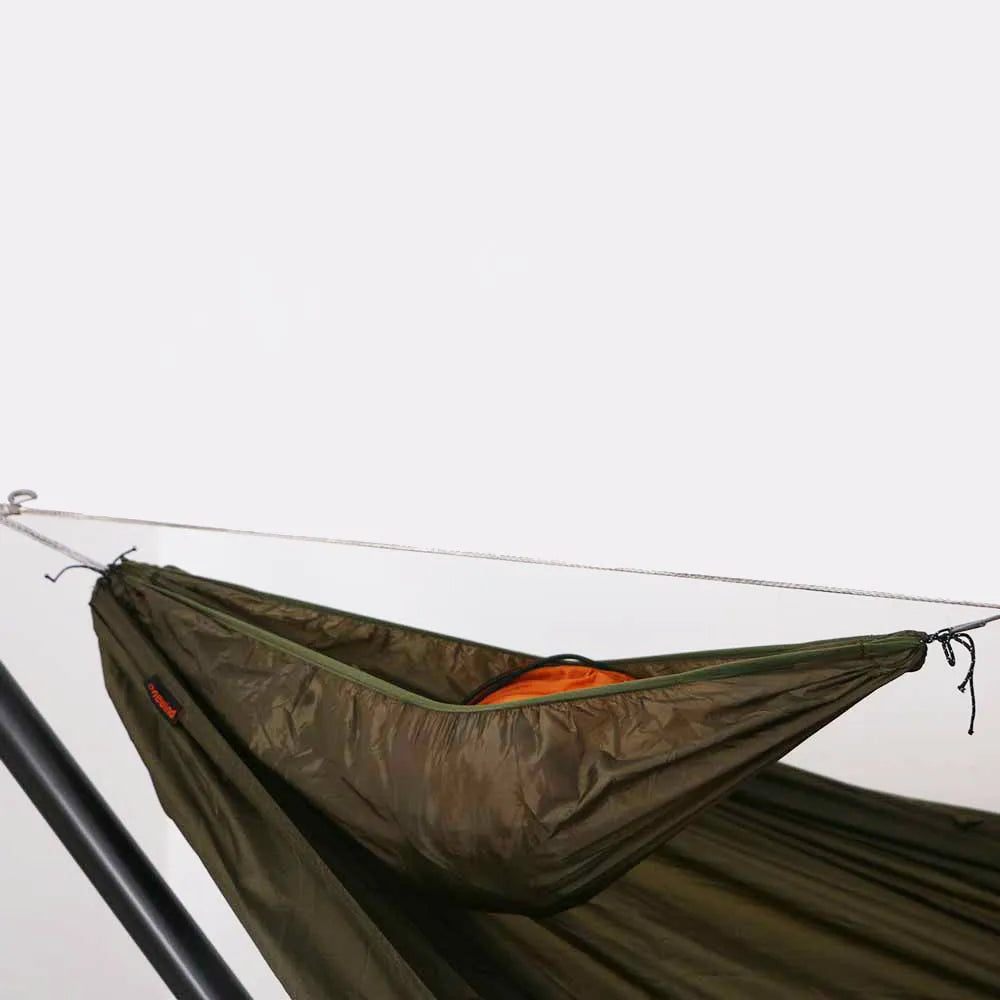
In a whipped gathered end, the fabric end is gathered and bound so the suspension loop cinches around the gathered bundle rather than relying on a light decorative fold.
In a channel-used-for-gathering method, a narrow sewn channel may help gather the end, but the load still comes from the loop wrapped around the gathered fabric.
In a true suspension-bearing sewn channel, the continuous loop passes through the channel and the stitching must be built as the load-transfer structure.
I reviewed MYOG discussions where beginners confused a folded end with a load-bearing channel, and that confusion is exactly the failure this guide is trying to prevent.
If you choose the whipped path, hem the end cleanly, gather the full width evenly, wrap with a rated continuous loop or appropriate whipping method, and inspect that the fabric is captured without sharp pressure points.
If you choose the sewn-channel path, use a published hammock-channel pattern from a fabric or hammock MYOG source, sew the required rows on the correct layer stack, and test the channel on scrap before committing both ends.
Do not run suspension through a casual small hem unless that hem was designed and sewn as the load-bearing channel.
Step 6: Add Continuous Loops and Tree-Friendly Suspension
Once the body has a coherent end method, connect it to rated continuous loops and a suspension system that matches the way you actually camp.
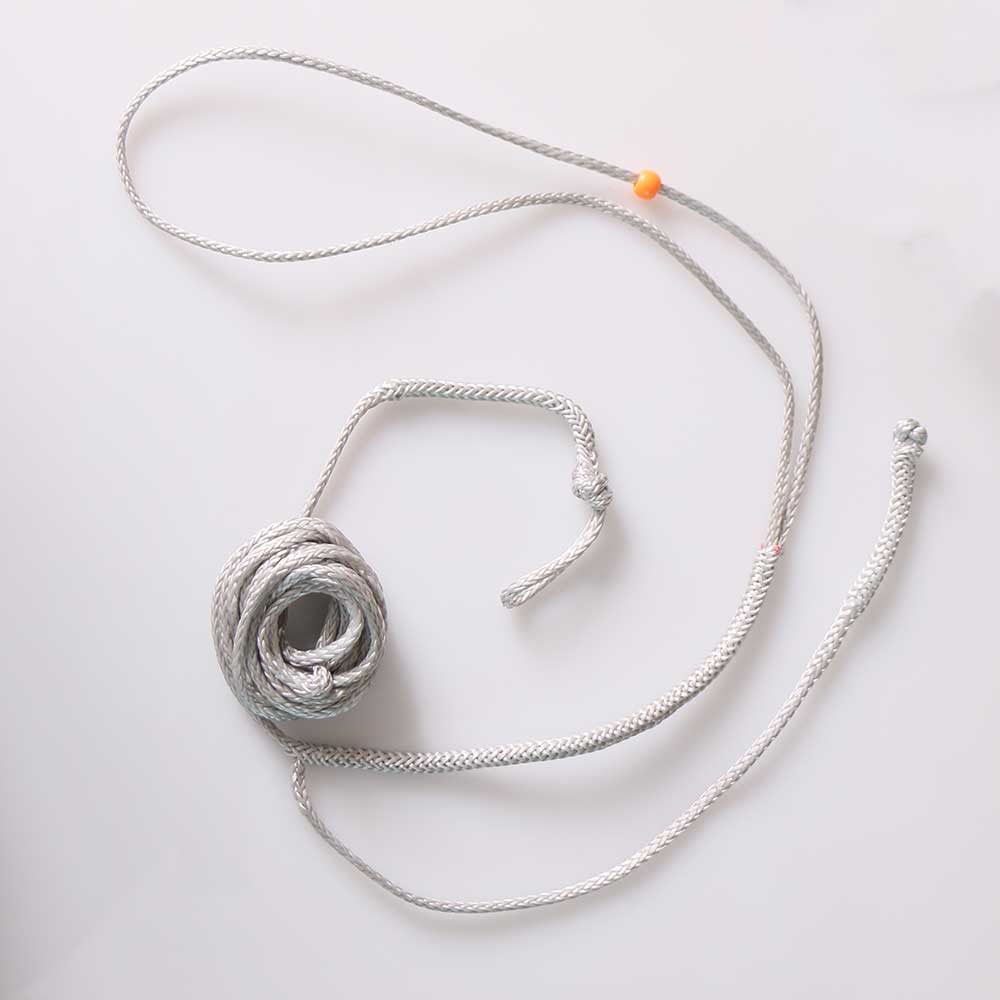
Continuous loops are common on gathered-end hammocks because they keep the connection close to the body and make suspension swaps easier.
The loop still needs to be rated, clean, and smooth.
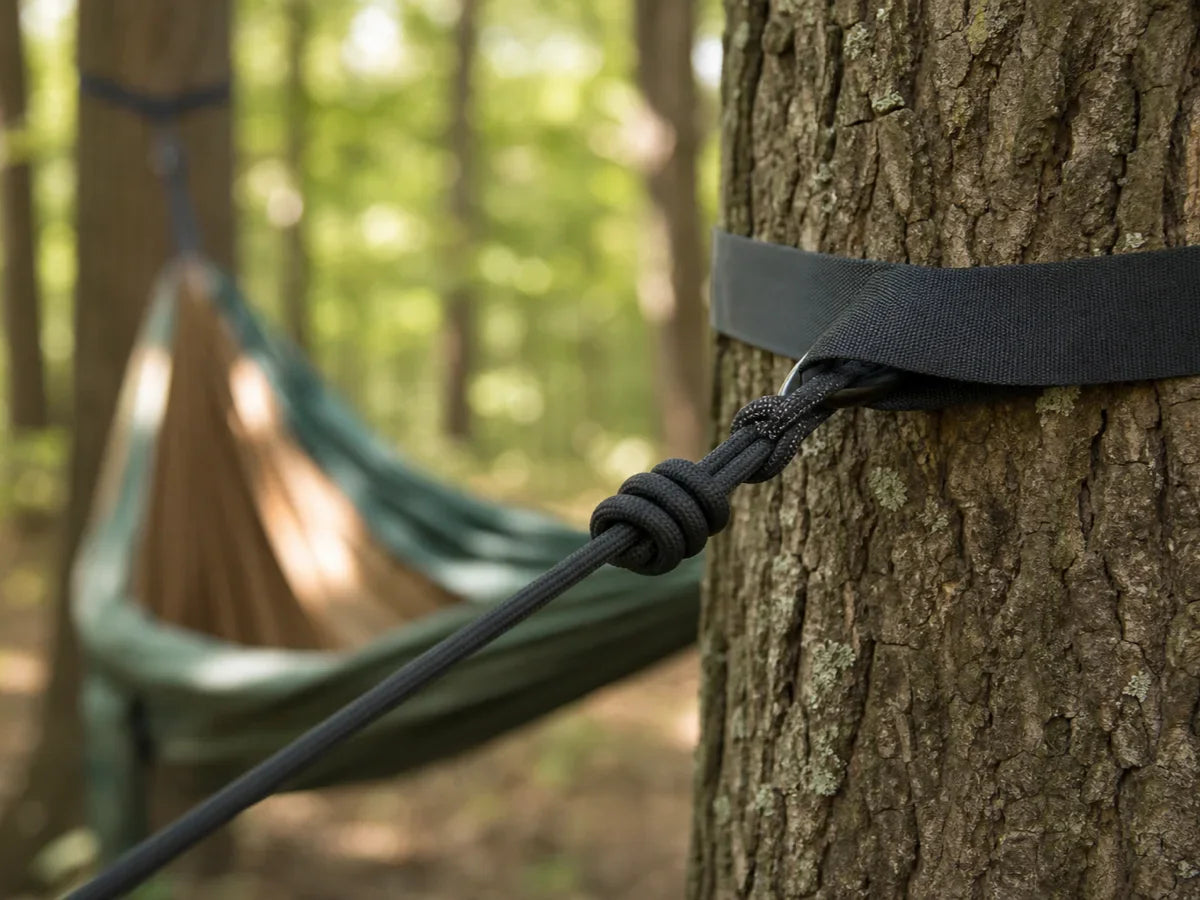
Wide tree-friendly straps spread contact on the bark and complete the anchor side of the load path.
According to REI's hammock camping guidance, the hammock body is separate from straps, suspension, insulation, tarp, and bug protection.
If you need compatible webbing after the body is built, compare broad suspension options in the hammock suspension collection and choose by rating, adjustability, and tree-contact width.
If you prefer the loop, buckle, and straps in one matched path, inspect the complete tree-strap suspension kit before mixing individual parts.
For the body-to-suspension interface, a known loop such as a continuous loop is easier to inspect than mystery cord pulled from a garage bin.
Unknown rope, old climbing-looking hardware, bargain carabiners, or narrow cord around a tree should stop the project until each piece is identified and rated for hammock use.
The proof test should include the exact loops, straps, and hardware you plan to take outside.
Step 7: Prove the Build Low and in Stages

Do the first proof test low over grass, a pad, or another forgiving surface.
Set the hammock only high enough for loading without a hard fall.
Start with a full visual inspection from fabric field to side hems, end treatment, continuous loops, suspension, and tree straps.
I checked community reports of channel anxiety and end-method confusion, and the safer answer is a staged test with clear stop signs rather than a single trust fall into the hammock.
Pull down by hand on both ends and watch the gather or channel for shifting.
Sit partially with your feet still on the ground, then stand up and inspect both ends again.
Sit with full seated weight briefly, stand up, and inspect for popping sounds, seam distortion, pulled stitches, growing holes, fraying, or fabric whitening.
Only after those stages pass should you try a short recline.
Passing this proof test does not create a published capacity rating.
It gives practical confidence that your exact system survived the first controlled load sequence.
Step 8: Complete the Camping System

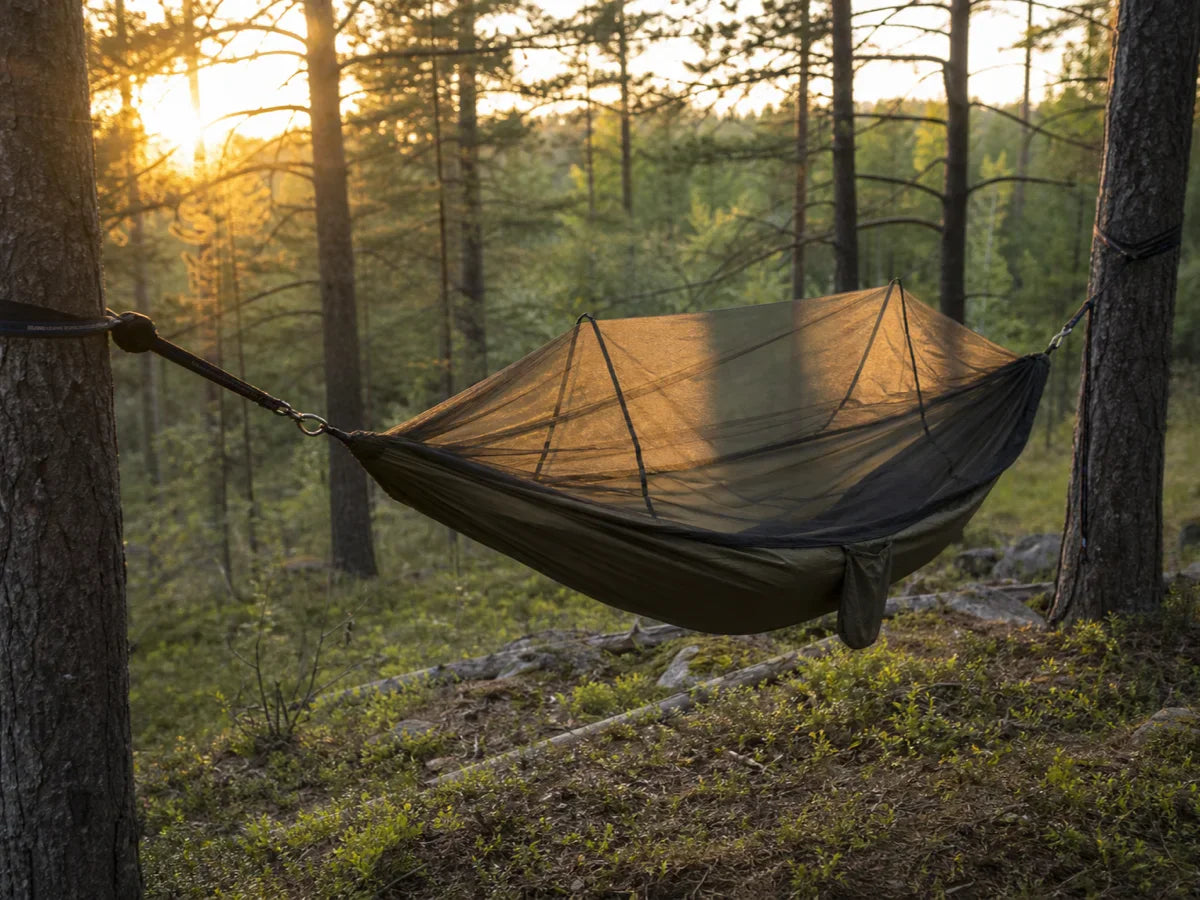
A sewn hammock body is not a weather-ready camping shelter.
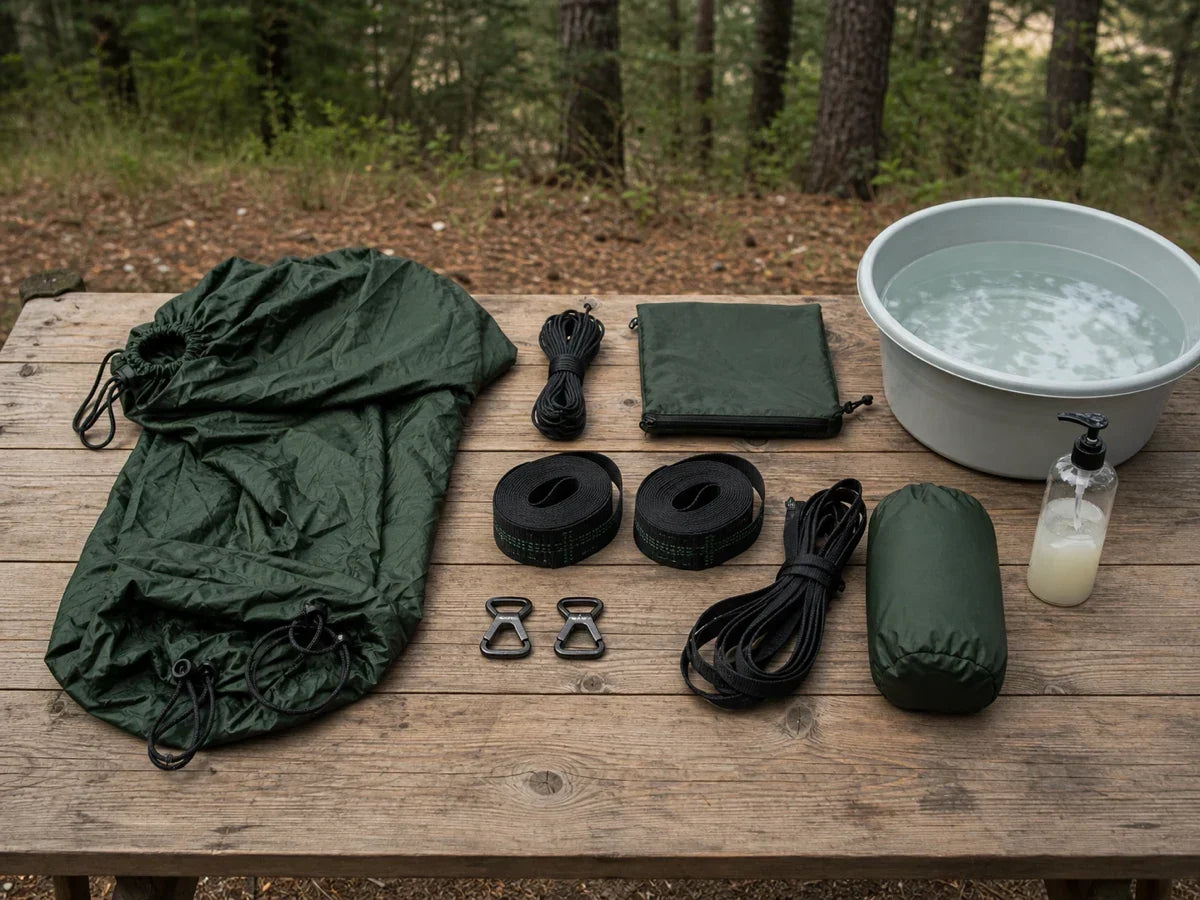
The remaining system can include straps, suspension, a ridgeline, a tarp, bug protection, top insulation, and bottom insulation.
Bottom insulation matters because compressed sleeping-bag fill under your back does little in a hammock.
Bug protection matters because a netless body leaves your face and sides exposed in warm weather.
Weather protection matters because rain can follow suspension lines or wet the hammock ends.
For setup sequencing, read the beginner hammock setup guide and rehearse before the first overnight.
For a known reference body, compare finished models in the hammock collection without assuming a homemade copy inherits the same declared rating.
I compared fabric-only DIY costs with full-system costs, and the body is one line in the budget.
DIY is not automatically cheaper once the complete system is counted.
Four Build Scenarios
Scenario 1: First Project on a Domestic Machine
Your trip is still weeks away, your machine is basic, and the fabric slides more than cotton.
The main risk is not a slightly wavy long hem.
The main risk is skipping the same-layer scrap test, then discovering on the real blank that the setup damages the fabric.
Sewing & Craft Alliance guidance supports testing on project fabric and checking both sides of the seam before treating the setup as ready.
Choose a forgiving midweight fabric, double-fold the side hems, and use a whipped gathered end unless you already have a proven channel pattern.
Keep the first proof test low enough that a mistake teaches you something without injuring you.
Verdict: Sew the body if you can pass the scrap test first, and choose the end method with the fewest load-bearing stitch assumptions.
Scenario 2: A 160-Pound Backpacker Chasing Minimum Weight
Your pack list is tight, and the lightest fabric on the chart looks tempting.
The beginner risk is treating a rough comfort estimate as a hard pass-fail number.
Ripstop by the Roll's chart may list a fabric near your weight, but the same source warns that construction, hang angle, and suspension affect the outcome.
Add margin for dynamic entry, clothing, small gear, imperfect sewing, and the lack of finished-product certification.
I compared this case against MYOG reports, and experienced builders often value comfort and fabric feel as much as the scale number.
Move up a fabric class if the listed estimate leaves little room.
Verdict: Do not build the lightest possible hammock unless the named fabric guidance still leaves practical margin after real use is considered.
Scenario 3: A Heavier or Stretch-Sensitive Sleeper
Your priority is a calmer lay, less stretch, and more confidence in the first build.
The beginner risk is copying an ultralight shopping list because it looks more advanced.
Supplier guidance and community reports both support choosing fabric by weight, stretch tolerance, and margin.
A 1.6 to 1.9 oz class fabric can add several ounces while making the first build feel less fragile.
If sewing is not the goal, a finished option such as an 11 ft camping hammock gives a declared product path to compare against your DIY cost and time.
Still proof-test any DIY body low, because more fabric weight does not verify the end method, loops, straps, or setup.
Verdict: Choose the heavier, lower-stretch fabric class when comfort margin matters more than the smallest packed weight.
Scenario 4: The Camper Who Wants to Sleep Outside This Weekend
Your trip is close, rain is possible, and you still need body, straps, tarp, and bug protection.
The beginner risk is finishing a rectangle on Thursday night and treating it like a complete shelter on Friday.
REI separates hammock camping into body, straps, suspension, insulation, tarp, and bug protection.
If immediate field use matters more than the project, compare a ready-made path such as the 11 ft ultralight camping hammock.
You can still sew later when you have time to tune the machine, choose fabric with margin, and proof-test without a trip deadline.
Do not let sunk cost become your only shelter plan.
Verdict: Buy the field system now if the trip is this weekend, then sew a custom body later as a controlled project.
Five Mistakes That Break the Load Path
Clean stitches can still hide a weak load path.
The five mistakes below share one pattern: one link is assumed instead of proven.
Mistake 1: Turning Fabric Guidance Into a Finished Rating
A supplier comfort estimate helps you choose fabric, but it does not rate your homemade hammock.
The final result depends on stitch quality, end construction, suspension, hang angle, wear, and entry.
I reviewed the supplier disclaimer because it protects builders from the most attractive shortcut in this project.
Write "not a finished rating" beside the fabric guidance.
Mistake 2: Buying the Thickest Thread and Needle
Heavy-looking sewing choices can make thin fabric worse.
An oversized needle can cut a bigger path through nylon, and an oversized thread can create puckering or tension problems.
Thread, needle, fabric, and layer count form one system.
Use the scrap test to decide whether holes stay small under hand pull.
For deeper stitch mechanics, use the existing lock stitch vs chain stitch hammock guide rather than turning this build guide into a stitch theory article.
Mistake 3: Blending Whipped-End and Sewn-Channel Instructions
A whipped end and a load-bearing sewn channel are different designs.
A narrow channel used to gather fabric is not automatically a channel that should carry the suspension load.
Community corrections on DIY gathered-end questions repeatedly point out this exact confusion.
Pick one method and reject any instruction set that blurs the distinction.
Mistake 4: Making Your Body the First Proof Load
The first real load should not be a full overnight hang at normal height.
A low staged proof test lets you stop after hand load, partial sit, full sit, and a short recline.
Watch for popping sounds, seam distortion, pulled stitches, growing holes, slippage, and fabric whitening.
Any one of those signs ends the test until the cause is found and fixed.
Mistake 5: Calling the Sewn Bed a Complete Shelter
The hammock bed is only the sleeping platform.
A camping system still needs straps, suspension adjustment, weather cover, bug protection, and bottom insulation.
If your budget comparison ignores those parts, it compares a DIY component against a field-ready sleep plan.
For broader cost context, compare the beginner hammock total-system cost guide before deciding that sewing saves money.
The Quick Decision Checklist
Use this checklist before the first overnight, not after something feels strange in the woods.
If all five gates pass, your next work is setup practice, not more sewing.
If any gate fails, stop at that gate and fix the specific link instead of adding more gear around it.
If the failed gate is suspension, start with wide tree-contact options such as tree straps and tree huggers before changing the fabric body.
If the failed gate is repeatable sag or diagonal lay, an adjustable structural ridgeline can help after the body and suspension are sound.
Final Verdict: Build for Customization, Buy for Certainty

Sew a hammock when the project itself has value, the fabric guidance leaves margin, the machine passes on scraps, the end method is coherent, and you can proof-test low before the trip.
Buy a finished hammock when declared capacity, known interfaces, compatible suspension, and immediate field use matter more than custom fabric and learning.
I checked the stitch-mechanics overlap, and this article should not replace the dedicated lock-stitch resource.
I compared DIY with ready-made systems, and the honest advantage of sewing is customization rather than guaranteed savings.
The safest first-build mindset is not "Can I sew a rectangle?"
The useful question is "Can I specify, sew, connect, prove, and complete every link before sleeping in it?"
If the answer is yes, build the 11 ft body, inspect it hard, and prove it low.
If the answer is no, choose a known hammock system now and save the sewing project for a lower-pressure weekend.

Complete the fabric-to-suspension connection
Shop Now →