
A hot tent can make an evening feel comfortable, but the night does not stay comfortable just because the shelter has a stove jack.
The key question is not how long a fire can burn.
It is whether the trip still works after the fire is out, the wind shifts, or the land manager closes wood fires.
A sound plan starts with the sleeping system, checks the exact destination and equipment rules, and gives the stove a supervised end time.
It also names the point where you will stop, switch plans, or retreat.
Quick Answer
Plan hot tent camping as two separate systems: one for warmth while you are awake and tending the stove, and one that keeps you warm through the entire sleep period with no active fire.
Before taking a stove, pass all four checks below.
- ✓ Confirm the cold-sleep plan before carrying a stove.
If all four checks pass, then consider supervised heat; if any check fails, then leave the stove out, relocate, or cancel.
Do not make up for a failed gate by keeping the stove burning longer.
The Consumer Product Safety Commission's camping-equipment guidance warns about combustion equipment in enclosed spaces and says not to sleep with portable heaters or lanterns operating in tents.
A stove jack, open vent, or carbon-monoxide alarm does not prove that an unverified equipment combination is safe.
I would plan for a cold, dark, stove-free night first, then decide whether a stove adds enough supervised comfort to justify its weight and work.

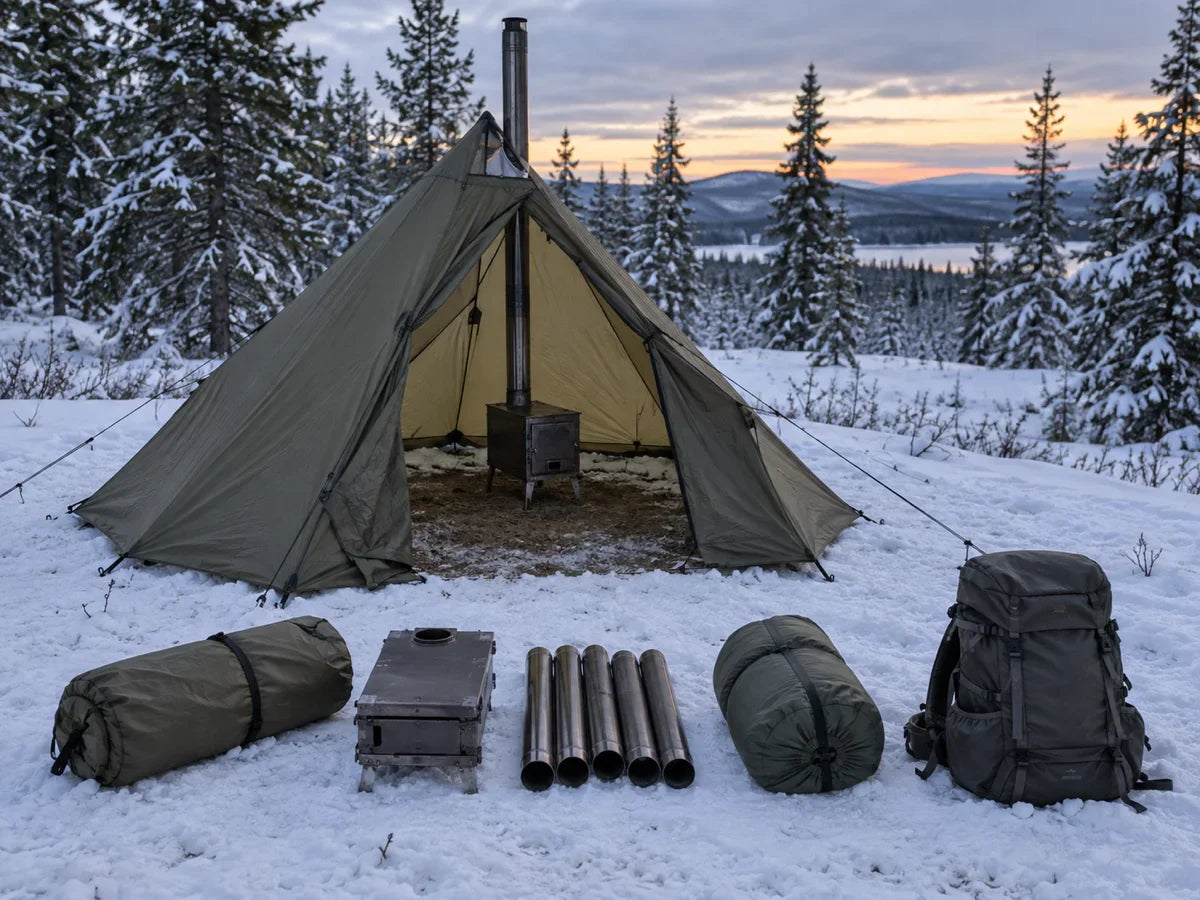
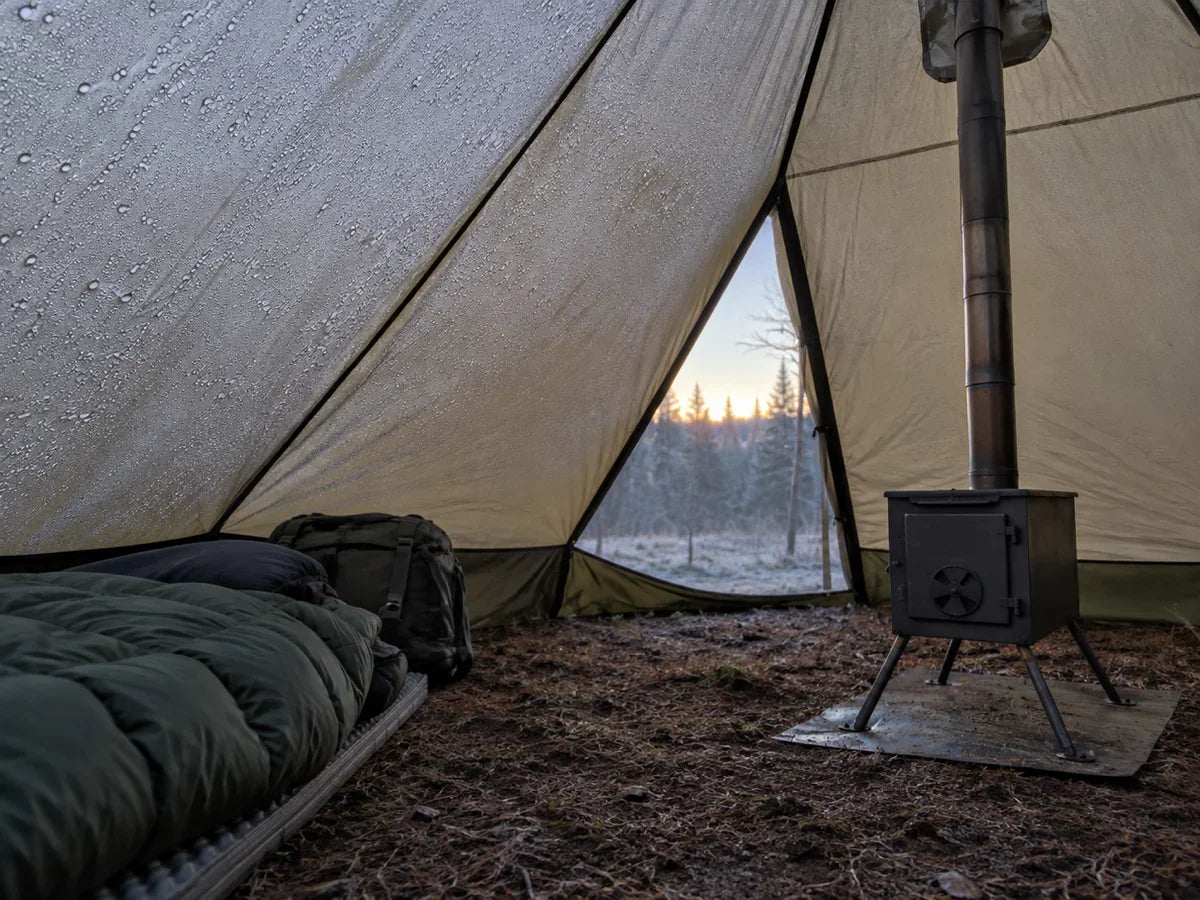
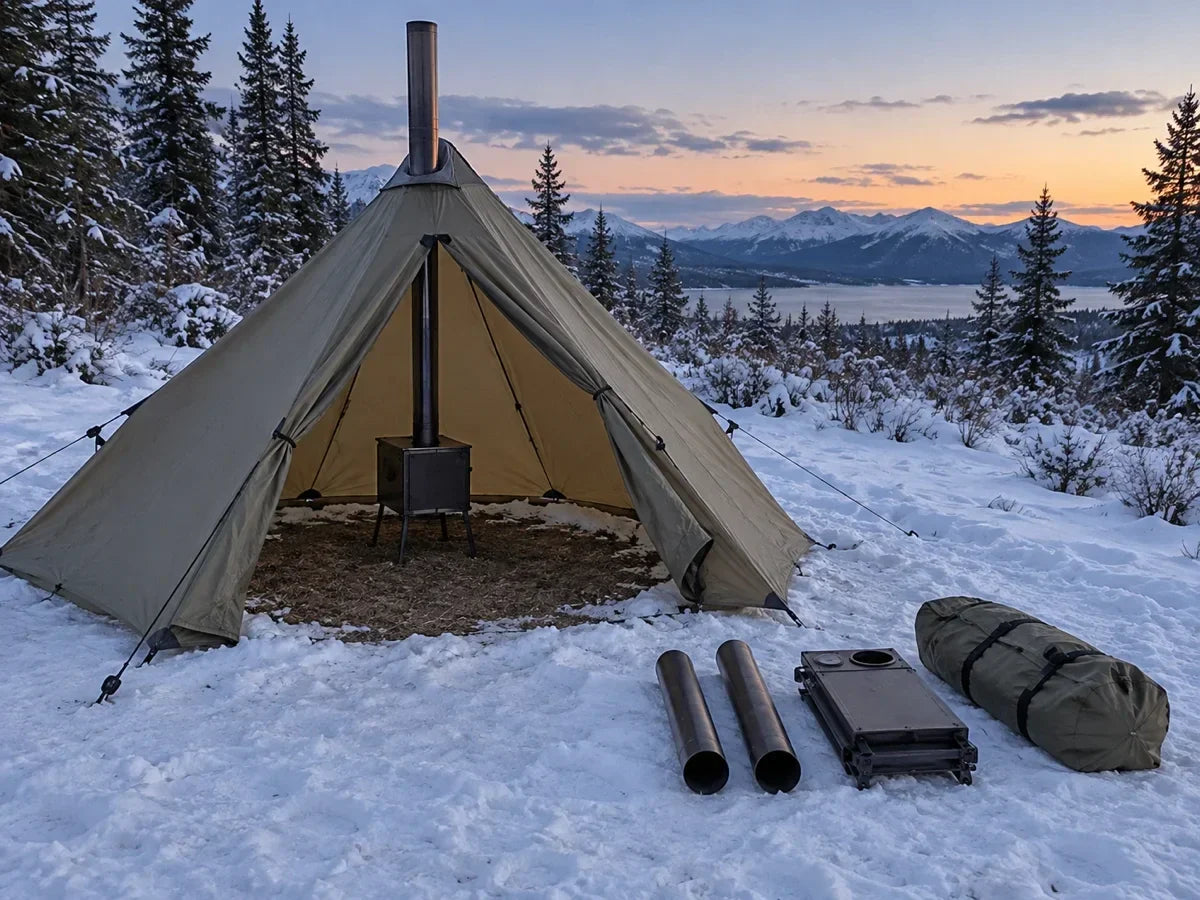
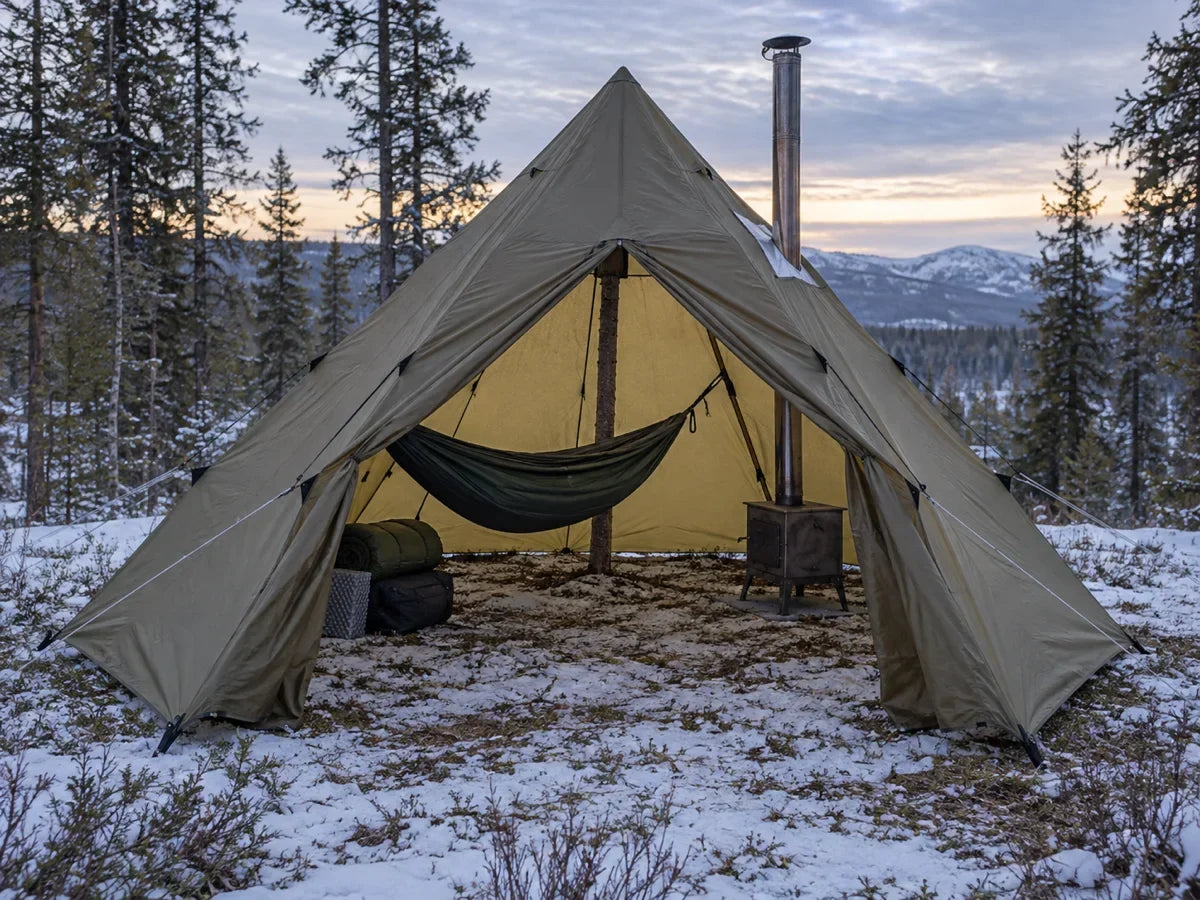
Generated illustrations show general planning scenarios, not specific products or verified installation clearances.
What You'll Learn
Use this guide to decide whether a hot-tent outing is suitable before you buy or pack a stove.
The article stays focused on trip planning rather than ranking stoves or comparing every shelter style.
For shelter options that fit this decision framework, compare the shelter collection only after checking the rules, sleep system, and exact equipment instructions.
A hot tent is worth considering when its awake-time benefit fits the route and does not become the only answer to nighttime cold.
Build the Sleep System for a Cold, Stove-Free Night

Start with the hours when you will not be feeding, watching, or relighting the stove.
That usually means the sleep system must do its job without heat from a fire.
A sleeping bag or quilt handles the top of the system, while an insulated pad limits heat loss to the ground.
Dry sleep clothing, a sheltered sleeping position, and a backup layer help, but they do not turn an inadequate bag or pad into an adequate one.
The REI sleeping-pad guide explains the role of ground insulation; check the exact products and conditions rather than borrowing a single number as a guarantee.
Pressure-Test the Stove-Out Plan

Use a second check to confirm that the full sleep plan works without asking the stove to cover a weakness.
I would choose sleep insulation for the predicted low and likely dampness, then add a margin that fits the camper, trip length, and consequences of being wrong.
A stove can warm people and gear while it is actively and safely supervised, but it cannot insulate the ground under a sleeper.
If you cannot sleep safely after it goes out, change the gear, forecast, route, or date before leaving.
Check Permission and Product Instructions Separately
A campsite being open does not automatically mean that a wood-burning stove is allowed there.
A fire order may distinguish between wood, charcoal, and gas devices, and its terms can depend on location, elevation, season, or current conditions.
For example, Yosemite National Park's fire-restriction page sets location-specific rules; it is an example of why to check the actual land manager, not a rule for another park.
The U.S. Forest Service camping safety guidance also supports treating fire restrictions and tent-fire hazards as part of the plan.
I would check both sides of the permission question: local rules determine what can be used there, while the manufacturers determine how their exact products may be operated.
One does not replace the other.
Do not assume a stove jack means every stove will fit, that an open window makes combustion safe, or that a general “hot tent” label sets universal clearances.
If rules or instructions are unclear, leave the stove out and use a lawful non-combustion plan.
Choose a Site You Can Set Up and Leave

The best-looking campsite is not necessarily the best hot-tent campsite.
Pick a place where the shelter can be pitched as its manufacturer requires, the stove area can be watched, and the exit remains usable if weather turns.
Seek Outside's hot-tent pitching guide discusses pitch, tension, guy lines, and site choices for its own shelters.
Use it as a setup reference, not as instructions for a different shelter.
I would arrive with enough daylight to pitch, inspect, and decide not to light the stove.
That last option matters because arriving late creates pressure to accept a bad site or skip an equipment check.
Keep the entrance clear, identify where shoes and headlamps will be, and agree on the route out before darkness.
For a floorless shelter, make a separate plan for ground contact, moisture, and sleeping-pad placement.
Do not assume the listed shelter area includes a floor, a stove platform, or a safe place for every item of gear.
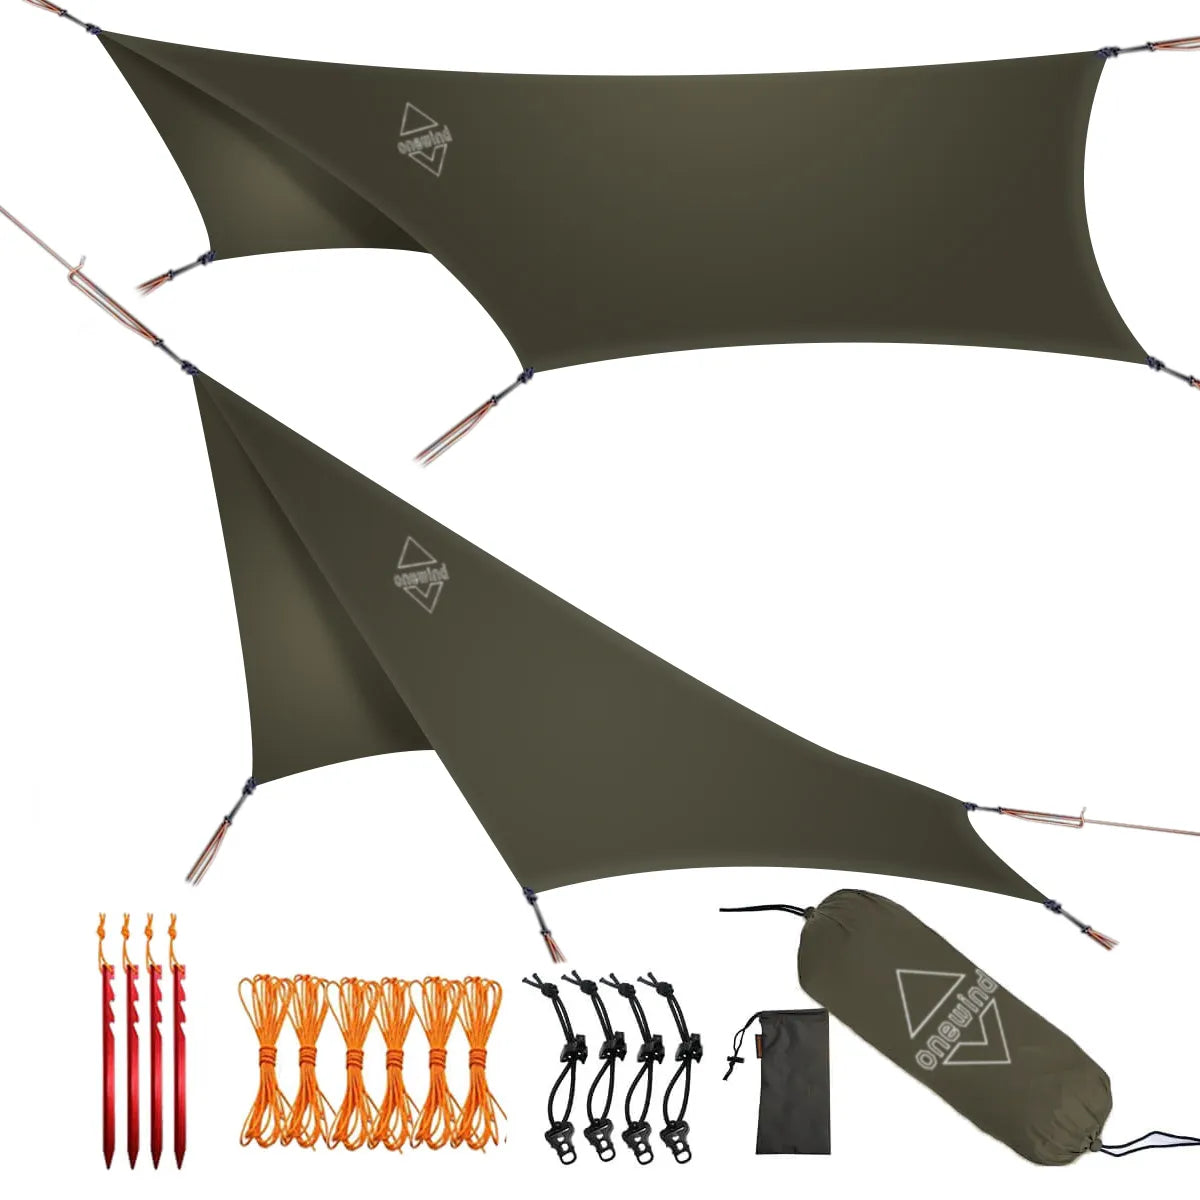
For non-combustion shelter practice, the camping tarp setup guide explains how pitch choice changes with rain and wind. It does not replace the instructions for a hot tent or stove.
Build the Pitch Before You Light
Winter Camping Tips And Tricks For Setting Up Your Seek Outside Hot Tent Shelter System
Set up the shelter and check the stove system while everything is cold.
The sequence below is a planning checklist, not a replacement for the tent or stove manual.
Walk the full exhaust path before lighting, and inspect the setup from inside and outside where the instructions allow.
Keep loose clothing, sleeping bags, and dry gear away from the hot zone according to the exact manual rather than a made-up universal distance.
Do not adapt a stove jack, shield, or chimney with household materials unless the manufacturer explicitly specifies that component and method.
If one critical instruction cannot be met, I would not light the stove that evening.
A cold setup inspection is much easier to revise than a hot one.
Set a Supervised Stove Cutoff
How to Winter Camp in a Hot Tent
Decide when the stove will stop before the evening becomes cold and tiring.
For a conservative trip plan, the stove is an awake-time heat source that a responsible person supervises directly while it operates.
Do not plan to sleep with it burning or leave it running while everyone walks away.
CPSC's camping-equipment guidance warns against sleeping with portable heaters or lanterns operating in enclosed spaces.
Follow the stove maker's shutdown directions; this guide does not prescribe a burn-down technique for any model.
A CO alarm can be an additional warning device when its manufacturer says it is suitable for the environment, but it cannot certify a tent-and-stove combination or make sleeping with combustion safe.
Carbon monoxide has no dependable smell, and early symptoms can resemble ordinary fatigue or illness.
If anyone has headache, dizziness, nausea, unusual weakness, confusion, or an alarm, move to fresh air and treat it seriously.
The CDC incident report shows why a tent door, a small shelter, or confidence in one's setup should not be treated as a substitute for prevention.
Reddit's overnight slow-burn discussion and stove-tending question reveal a common planning concern: people want to know how long the warmth lasts and whether someone must stay up.
Those search-visible community discussions are anecdotes, not operating instructions or reliable burn-time benchmarks.
Four Trips, Four Different Decisions
A single gear list cannot answer whether every hot-tent outing makes sense.
The route, forecast, party, access, and rule status change the right choice.
Scenario 1: Car-Accessible Base Camp
A short walk from the car can make a heavier shelter and stove manageable, but it does not change the overnight temperature or the campsite rules.
Use the access advantage to bring the complete sleep system, spare dry layers, and only the stove components authorized for the exact setup.
If the stove is banned that week, the car does not make it legal.
If the bag and pad only work while the fire burns, the camp is not ready for sleep.
I would treat the vehicle as a way to reduce carrying strain, not as a substitute for the four checks.
Verdict: Choose this trip when current rules allow the stove and the sleep system works without it.
Scenario 2: Backpacking or a Long Approach
Count the stove, chimney sections, fuel, shelter, stakes, sleeping bag, pad, and contingency gear as one system.
The lightest tent is not the lightest trip if it forces extra fuel, duplicate ground insulation, or a difficult exit plan.
A floorless shelter can be useful for some arrangements, but the listed floor area does not describe how much ground insulation or weather protection each camper will need.
If the total load slows the group enough to miss camp setup in daylight, I would leave the stove behind before I cut sleep insulation or emergency layers.
Verdict: Carry the stove only when its weight does not force a cut to sleep or emergency gear.
Scenario 3: Forecast Worsens or Fire Rules Change
A weather update, smoke notice, or temporary restriction can invalidate the plan even after the campsite is reserved.
Check for an alternative where the trip can continue without a wood stove, and keep the path out of the site clear.
If wind or wet snow makes the exact setup difficult, do not try to force it because the stove and tent are already packed.
The right decision may be to camp without combustion, move to a permitted site, or turn back.
Verdict: Pivot or retreat when the official rule, forecast, or access condition breaks the plan.
Scenario 4: First-Time or Solo Camper
Unfamiliar setup takes longer, especially when instructions, cold hands, darkness, or fatigue enter the picture.
A first outing should leave enough time for a cold assembly and inspection before any fire is considered.
A solo camper should be more conservative about distance from help, access to communication, and how quickly the site can be exited.
If the person responsible for watching the stove needs to sleep, leave camp, or attend to someone else, the stove should not be operating.
Verdict: Postpone stove use when unfamiliarity or fatigue makes direct supervision unreliable.
Use IF/THEN Triggers Instead of Last-Minute Optimism

Choose decision points at home, when it is easier to be honest about the forecast and your limits.
Write them down or share them with the group so the cutoff does not depend on the most tired person's judgment.
A useful trigger is specific enough to act on, but it does not need a universal number.
For example, a group can agree that it will turn around if the official road notice closes access, if precipitation makes its chosen route unsafe, or if a required piece of stove equipment is missing.
I would make the retreat decision earlier than the last possible moment because cold, darkness, and wet gear reduce the options available later.
Do not invent a temperature threshold that ignores the camper, shelter, route, and sleep system.
Tie each weather limit to a real capability: the forecast the gear can handle, the route the group can travel, and the point beyond which help becomes harder to reach.
Mistakes With Sleep Gear and Local Rules
Most avoidable problems begin when one part of the setup is expected to compensate for another.
Mistakes With Setup, Supervision, and Exit
Before leaving home, ask whether the trip still works if the stove never gets lit; if not, change the plan before departure.
Where the Penumbra and Summit Solo Fit
Product specifications can help compare packed size and shelter arrangement, but they cannot answer whether your selected stove fits or is permitted.
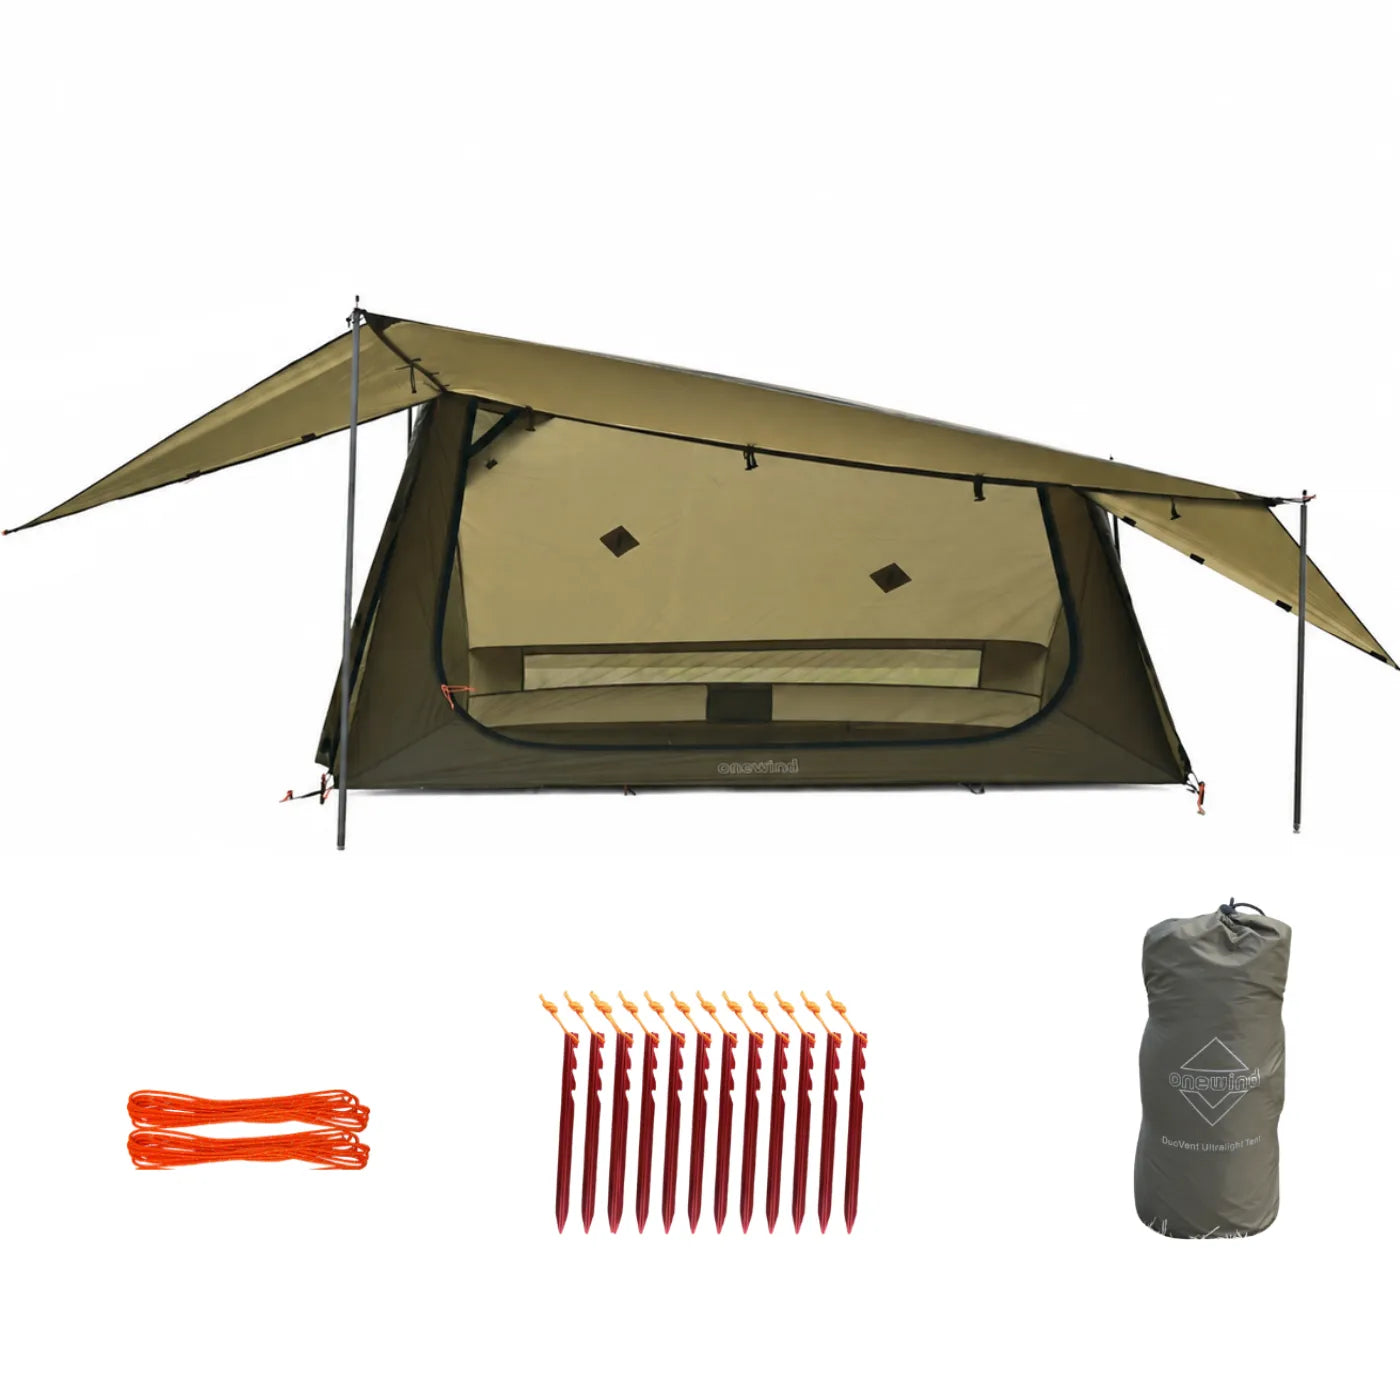
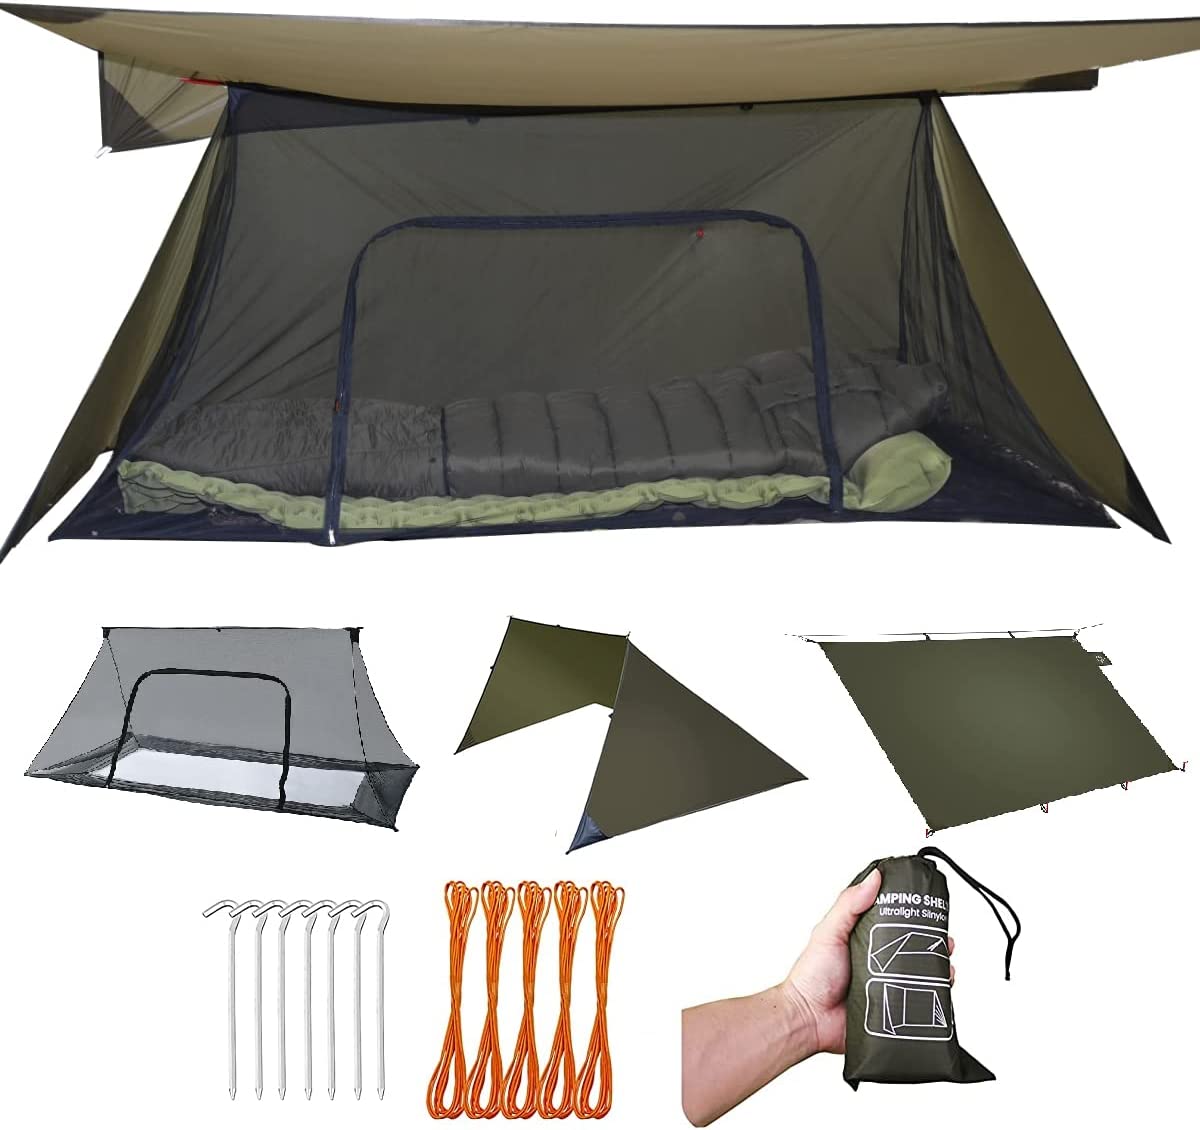
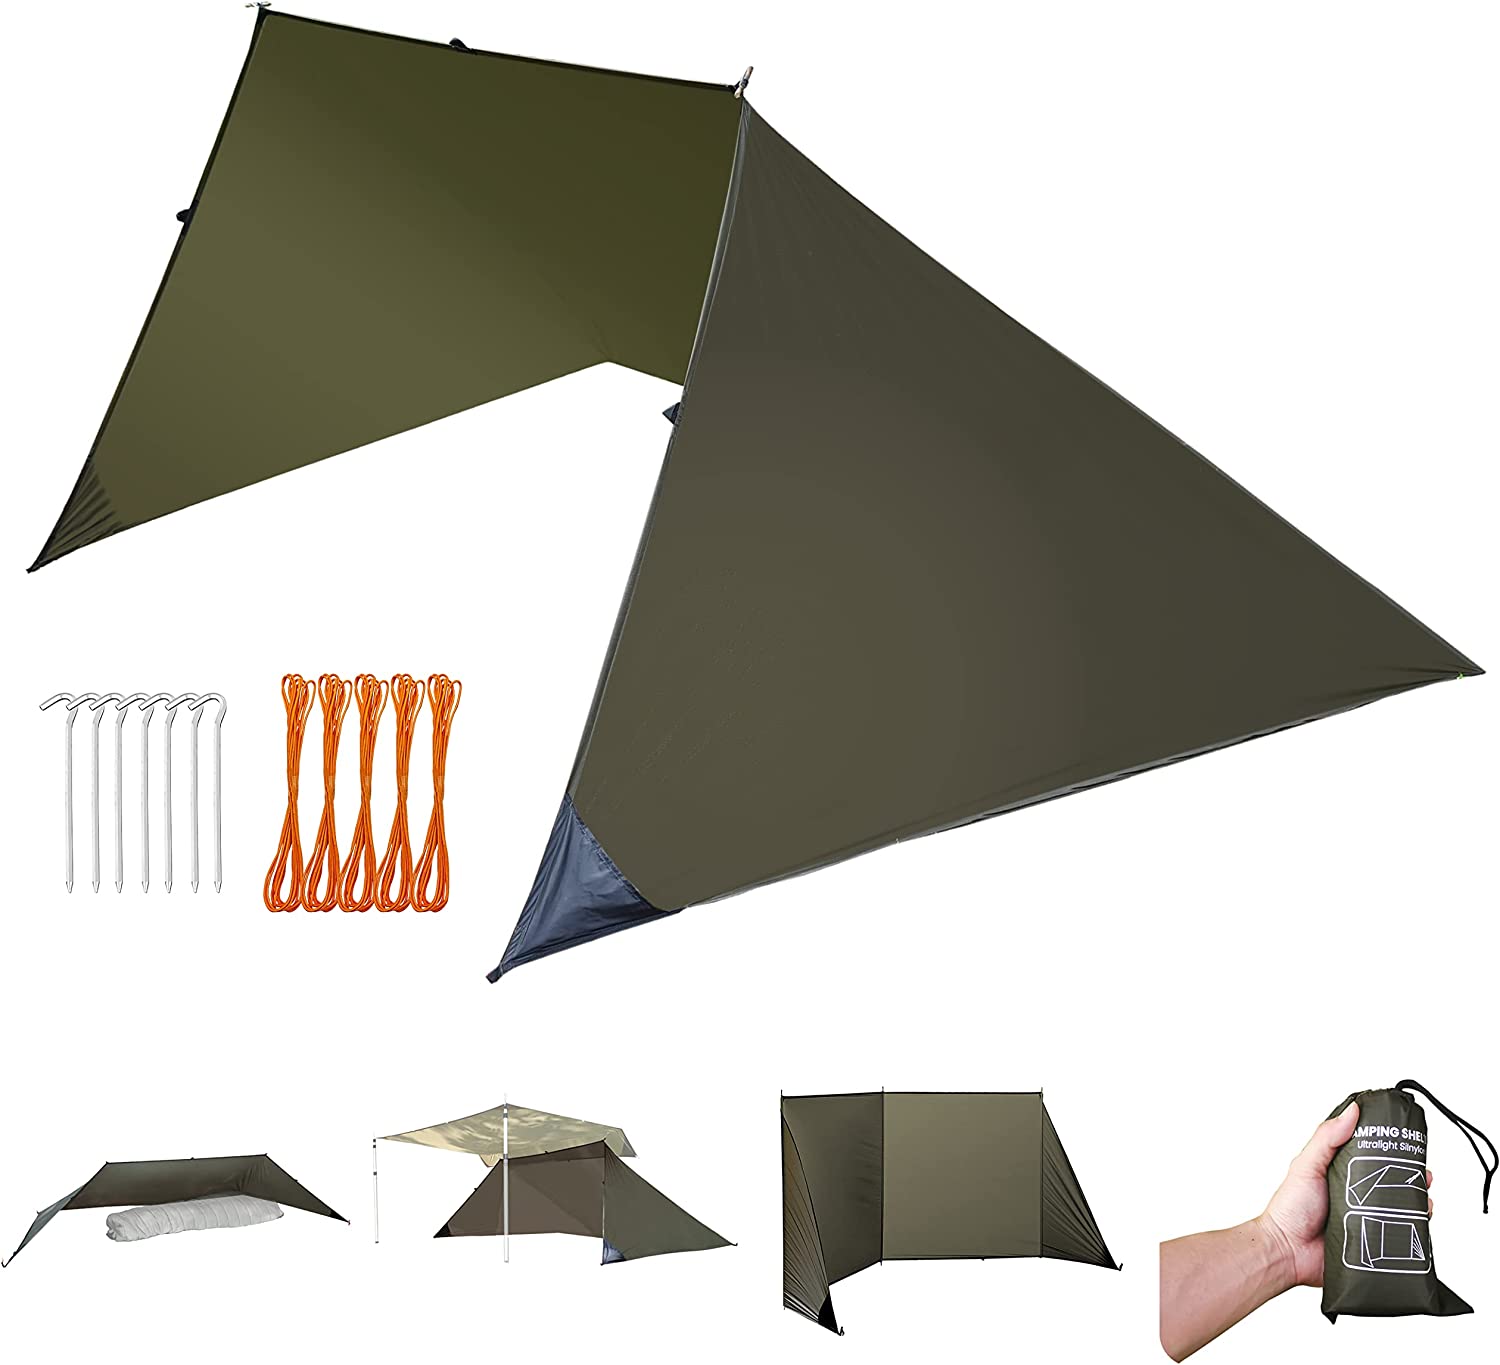
The Onewind Penumbra hot tent page lists an 18 m² / 190 sq. ft floorless tarp, a 2.9 kg weight, and packed dimensions of 45 cm by 15 cm.
It also lists a pre-installed fiberglass stove jack and mesh vents with TPU covers.
The page does not state the jack diameter, compatibility with a particular stove, or a universal clearance.
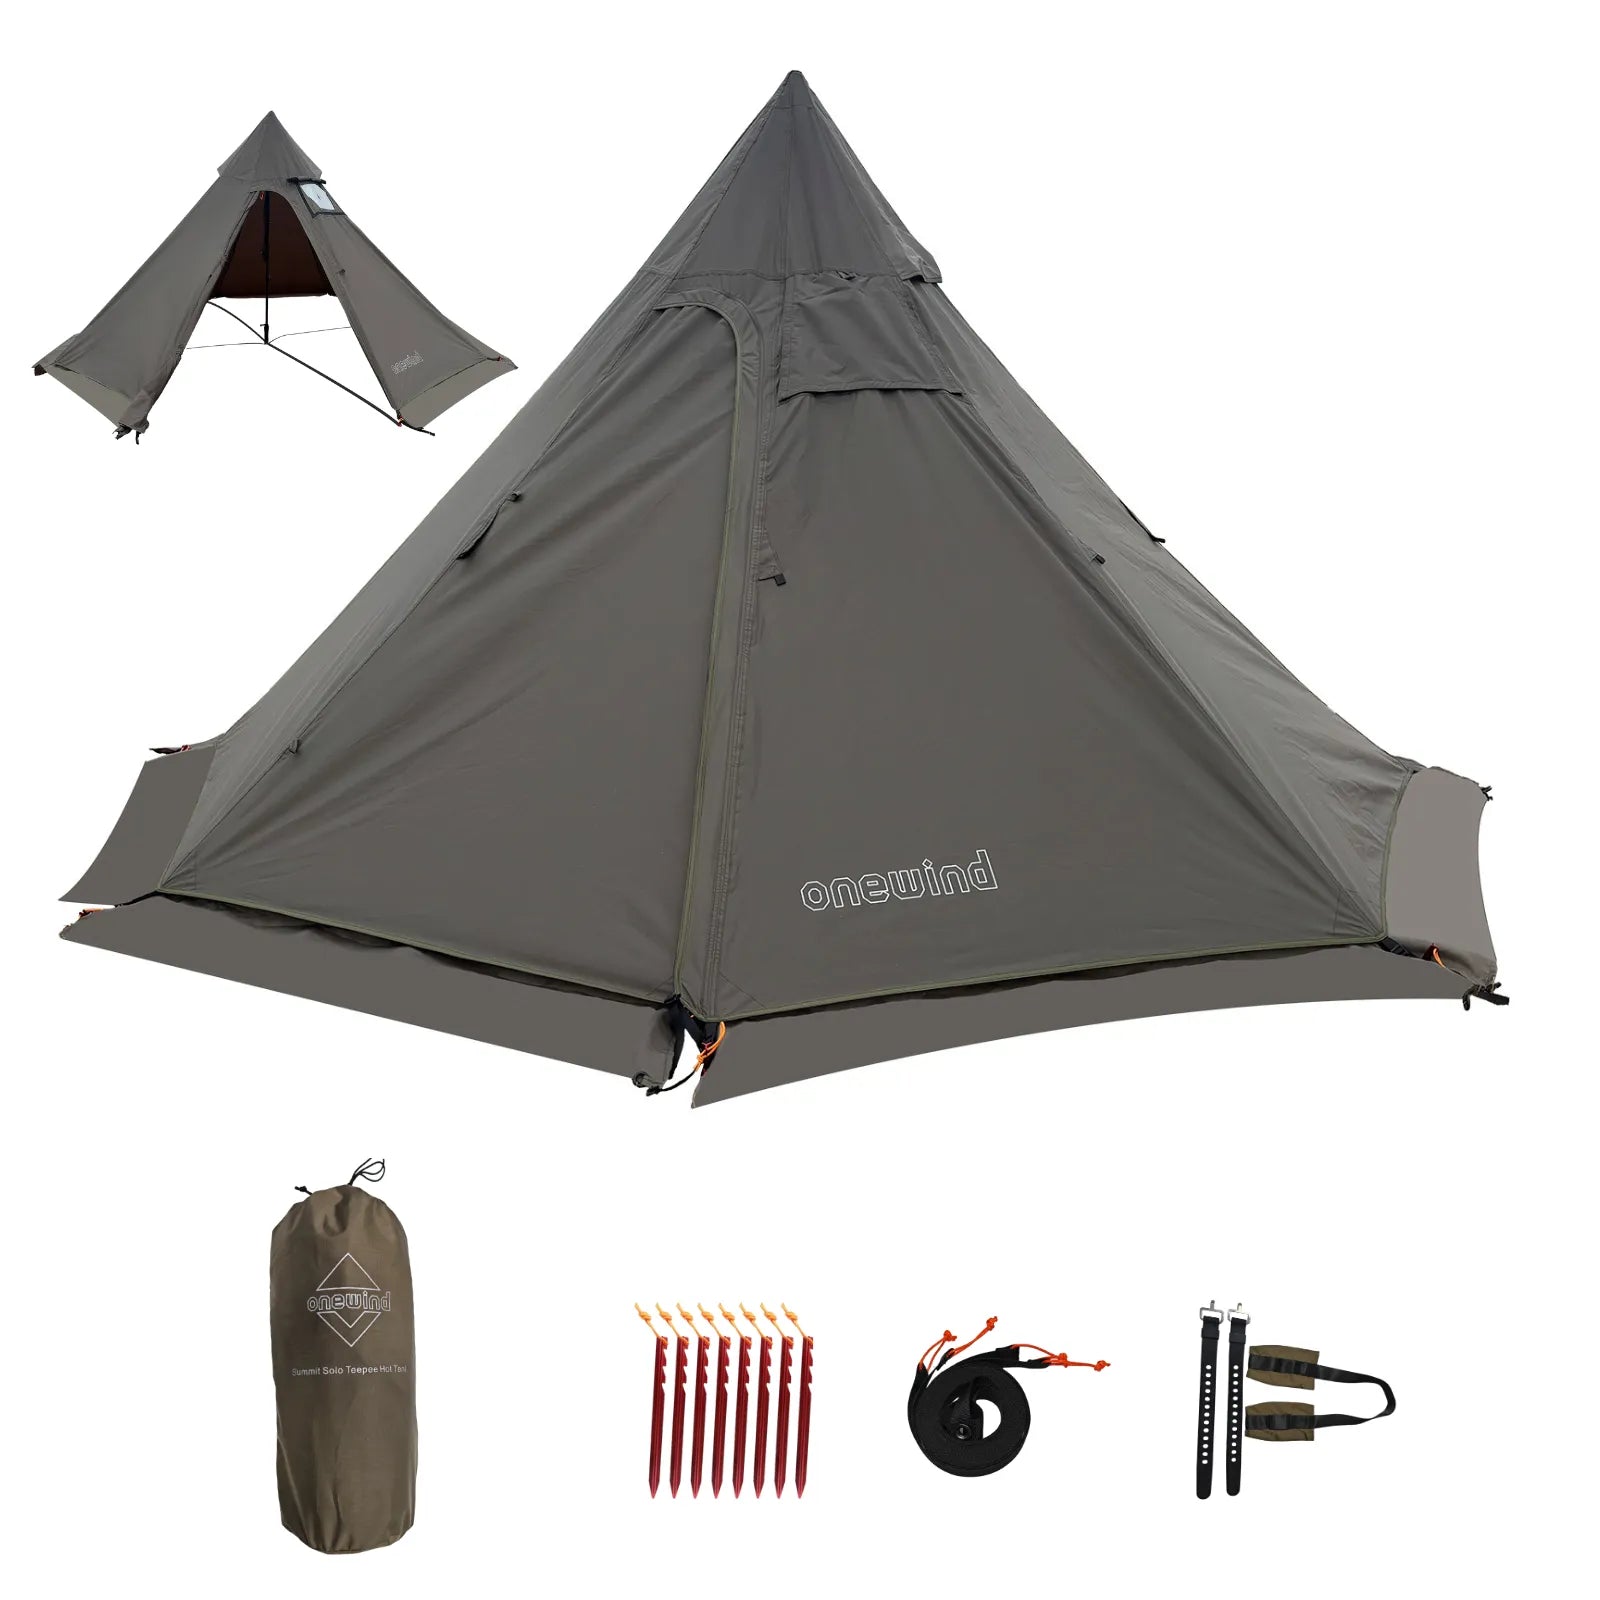
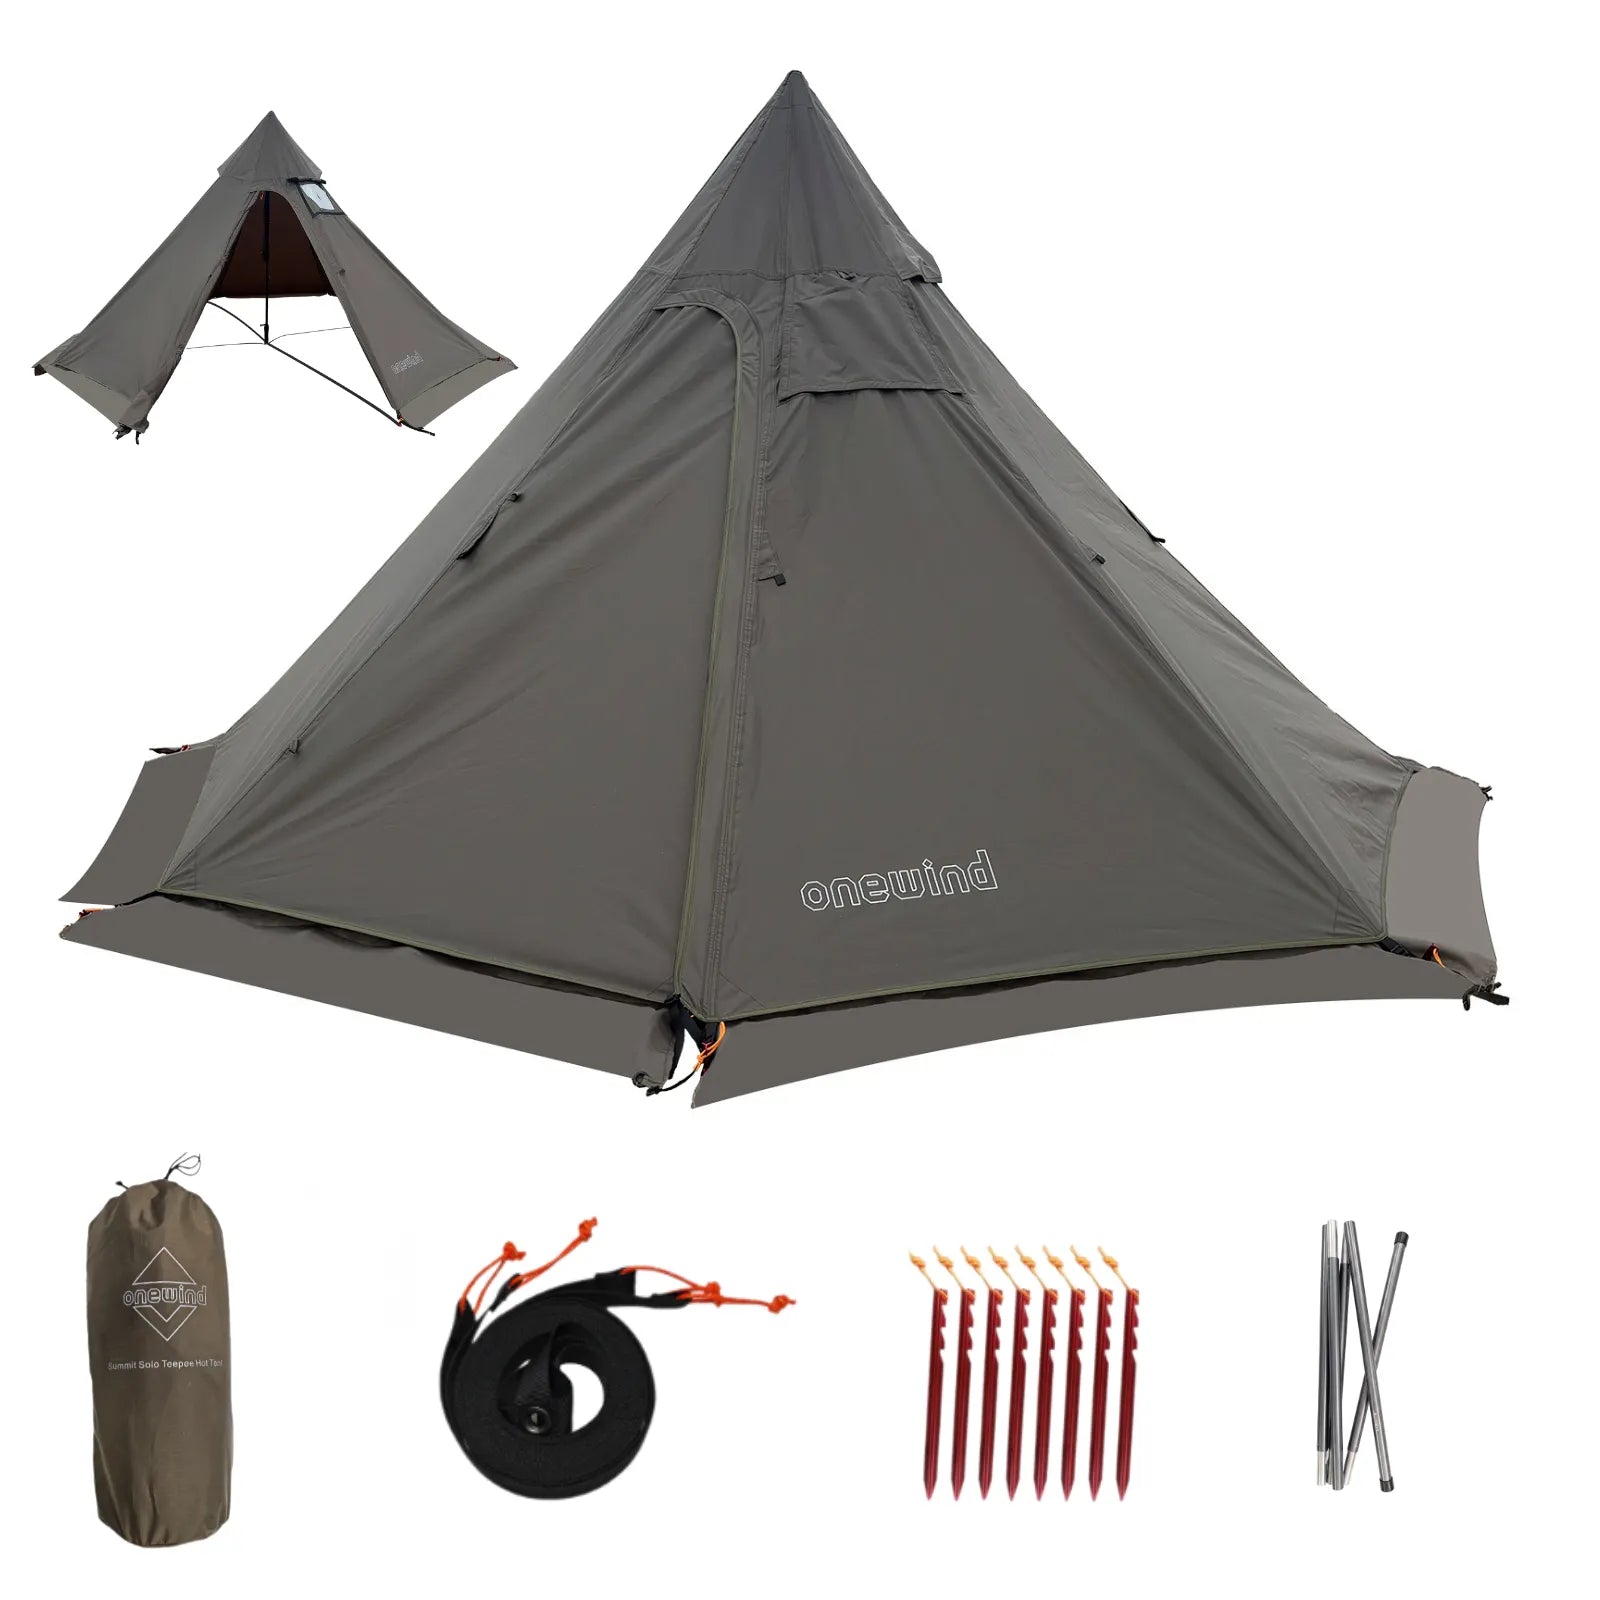
The Summit Solo teepee page lists a 160 cm height and 105 cm per side; each weight component and included item depends on the selected configuration.
The Penumbra page lists tent components but does not list the stove, chimney, fuel, ground insulation, or a groundsheet among its listed accessories.
That wording describes the page; it does not infer an unstated package exclusion.
The Summit Solo page likewise distinguishes configurations, so compare the exact selected variant rather than repeating one weight as if every option were identical.
I would use these products as shelter candidates only after the itinerary passes the sleep, rules, compatibility, and exit checks.
A product page is not a substitute for a stove manual or land-manager notice.
If these checks reveal gaps in your basic preparation, use the essential camping skills roadmap to plan further practice before a cold-weather trip.
Final Verdict
Hot tent camping makes the most sense when you can enjoy supervised heat while awake and still have a complete trip if the stove goes out early.
The decision rule is simple: sleep cold-ready, verify permission and compatibility, supervise every burn, and leave before the exit closes.
If those conditions do not fit the trip, choose a different setup or a different day.

Compare the Penumbra hot tent
Shop Now →