
According to REI's expert shelter guide, a bivy tent adds roughly 10 degrees Fahrenheit of warmth to your sleeping system while weighing 1 to 2 pounds.
That sounds like a no-brainer upgrade over a 3 to 5 pound backpacking tent.
But the r/Ultralight community tells a different story. The most upvoted advice to bivy-curious beginners is three words: "just get a tent."
Both sides are right. The difference is the scenario.
I compared weight data, condensation reports, and field reviews across 15 sources to build a decision framework.
The framework hinges on three thresholds: the 1 lb crossover point, the 2-night comfort limit, and the 15 degree Fahrenheit condensation cliff.
If your scenario falls on the right side of all three, a bivy tent is the lightest path to overnight capability.
If any threshold trips, a tent wins and the bivy becomes dead weight you'll regret carrying.
What You'll Learn

This guide skips the generic pros-and-cons format.
Instead, it maps five real camping scenarios to a specific bivy type, budget tier, and gear checklist.
Quick Answer

Skip the bivy and buy an ultralight tent if you camp 3 or more nights at a time, camp in consistently wet climates, or need space for a partner.
Buy a bivy tent if you camp solo for 1 to 2 nights and need sub-60-second setup with minimum pack volume.
The bivy tent category specifically (not flat bivy sacks) solves the condensation and claustrophobia problems that make traditional bivies a specialist-only tool.
The Decision Framework
Three thresholds determine whether a bivy tent is the right call.
The 1 lb crossover point. According to Outdoor Gear Lab's tested rankings, the OR Helium Bivy weighs 15.8 ounces.
The Zpacks PlexSolo tent weighs 13.9 ounces.
Above 16 ounces of total shelter weight, most ultralight hikers choose a tent because the livability gain outweighs the packability loss.
The 2-night comfort threshold. Where The Road Forks reports that bivy satisfaction drops sharply once a trip extends past 2 nights, with most users wishing they had carried a tent instead.
No gear storage. No changing space. No storm shelter.
That accumulated comfort cost adds up fast after night two.
The 15 degree Fahrenheit condensation cliff. SectionHiker's 2025 winter bivy guide documents that breathable membranes lose 60 to 80 percent of their moisture-wicking ability below freezing.
Below 15 degrees, your bivy becomes a condensation trap regardless of material quality.
If all three thresholds point to "bivy wins," proceed. If any single threshold flips, buy a tent.
Scenario 1: The Ultralight Thru-Hiker

You are hiking 20 to 30 miles per day on the PCT, CDT, or a similar long trail through dry mountain terrain.
Every ounce matters. Your base weight target is under 10 pounds.
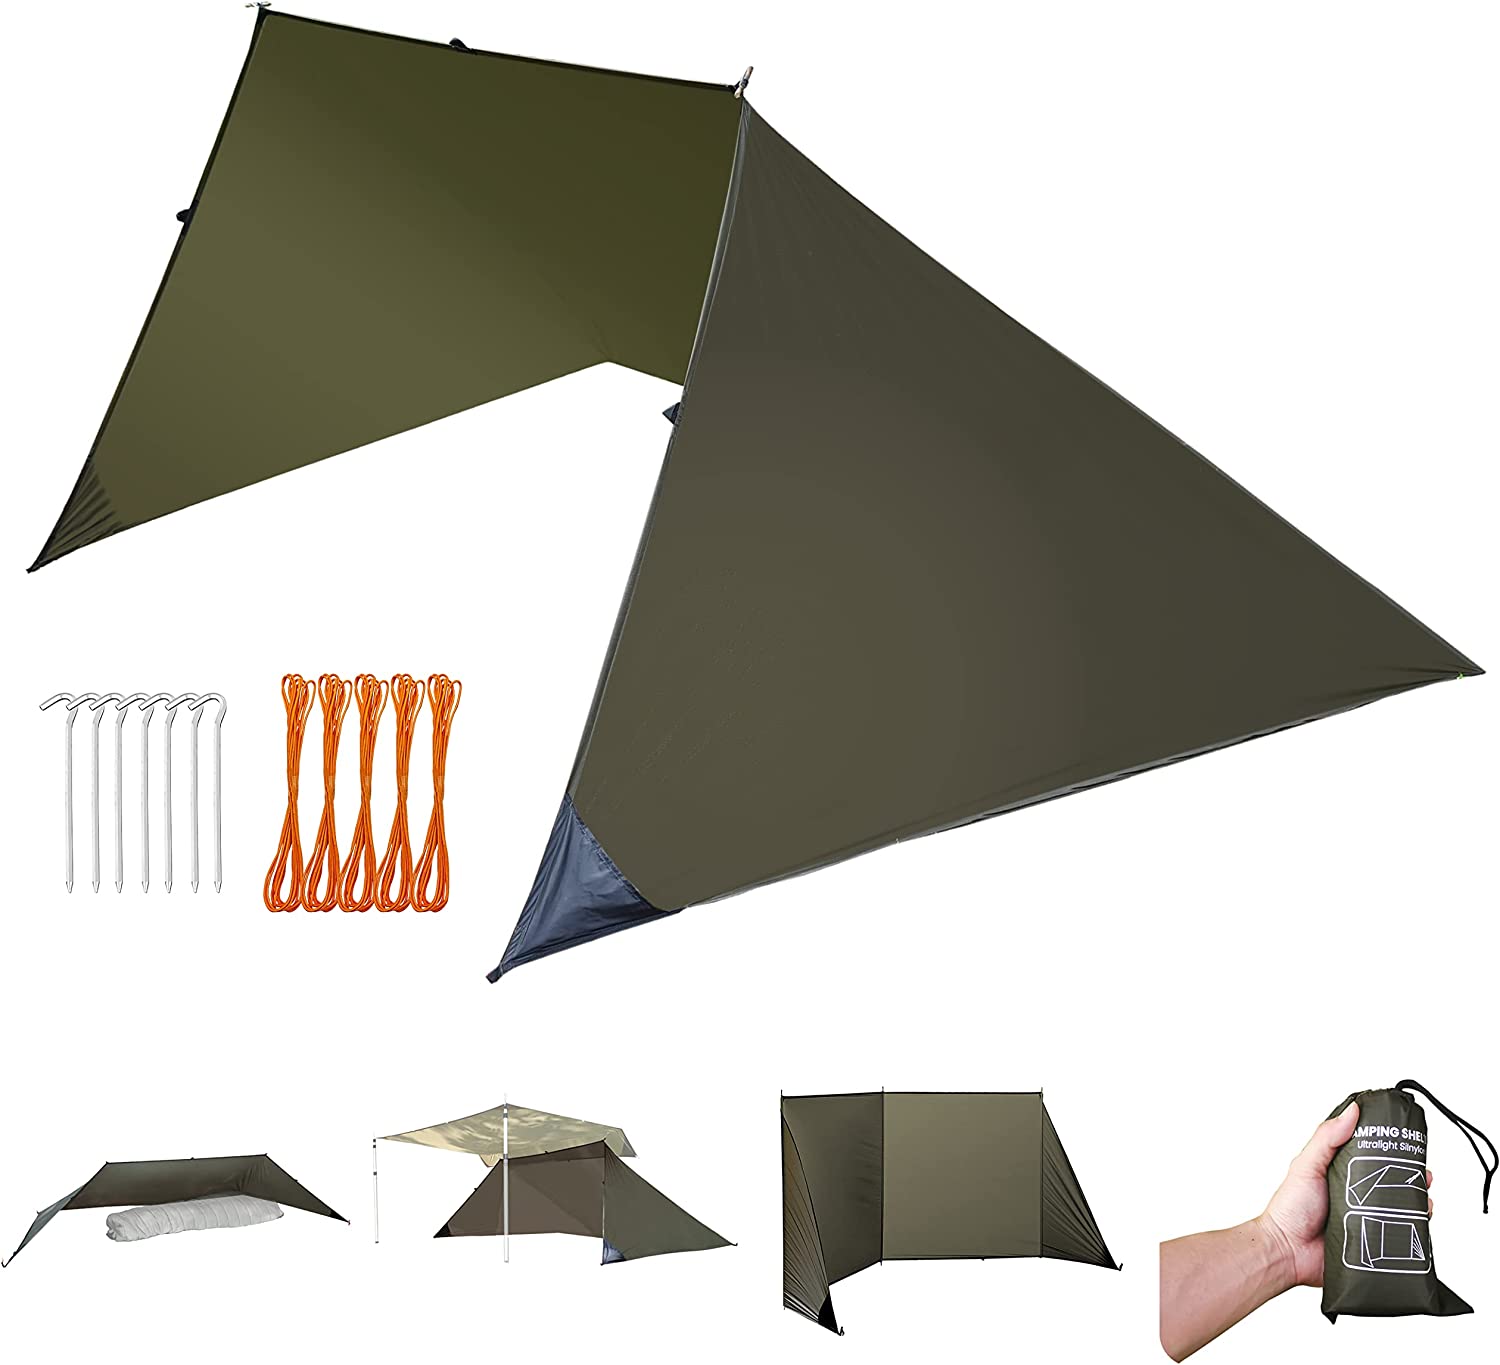
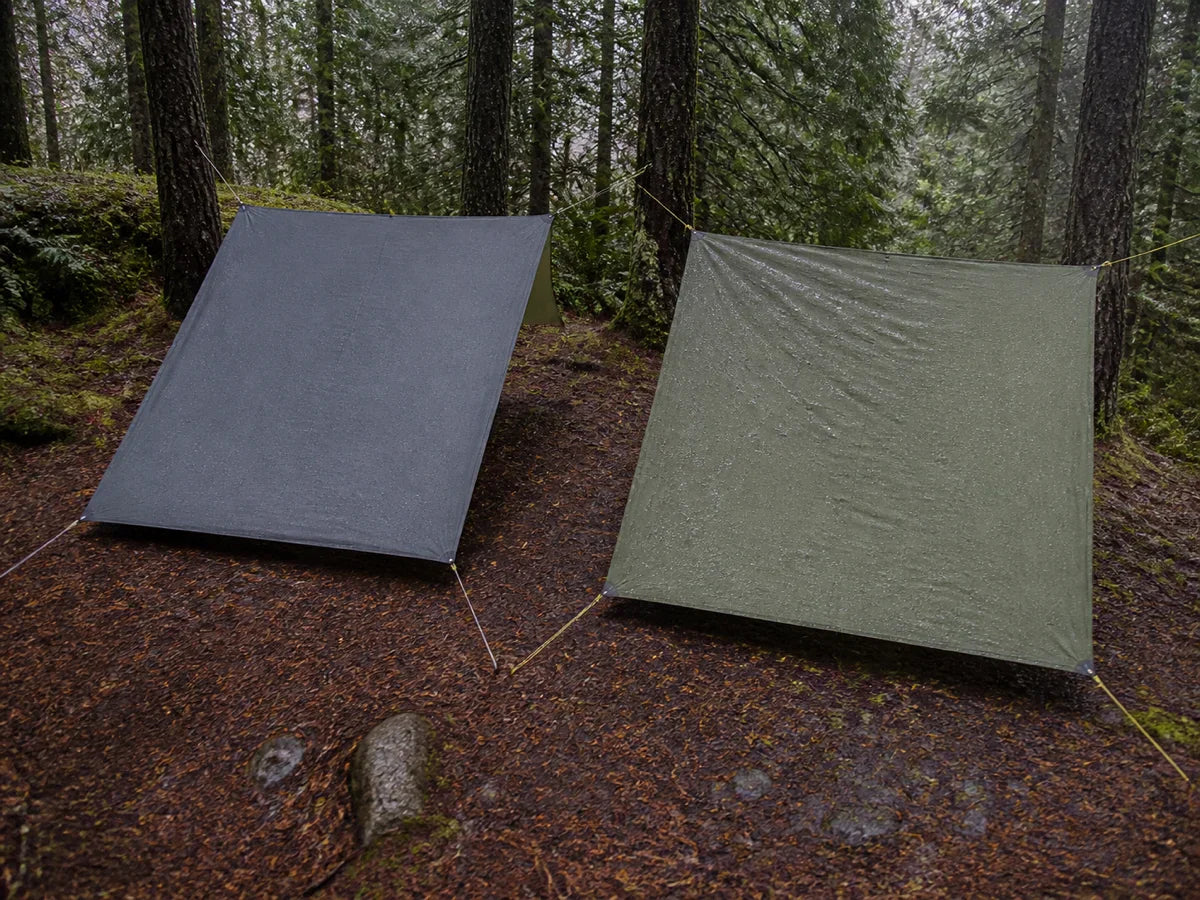
The Hiking Life's ultralight bivy guide, written by a thru-hiker with 20,000 trail miles, identifies the sweet spot: a bug bivy at 5 to 10 ounces paired with a tarp at 7 to 12 ounces for a total system under 1 pound.
This combo gives 90 percent of tent protection at 50 to 60 percent of the weight, according to MSR's field guide.
The catch: it only works in dry climates.
The Sierra, Rockies, Wind River Range, and Pyrenees are proven bivy-and-tarp territory.
The Pacific Northwest in November is not.
Outdoor Gear Lab's 2026 field tests show the crossover happens around 16 ounces.
Below that, bivy-and-tarp wins on both weight and packability.
Above that, a Zpacks PlexSolo at 13.9 ounces is actually lighter than most waterproof bivies.
The bivy type spectrum matters here. A bug bivy at 5 to 10 ounces provides mesh protection against insects and a draft-free sleeping environment. A waterproof-breathable sack at 12 to 16 ounces adds rain protection but introduces the condensation trade-off. For dry-climate thru-hiking, the bug bivy wins because you rarely need the waterproof layer.
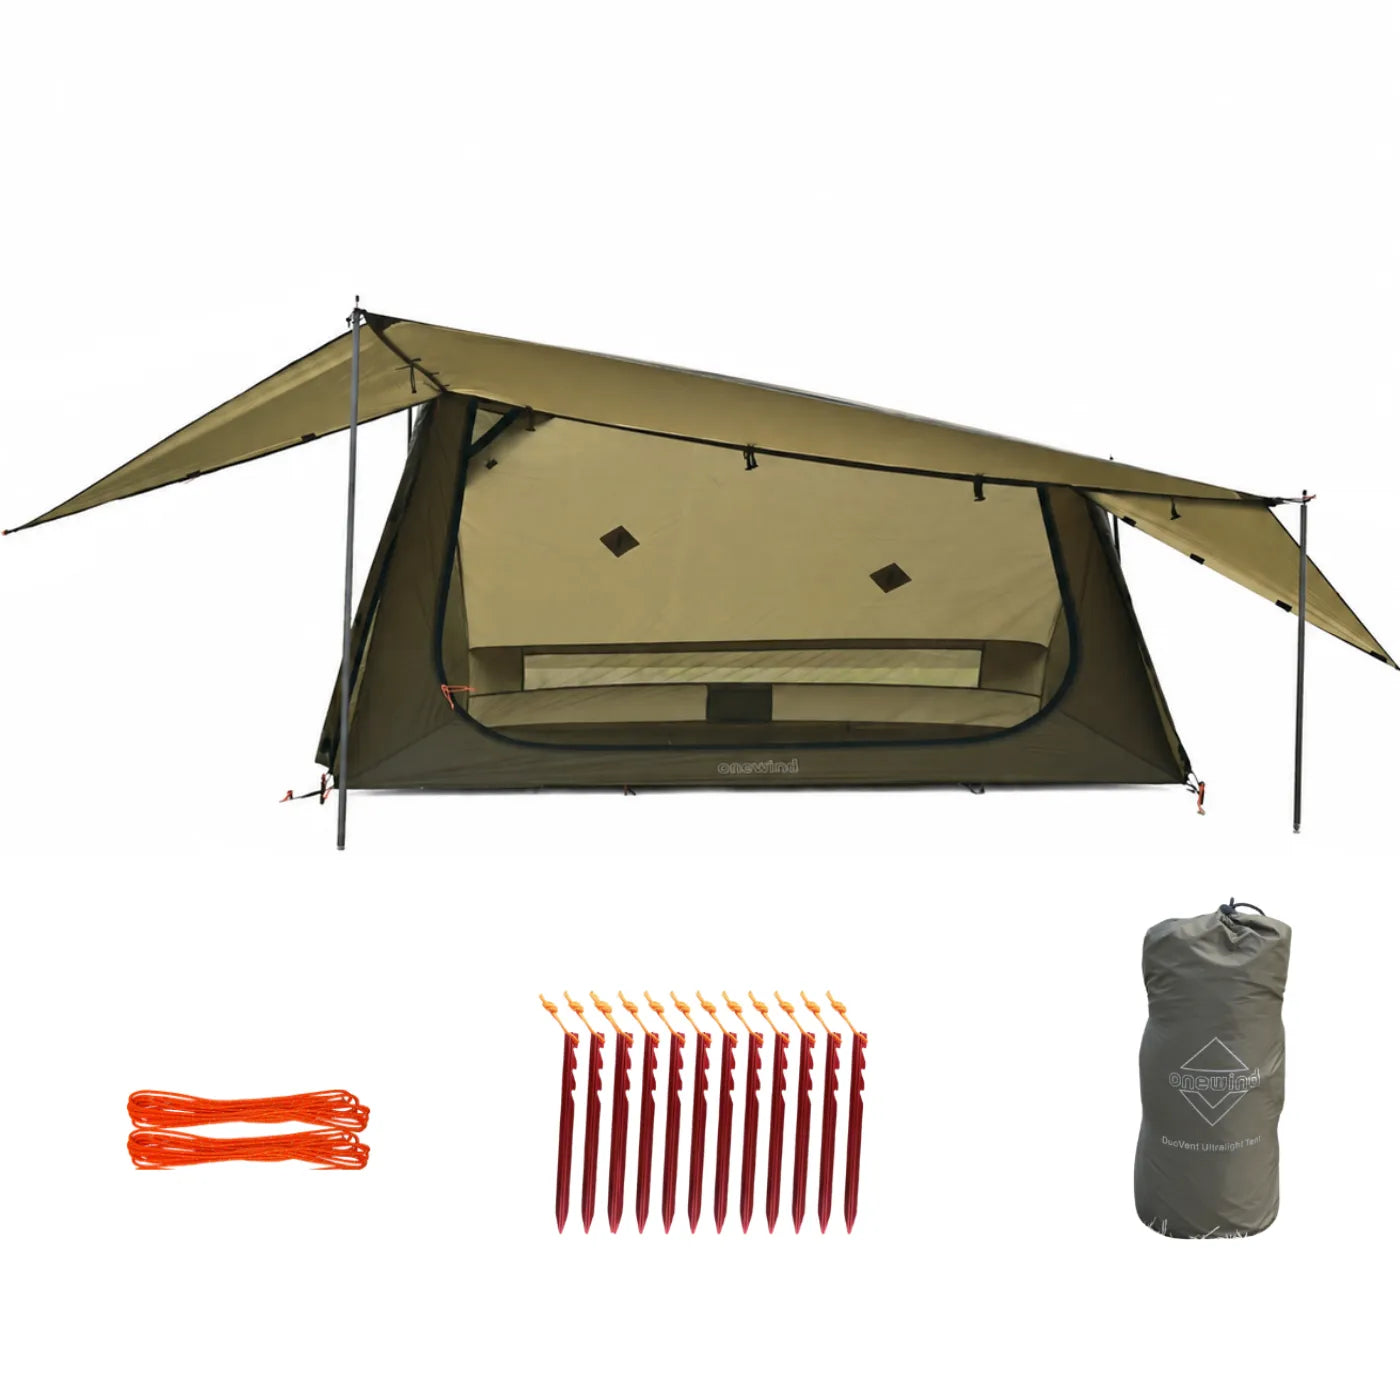
Verdict: For dry-climate thru-hiking under 16 ounces total, the bug bivy plus tarp combo is the proven ultralight system. For wet climates, skip the bivy and carry a sub-1-pound tent like the SoloVent Bivy Tent that adds mesh ventilation and a pole structure.
Scenario 2: The Weekend Solo Backpacker

You hike Friday afternoon, camp one or two nights, and drive home Sunday.
Setup speed matters because you arrive at camp with limited daylight.
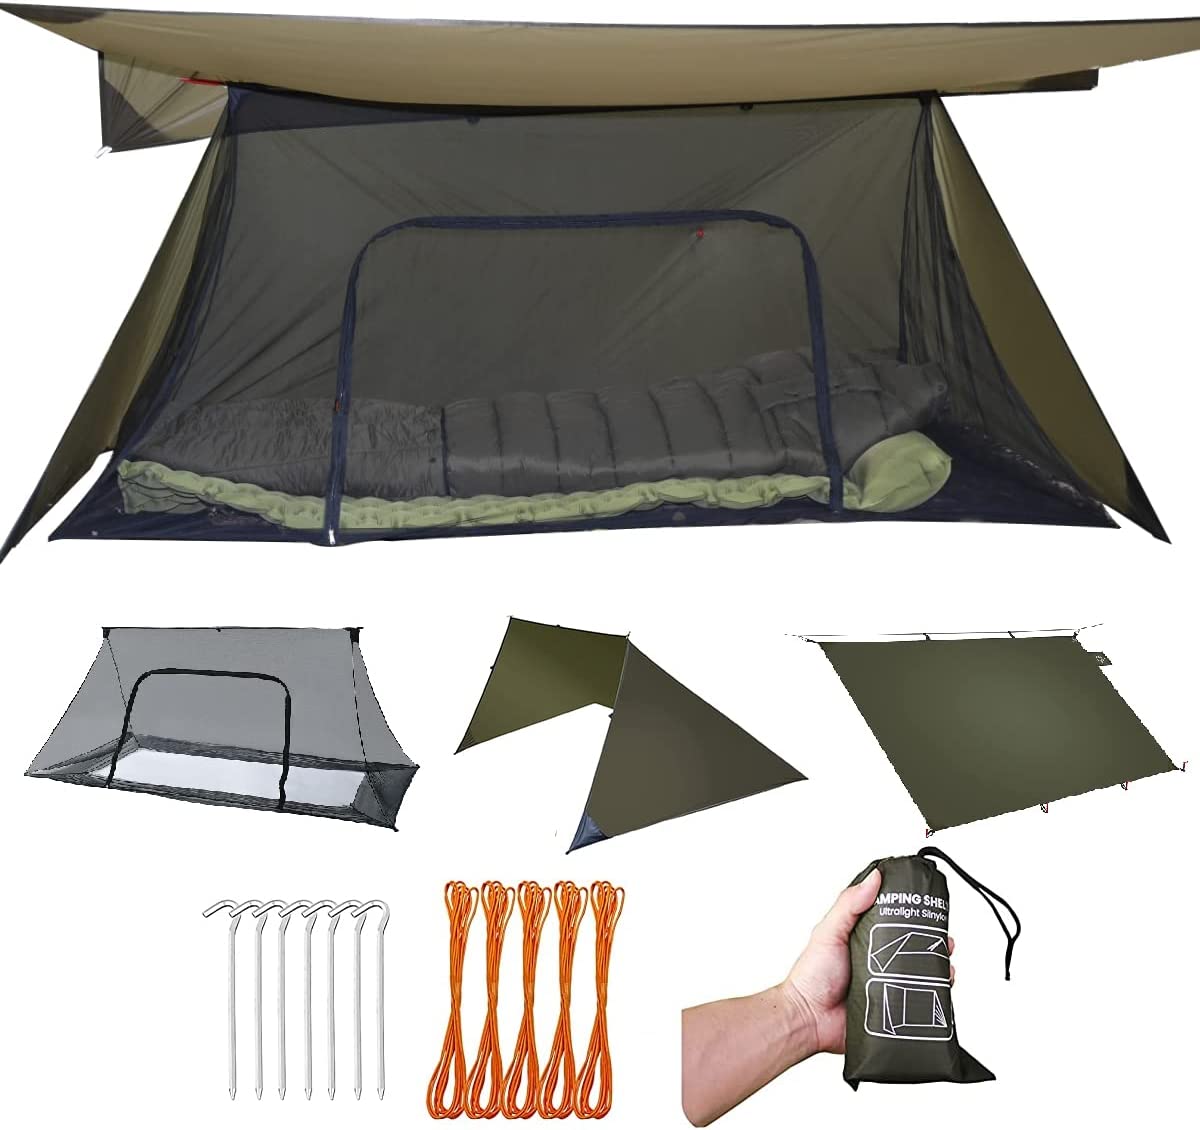
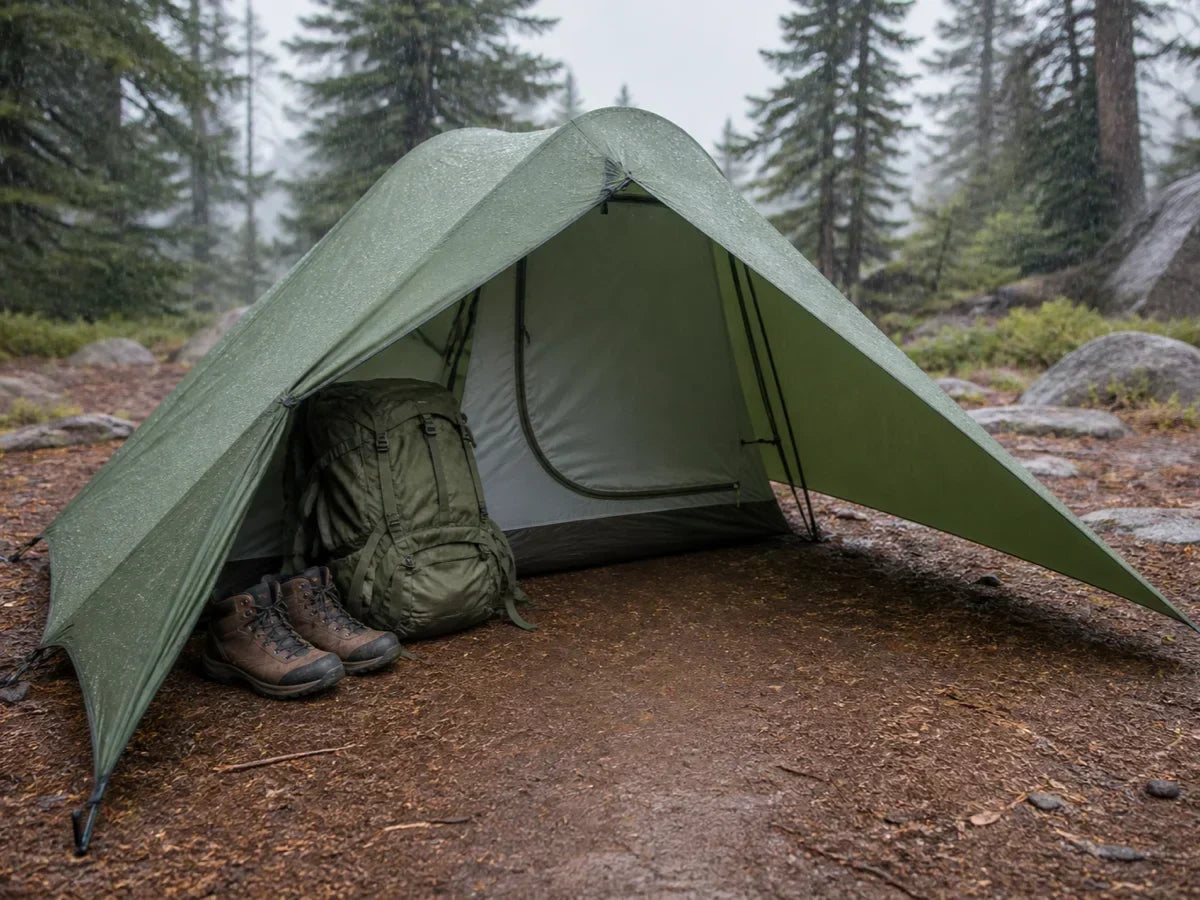
A bivy tent with mesh panels and a single pole hoop sets up in under 60 seconds. REI's expert guide classifies this as the "bivy shelter" category: mesh panels at the head opening plus poles that lift fabric off your face.
The Deeper Trails camping tips guide identifies what makes this category work for weekend trips.
The mesh provides ventilation that flat bivy sacks lack.
The pole gives headroom to read, organize small items, and avoid the "coffin effect" that Reddit users describe as genuine panic during rain.
Trailspace's aggregated user reviews confirm that satisfaction correlates most with ventilation design, not waterproofing rating.
Buy for airflow first, waterproofing second.
{% include 'youtube', id: 'IbRuQU-BMxU' %}
Budget range for this scenario: $100 to $200 for a quality bivy tent with mesh and poles.
The Ultralight SoloVent Bivy Tent fits this use case: mesh ventilation, pole structure for headroom, and a stuff sack that packs small for Friday-afternoon trailhead departures.
Verdict: For 1 to 2 night weekend trips, a bivy tent with mesh and poles is the right category. It solves the condensation and livability problems that make flat bivy sacks miserable while keeping setup under 60 seconds.
Scenario 3: The Bikepacker

Your gear lives in frame bags, a handlebar roll, and a seat pack.
Volume is the constraint, not weight. A tent that stuffs into 8 liters of space is dead on arrival.
Advnture.com's bikepacking shelter comparison quantifies the real advantage: a bivy tent packs into a 2 to 4 liter stuff sack versus 6 to 10 liters for an ultralight tent. That 4 to 6 liter difference is the difference between fitting your shelter and leaving your rain jacket behind.
The weight difference is negligible. Ounces, not pounds.
Most bikepackers who start with bivies eventually add a tarp for rainy regions, according to Advnture's field report. The bivy-only setup works in dry conditions. Wet conditions make it miserable because there is no vestibule to store panniers or drip-dry a rain jacket.
BIKEPACKING.com confirms that fast setup and teardown is critical. Camp time is compressed when you arrive after a full day of riding.
Verdict: For bikepacking with limited frame volume, a bivy tent is the right call. The 2 to 4 liter stuff sack is the real advantage over tents. Add a tarp if your routes include rain.
Scenario 4: The Alpine Climber

You are on a multi-day alpine route. Sleeping ledges are too small for a tent. Weight must be absolute minimum.
This is the original bivy use case. MSR's expert guide explains that bivy sacks were invented for climbers who needed emergency weather protection during multi-night ascents on big walls.
The tool for this scenario is a traditional waterproof-breathable bivy sack, not a bivy tent. No mesh, no poles, no frills. Just a Gore-Tex or eVent shell that keeps wind and precipitation off your sleeping bag.
The OR Alpine Bivy at 2 pounds with Gore-Tex construction is Outdoor Gear Lab's top pick for 4-season alpine use.
Micro-campsites are a unique bivy advantage here. Rock ledges, narrow ridges, and snow shelves that are impossible with a tent become usable real estate with a bivy sack, according to MSR's field guide.
The condensation trade-off is real but accepted. Alpine climbers expect frost on the inner bivy surface at altitude and shake it out in the morning. Comfort is not the priority. Survival weight is.
Verdict: For alpine climbing, the traditional WPB bivy sack is the standard tool. Skip bivy tents with poles and mesh. You need bombproof materials and zero setup requirements for exposed ledges.
Scenario 5: The Budget Beginner
Tent Vs Bivy - What Is The Best Backpacking Shelter?

You want to try bivy camping without spending $300 on premium gear you might hate.
Cool of the Wild's product comparison identifies the sweet spot: $80 to $120 buys a 3-season capable bivy tent that delivers 80 percent of premium performance. Spending more than $150 for recreational bivy camping hits diminishing returns.
The critical beginner mistake is buying a flat bivy sack instead of a bivy tent with mesh and poles.
A flat sack gives you the "coffin effect" on your first trip. A bivy tent with mesh gives you headroom, ventilation, and a less claustrophobic experience.
Alpkit's beginner guide recommends practicing in your backyard before heading to the trail. Set up the full system, sleep in it, and experience the condensation and tight space in a safe environment.
The SoloVent Bivy Tent at the entry price point includes mesh ventilation and a pole structure that forgives beginner mistakes like sleeping with the vent closed.
Verdict: Start at the $80 to $120 tier with a bivy tent that has mesh and poles. Do a backyard trial run before any wilderness trip. Upgrade only after you confirm bivy camping fits your style.
Scenario 6: When NOT to Buy a Bivy
Skip the bivy entirely if any of these apply.
You camp 3 or more nights at a time. The accumulated livability cost destroys the weight savings.
After night two, the inability to sit up, organize gear, or wait out rain inside your shelter becomes a real problem.
Where The Road Forks confirms this threshold from years of bicycle touring.
The math is simple: you save 8 to 16 ounces of pack weight but lose the ability to function in camp during weather holds.
You camp in consistently wet climates. Standalone bivies in rain are miserable.
The "coffin effect" is real.
r/Ultralight users report abandoning standalone bivies after one bad storm.
Even with a tarp, the experience in persistent rain falls well short of a tent with a vestibule.
Condensation compounds the problem. In humid conditions above freezing, breathable membranes work at reduced capacity. You wake up damp. Your bag loses loft. By night three, thermal performance has dropped measurably.
You are claustrophobia-prone. MSR's own expert guide acknowledges that all you can do inside a bivy is "listen to podcasts or go to sleep."
If confined spaces trigger anxiety, a bivy will amplify it.
No amount of gear optimization fixes a psychological mismatch with the shelter format.
You camp with a partner. Bivies are solo shelters by design.
The DuoVent Ultralight Tent or a standard 2-person ultralight tent is the right category for duo camping.
You only camp 1 to 2 weekends per year. The learning curve takes 2 to 3 trips to flatten.
If you camp rarely, the per-trip cost of that learning curve is too high.
Invest in a tent that works on trip one.
Verdict: If any single disqualifier applies, skip the bivy and invest in an ultralight tent. The weight penalty is measured in ounces, not pounds. The comfort gain is measured in trip-saving sanity.
Common Mistakes That Break Beginner Trips
Every mistake below is a decision error made before you leave the trailhead, not a technique failure at camp.
The r/Ultralight community's most common bivy complaint is condensation. But condensation is actually mistake number three on this list because the first two mistakes create worse outcomes that people blame on the gear itself.
Fix these before your first trip and the overnight is straightforward. Skip them and the experience will push you back to tents permanently.
Mistake 1: Arriving After Dark
Bivy camping amplifies site selection importance. 10 Mile Hike's beginner guide stresses that without a tent's vestibule buffer, every ground feature matters: slope, drainage, wind exposure, and surface texture.
Finding a good bivy site takes 10 to 15 minutes of walking and evaluating in daylight.
In the dark, you pick the first flat spot. That flat spot is usually a depression where water pools at 3 AM.
Plan your mileage to arrive with at least one hour of daylight.
Mistake 2: Assuming Every Campsite Is Equivalent
A tent with a vestibule and bathtub floor forgives bad site selection.
A bivy does not.
Deeper Trails' 14-tip guide identifies the site selection rules that matter 2 to 3 times more for bivy camping.
Avoid natural depressions where water pools.
Look for slight elevation with natural windbreaks like rock walls or thick bushes.
The ground surface under your bivy matters more than under a tent.
Sharp rocks puncture thin bivy floors.
Pine needles compress unevenly.
Sand shifts overnight.
Deeper Trails' experienced contributors report spending more time picking sites than setting up.
The setup takes 60 seconds.
The site selection takes 10 minutes.
That ratio tells you where to invest your energy.
Mistake 3: Underestimating Condensation
The Truth About Using a Bivy For Backpacking
Condensation is a physics problem, not a product problem.
Backpacking Light's technical forum discussion quantifies it: a single person produces more than 1 liter of moisture per night through breathing and perspiration.
That moisture hits the cooler bivy fabric and condenses.
Same physics as a cold drink glass.
Breathable membrane vapor transmission rates range from 5,000 to 20,000 grams per square meter per 24 hours across products.
Even the best membrane cannot keep up with 1 liter of output in a confined space.
The fix is ventilation, not better materials.
Cinch the hood around your face but breathe outside the bivy.
Keep vents open.
Accept some condensation and air the bivy out in the morning.
Down sleeping bags lose 10 to 30 percent of thermal performance per wet night.
Synthetic fill tolerates condensation better.
If you bivy camp regularly, consider a synthetic bag or add a footprint under your system for ground moisture protection.
{% include 'youtube', id: 'JVkPz4gn0QY' %}
Mistake 4: Buying Premium Gear Before the First Trip
Cool of the Wild's roundup confirms that the $80 to $120 tier delivers 80 percent of premium bivy performance.
Spending $300 on a Gore-Tex bivy before your first overnight is a common pattern.
Then you discover bivy camping is not for you.
The expensive sack sits in your closet.
The progression that works: start at the budget tier, do a backyard trial, then do a fair-weather overnight at a campsite with car access as backup.
Upgrade to premium only after three to five trips confirm bivy camping fits your style.
The r/Ultralight community backs this up. Multiple threads document users selling barely-used premium bivies at 50 percent loss because they jumped straight to top-tier gear.
Budget bivies are forgiving. Premium bivies are optimized. Forgiveness matters more on trip one.
Mistake 5: Ignoring Weather Shifts on Arrival Day
Alpkit's beginner guide recommends checking the 48-hour forecast, not just day-of weather.
Weather systems arrive early or late.
A clear forecast for Saturday means nothing if a front moves in Friday night while you are already in your bivy with no vestibule escape.
For your first three bivy trips, pick stable high-pressure weather windows only.
Save the adventurous conditions for after you have the setup dialed.
Learn how your specific bivy handles wind and light rain in controlled conditions first.
A Blackthorn Ultralight Tarp Tent paired with your bivy adds weather insurance at minimal weight for shoulder-season trips where forecasts are less reliable.
The Quick Decision Checklist
Browse the Onewind shelter collection after running through this checklist.
If every check points to "bivy," start with a bivy tent with mesh and poles in the $80 to $120 range.
If any single check disqualifies, invest in an ultralight tent instead. The weight penalty is small. The comfort gain is large.
The thresholds are clear: 1 pound crossover, 2-night comfort limit, 15 degree condensation cliff.
Match your scenario to the framework above and buy accordingly.
The SoloVent Bivy Tent hits the sweet spot for most beginners: mesh panels for ventilation, a pole structure for headroom, and a pack size under 3 liters.
Do a backyard trial before your first wilderness trip. One night in the backyard reveals whether bivy camping fits your sleep style without the commitment of a 10-mile carry-in.