A waterproof bivy sack sounds like a simple promise.
Rain stays out.
The sleeper stays dry.
Real bivy nights are not that simple.
According to OutdoorGearLab's bivy testing categories, weather protection, comfort, packed size, and ventilation have to be judged separately.
That separation explains why a waterproof shell can shed rain and still leave a quilt damp by morning.
The question is not whether the outer fabric can resist water.
The question is whether the whole sleep system stays dry after rain outside, condensation inside, damp ground below, and wet gear at the entry all have a chance to matter.
What You'll Learn
- ✓ Use a four-way moisture map before choosing a waterproof bivy sack.
- ✓ Separate waterproof, breathable, and water-resistant claims without guessing.
- ✓ Build a wet-night setup that protects the quilt, boots, pack, and entry.
- ✓ Decide when the Ultralight SoloVent Bivy Tent, Solo Skyshade Tartent, or tarp coverage is the better internal path.
- ✓ Know when the safer answer is a one-person tent or a larger shelter.
This guide does not repeat the basic answer to what is a bivy sack.
It assumes you already understand that a bivy protects the sleep system more than the campsite.
Here, the focus is narrower: how to stay dry in a low shelter without trapping your own moisture inside.
Quick Answer
A waterproof bivy sack is a good tool for short trips where the camper can manage airflow, site choice, and gear staging.
It is a poor substitute for a tent when the trip requires living space.
The default rule is simple.
If you need dry sleep only, a waterproof bivy-style shelter can make sense.
If you need dry camp tasks, add a tarp or choose a larger shelter.
The Four-Way Moisture Map

This map is the whole article.
Most waterproof mistakes happen because the camper solves only one line of the table.
They buy a shell that can handle rain and forget that breath is still inside the shelter.
They choose waterproof fabric and sleep in a low drainage pocket.
They protect the quilt and leave boots outside in a storm.
They vent well until rain starts, then close everything and wake up damp.
A waterproof bivy sack has to be evaluated as a system.
The outside fabric is only one part of that system.
The ground, the entry, the vent, and the gear plan are just as real.
Waterproof vs Breathable vs Water-Resistant

Waterproof and breathable are not opposites, but they compete in real use.
A waterproof shell is valuable when rain, splash, or dew threaten the sleep system.
Breathability matters because the sleeper is producing moisture all night.
Water resistance can be enough under a tarp or in dry climates.
It is not enough for exposed rain.
The mistake is treating these words as a ranking.
The better question is which moisture source you need to solve.
If the problem is falling rain, the shell and pitch matter.
If the problem is breath moisture, venting and interior volume matter.
If the problem is a wet entry, a tarp may solve more than a heavier bivy shell.
What Waterproof Fabric Actually Protects

The bivy protects the sleep system first.
It does not protect the whole camp.
That difference matters most when rain starts after dark.
Your quilt may stay dry while your pack gets wet.
Your feet may stay protected while boots collect water.
Your shell may resist rain while the inside becomes humid.
That is why waterproof bivy users often pair the shelter with careful site choice or a small tarp.
The outer shell does one job.
The camp routine does the rest.
Condensation Is Not a Product Defect
Video: compact bivy shelter condensation and setup considerations

Condensation is physics, not a brand insult.
A low waterproof shelter has very little air volume.
Your breath adds moisture.
Your body heat moves moisture.
Wet socks, damp base layers, and rain shells add even more.
Reddit ultralight discussions show this split clearly.
Some users love the tiny footprint and fast setup.
Others leave bivy camping because the moisture routine feels too fussy.
Both reactions make sense.
The shelter works best for campers who treat venting as part of setup, not as an afterthought.
Open airflow before the inside feels wet.
Keep insulation away from the shell.
Inspect the footbox in the morning.
Then change the next setup instead of blaming only the fabric.
When A Tarp Belongs Above It
Video: waterproof bivy-style shelter and compact tarp/tent setup comparison

A tarp is not only rain insurance.
It is a dry workspace.
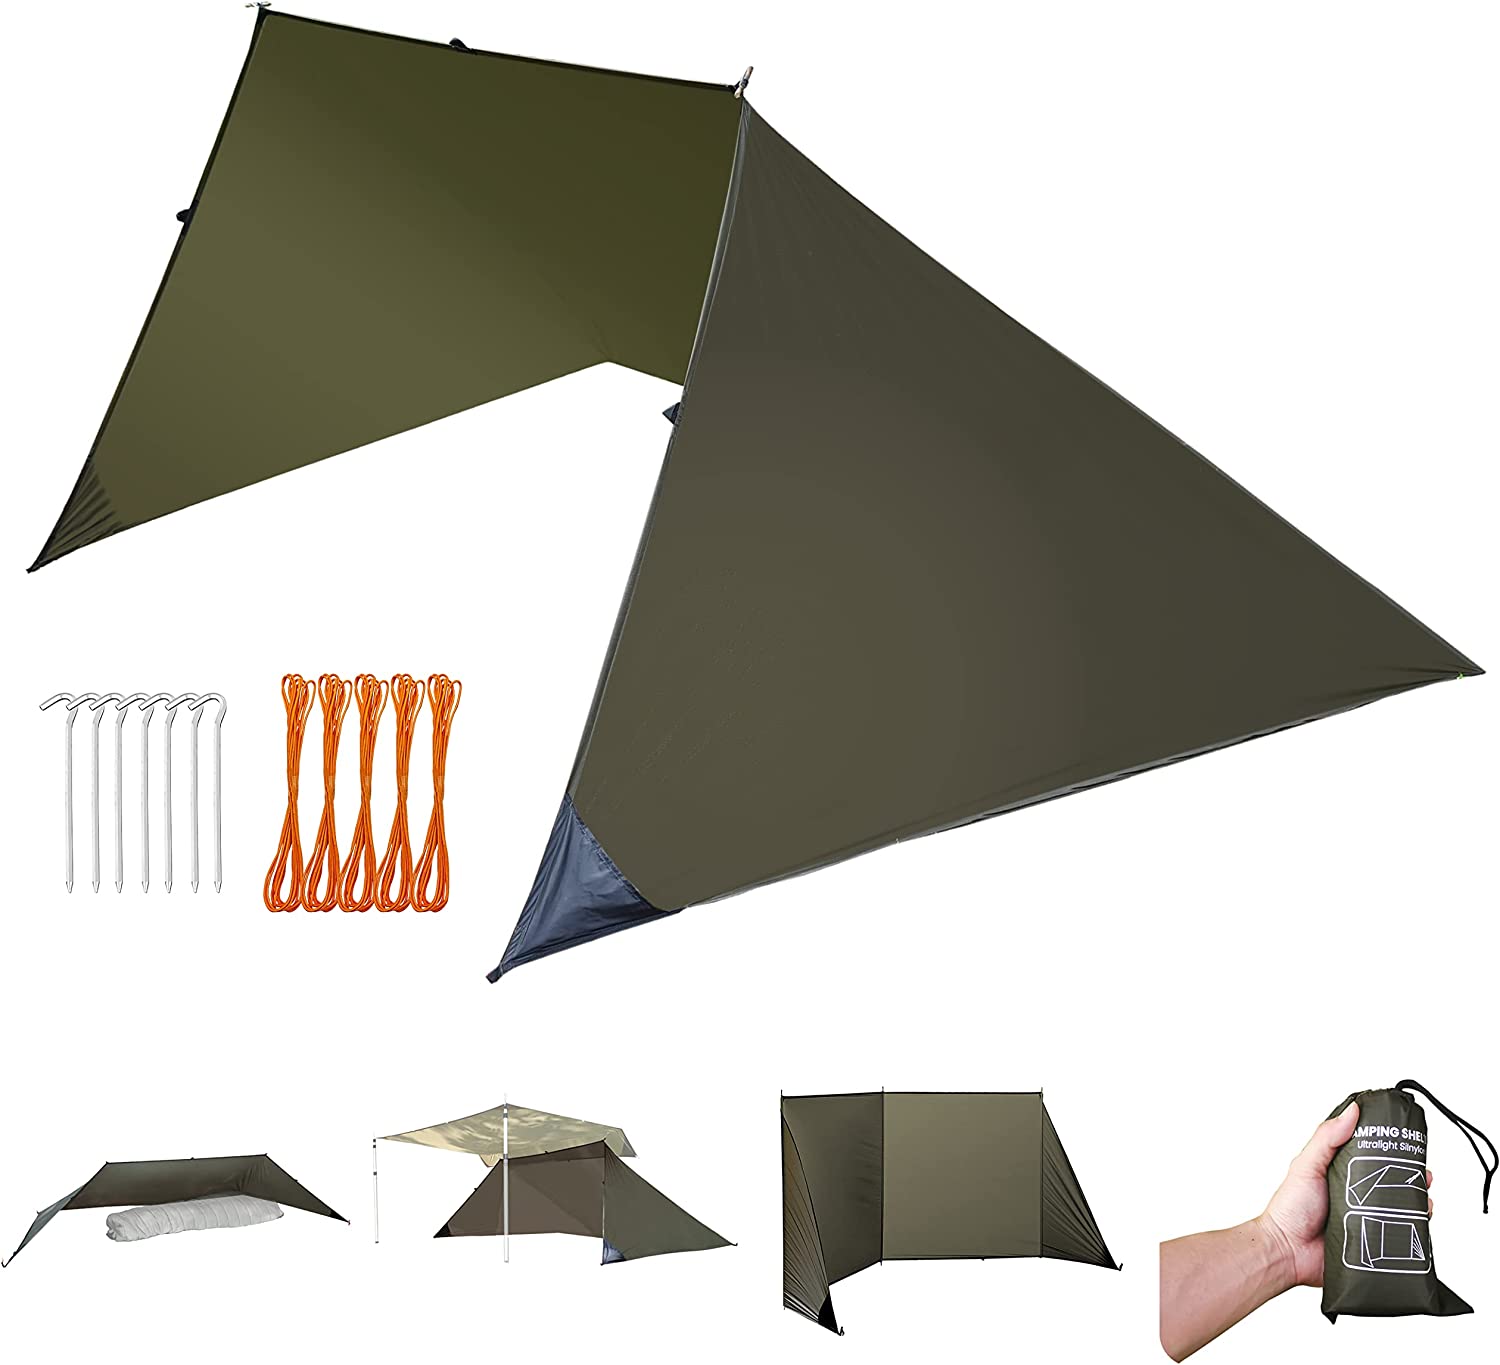
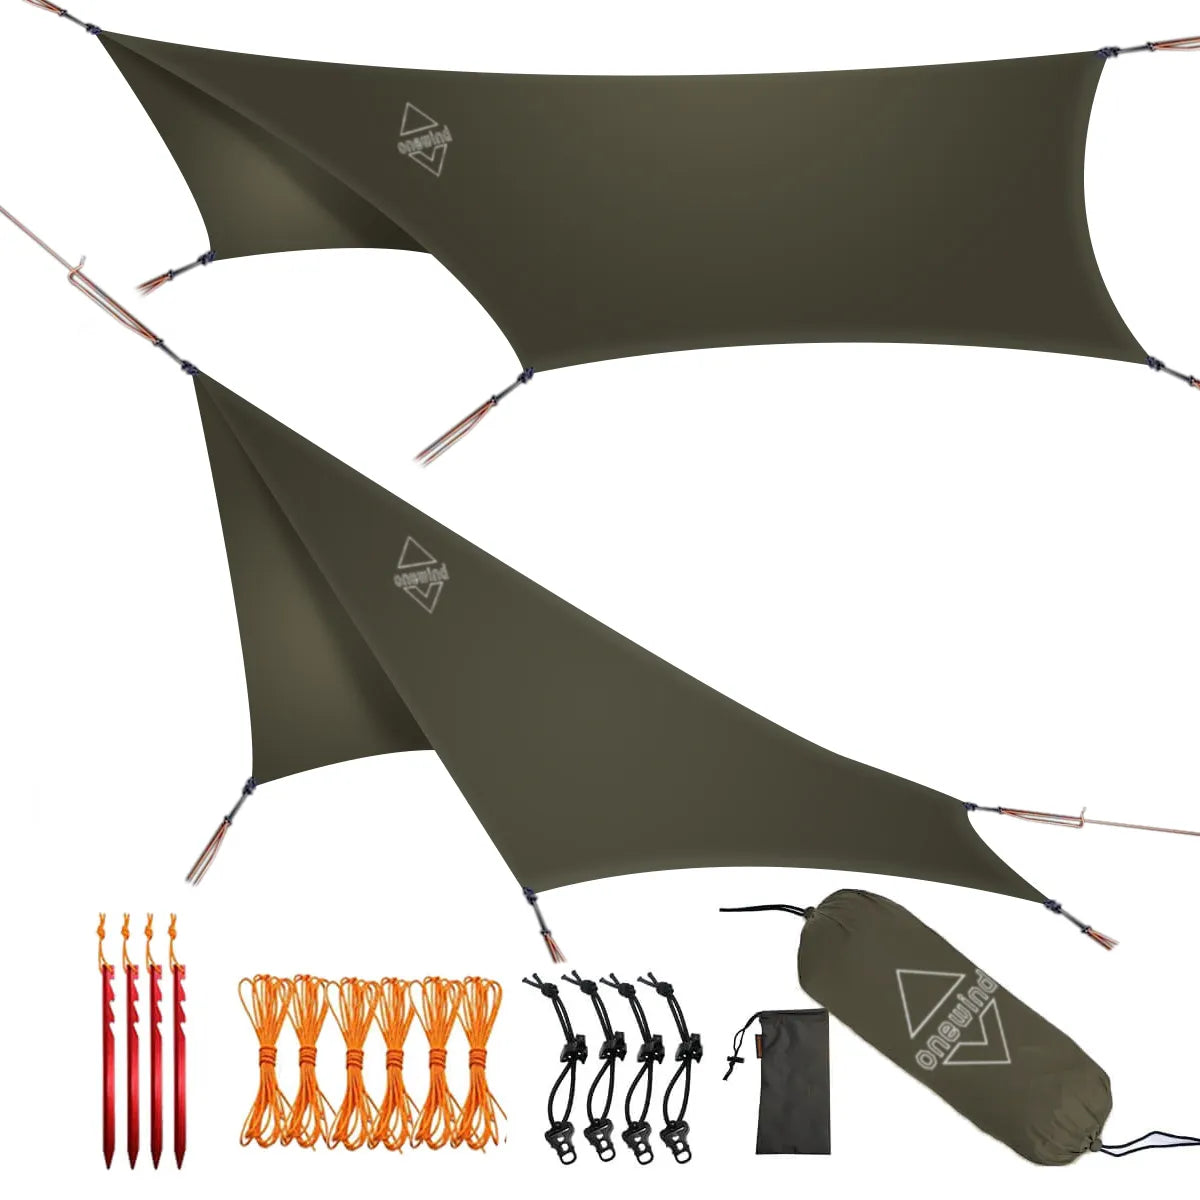
The Onewind 12 ft silnylon tarp belongs in the conversation when the weather problem extends beyond the quilt.
It gives boots a place to sit.
It gives the pack a protected zone.
It lets the bivy opening breathe while rain falls.
It reduces the chance that wet sleeves or dirty hands drag water into the sleep space.
If the trip has rain, dew, or wet gear handling, tarp coverage often improves the system more than chasing a more sealed bivy shell.
Wet-Night Setup Workflow

Set up before dark if rain is possible.
Low shelters punish rushed decisions.
Start with the ground.
Do not pitch in a dip just because the spot is flat.
Look for natural drainage and durable surface.
Then look up.
Tree cover can reduce direct rain, but branches can drip long after the storm ends.
Point the opening away from wind and runoff.
Put the headlamp, water, and rain shell where you can reach them without dragging wet gear inside.
Open the vent before sleep.
Morning tells the truth.
Touch the wall, quilt footbox, pad edge, and head area.
If they are damp, the next setup needs a change.
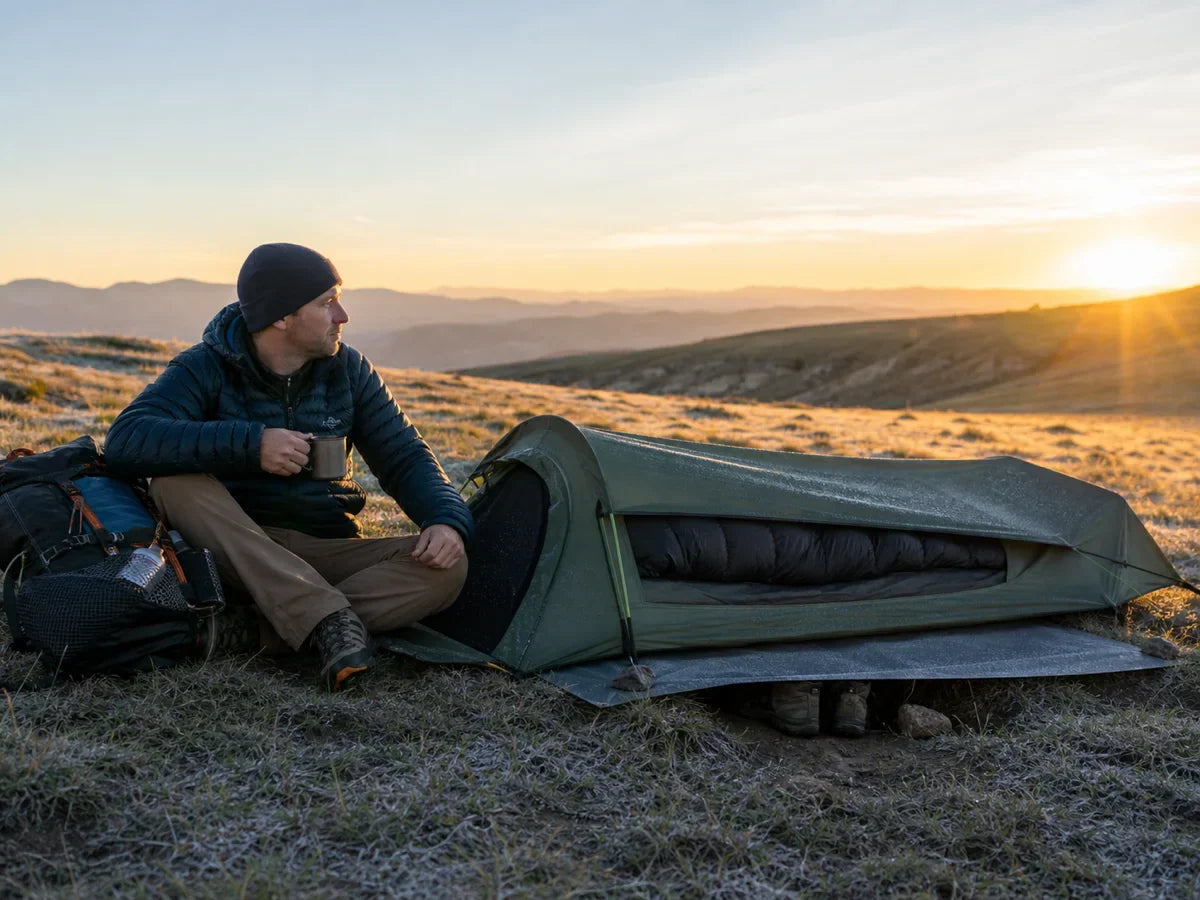
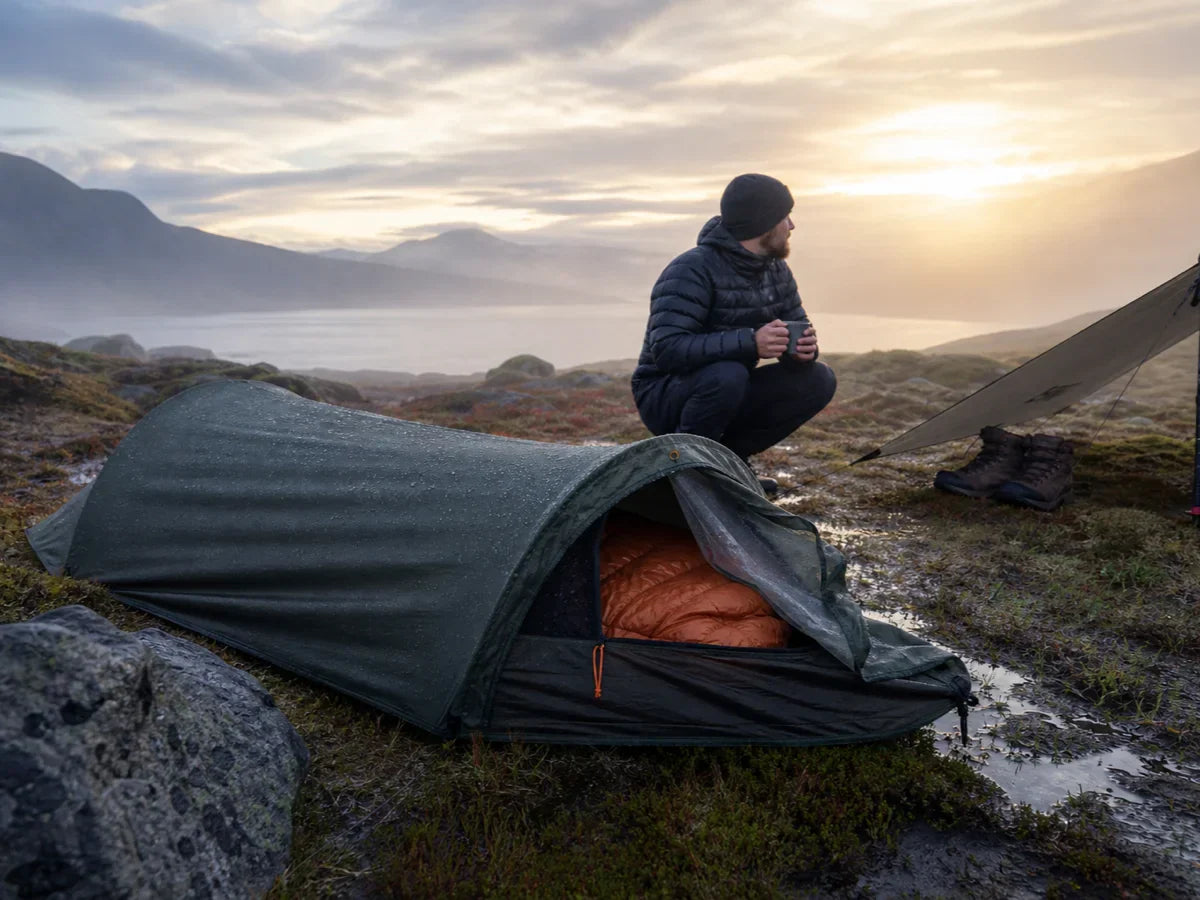
Where The Ultralight SoloVent Bivy Tent Fits

The Ultralight SoloVent Bivy Tent fits this article when the reader wants waterproof bivy-style protection with more structure than a flat sack.
That structure matters for moisture because it can help keep mesh and shell away from the face area.
It can also keep fabric from sagging onto insulation when pitched correctly.
It does not create a vestibule.
It does not turn a wet camp into a tent room.
Use it for the sleep-focused lane.
If the reader needs more protected work area, add tarp coverage or move to a larger shelter.
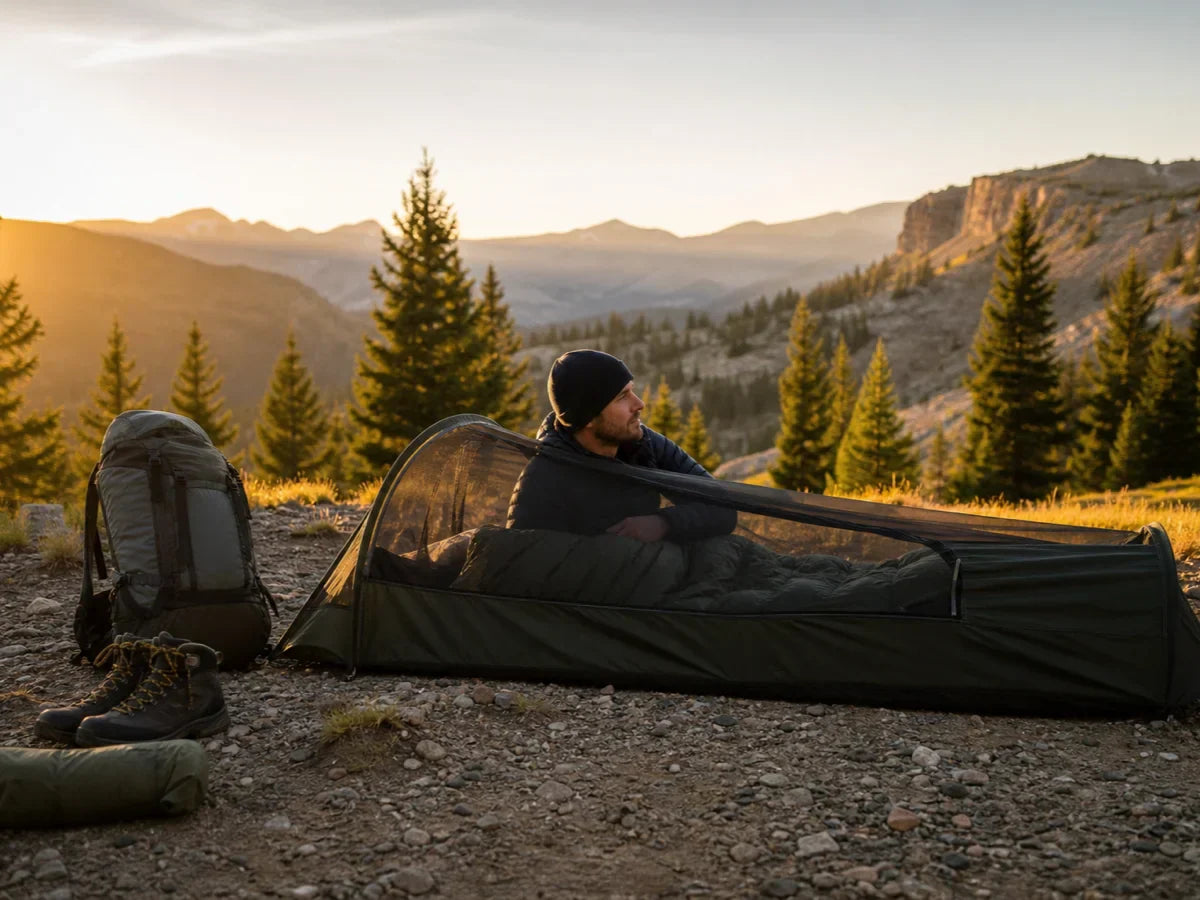
Where Solo Skyshade Tartent Fits

The Solo Skyshade Tartent is the internal path for a reader who wants more overhead shape than a simple waterproof bivy sack.
It is useful to mention here because many waterproof bivy searches are really about fear.
The reader wants to know if they will wake up wet.
Sometimes the answer is not a different shell.
Sometimes the answer is more shaped shelter around the entry.
Use this product path for solo campers who want a low shelter with more tarp/tent character.
Do not frame it as a magic fix for all wet-weather camping.
Scenario 1: Heavy Dew Overnight

Verdict: use waterproof bivy-style protection, but vent early.
Heavy dew is a good use case for a waterproof bivy sack if the camper does not confuse dew protection with sealed sleeping.
The shell helps keep exterior moisture off the quilt.
The vent keeps interior moisture from becoming the new problem.
Choose drained ground.
Keep insulation centered.
Leave safe airflow.
If boots and pack matter, cover them before sleeping.
Morning dew is predictable.
Plan for it before it becomes wet gear.
Scenario 2: Short Solo Backpacking Trip

Verdict: choose a waterproof bivy setup if the trip is sleep-first.
A short solo trip is where the category is strongest.
The camper benefits from a small footprint and compact packed size.
The shelter only needs to handle sleep, not a full camp routine.
Still, the setup must be deliberate.
Pack a ground plan.
Know where wet layers go.
Practice entry and exit before the trip.
If the route includes long camp hours, protected cooking, or changing clothes in rain, the bivy is the wrong tool.
Scenario 3: Bikepacker With Rain Risk

Verdict: choose the bivy only if you have a gear-staging plan.
Bikepackers often care about packed shape more than raw shelter room.
A waterproof bivy-style setup can fit that constraint well.
The weak point is wet gear.
Cycling shoes, helmet, rain shell, and bags do not vanish when the shelter is low.
Use dry bags.
Stage the entry.
Add tarp coverage when rain is likely.
If the bikepacking route includes repeated wet nights, a roomier shelter may be worth the volume.
Scenario 4: Wet Weather And Tarp Decision

Verdict: add tarp coverage when wet tasks matter.
Waterproof bivy fabric protects the sleeper.
Tarp coverage protects the routine around the sleeper.
That distinction is the whole wet-weather decision.
If you only crawl in, sleep, and leave, the bivy can be enough.
If you need to sort gear, change layers, or keep vents open while rain falls, tarp coverage is the safer system.
If you need to live in camp through weather, compare the broader bivy vs tent guide before forcing a bivy answer.
Scenario 5: Beginner Choosing Bivy Or Tent

Verdict: do not make wet weather your first bivy lesson.
Beginners can use waterproof bivy-style shelters, but the first test should be boring.
Backyard or mild-weather practice teaches entry, exit, venting, and gear staging without pressure.
Rain adds too many variables at once.
If the beginner wants the least stressful first trip, a one-person tent is easier.
If they want to learn bivy skills, start dry, inspect the morning moisture, then add harder weather later.
Common Mistakes With Waterproof Bivy Sacks

The pattern is simple.
Campers buy waterproofing and forget moisture management.
That creates bad bivy nights even when the shell does what it promised.
A waterproof bivy sack is not a sealed capsule.
It is a low shelter that needs airflow, drainage, and a clean routine.
Mistake 1: Closing Every Vent

Closing every vent feels safe in rain.
It can make the inside wetter by morning.
The fix is protected airflow.
Point openings away from wind.
Use mesh when bugs are present.
Add tarp coverage if rain keeps forcing the opening closed.
If the only way to stay protected is to seal the shelter completely, the trip may need more shelter volume.
Mistake 2: Ignoring The Ground

Waterproof fabric above you does not fix bad ground below you.
Low pockets collect runoff.
Wet grass can soak the bottom and cool the sleep system.
Durable raised ground is more important than a perfectly flat-looking spot.
Use a groundsheet when appropriate.
Avoid obvious drainage paths.
Check where water would flow if rain started at midnight.
Mistake 3: Treating Wet Gear As An Afterthought

Wet gear is often the real bivy problem.
Boots need a place.
The pack needs a place.
Rainwear needs to drip somewhere that is not the quilt.
Decide this before opening the bivy.
Use a dry bag, pack liner, tarp edge, or covered staging zone.
Do not solve the sleep shell and ignore everything around it.
Mistake 4: Buying Waterproof When You Need A Room

A waterproof bivy sack can protect sleep.
It cannot create room.
If you need to sit up, change layers, organize a full pack, or wait through weather awake, the product category is wrong.
That does not make bivies bad.
It means the trip needs a different shelter.
Use the bivy tent guide if you want the structured middle ground.
Use the shelter collection if the real answer is more coverage.
Final Checklist

Run this checklist before the trip, not after the first damp night.
Pitch the shelter in daylight.
Lie inside with the actual pad and quilt.
Close it to the level you expect to use.
Then open the vents you plan to rely on.
Reach for water and headlamp.
Get out without dragging the quilt into wet ground.
If the routine is awkward in practice, fix it before rain.
Final Verdict

A waterproof bivy sack is useful when the job is compact solo sleep protection.
It fails when the camper expects waterproof fabric to solve every moisture problem.
Judge the whole system: rain outside, condensation inside, wet ground below, and gear at the entry.
For a structured sleep-focused path, start with the Ultralight SoloVent Bivy Tent.
For more tarp/tent-style overhead shape, compare the Solo Skyshade Tartent.
For wet entry and gear staging, add the Onewind 12 ft silnylon tarp or browse the broader Onewind shelter collection.

Shop Ultralight SoloVent Bivy Tent
Shop Now →